No, I haven’t forgotten the site. It’s just that the car has been running perfectly since the fuel pump was repaired, and due to my crazy work/travel schedule I haven’t done much driving this summer.
Anyway, today I decided to remove the fuel tank closing plate and inspect it. It’s one of the few pieces of the car that hasn’t been removed and cleaned/upgraded/repaired since I’ve had it. It was clear to see that at some point in the car’s life, the brake master cylinder had failed and leaked fluid all over the frame underneath. This had eaten away the epoxy and allowed surface rust to form, which was pretty ugly and could lead to structural problems down the line if not dealt with.
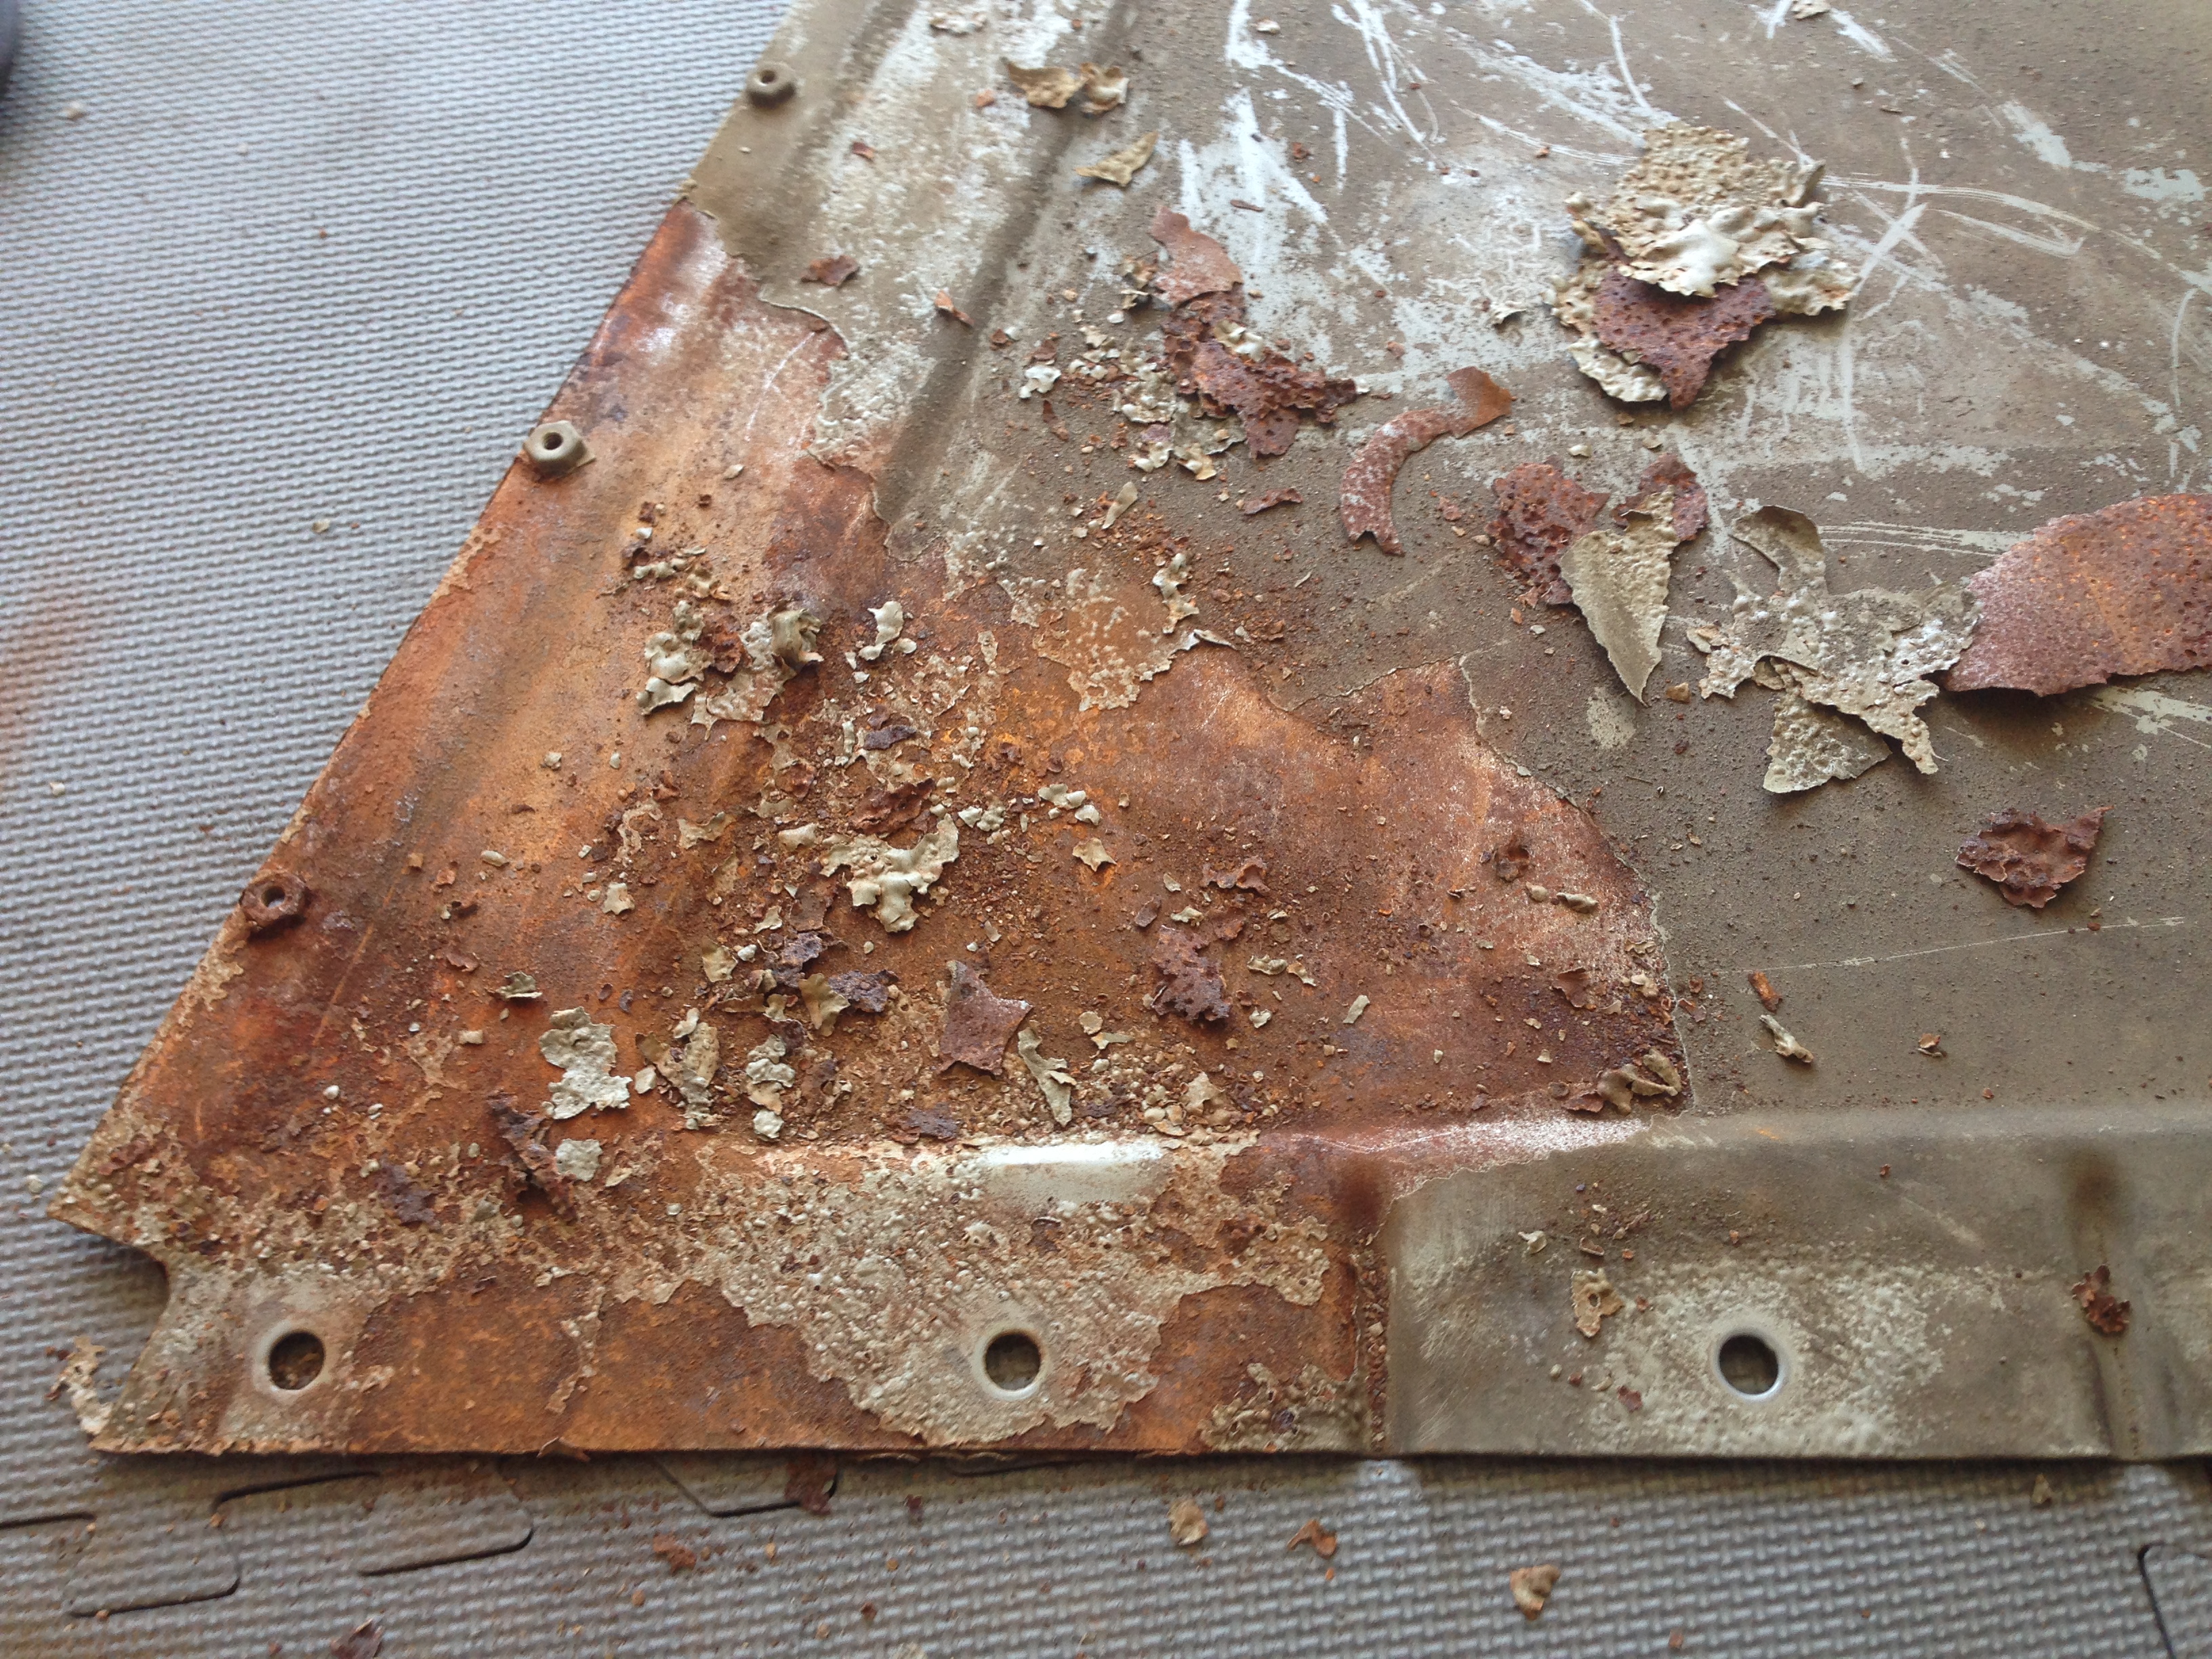
So, here’s what I found when I first removed the plate:

As you can see, the epoxy in this corner is all bubbled up and detached from the metal. Water has gotten in underneath and started rusting the plate. The only way to deal with this is to strip off the damaged epoxy, grind away as much rust as possible and treat the plate with rust-inhibiting paint to match the frame.
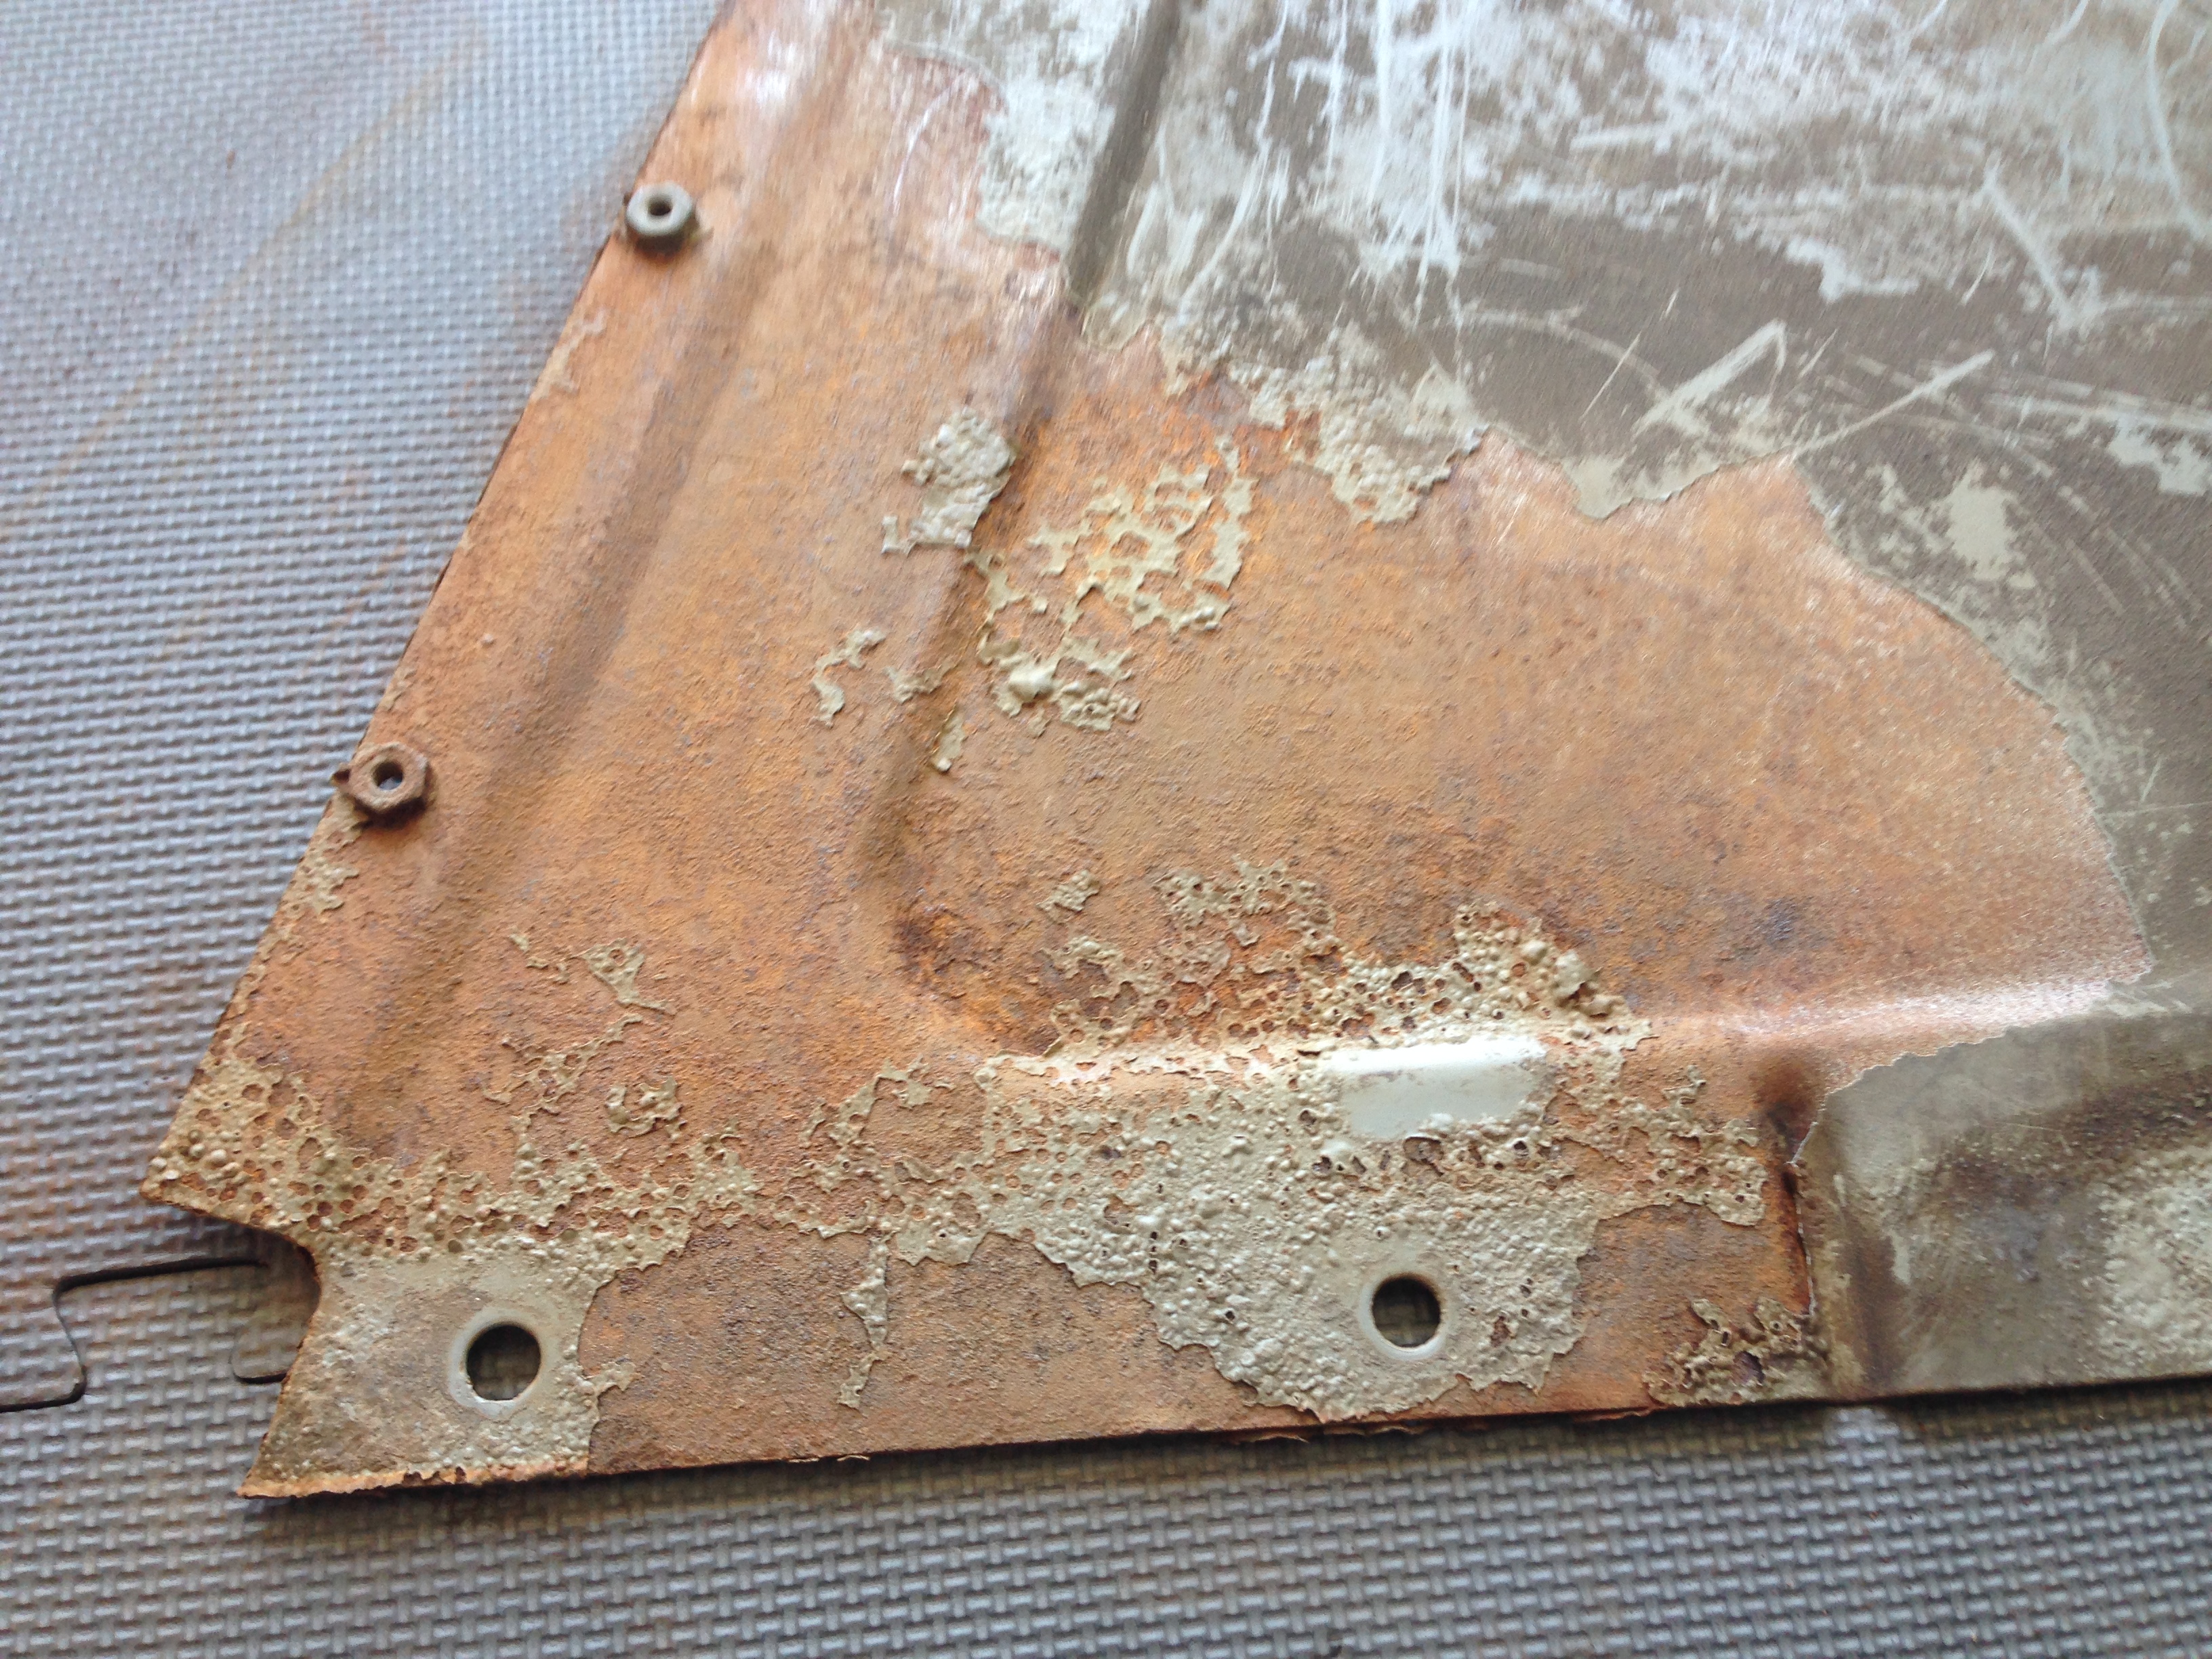
Step 1: I just peeled away the loose epoxy. It pulled off in huge chunks.
Step 2: Scraping away the more stubborn chunks of damaged epoxy and brushing the surface rust with a wire brush
Step 3: The remaining epoxy in the affected areas was a little better adhered, but still needed to be removed. A razor blade was used for this, followed by more wire brushing

Finally, I went at the good epoxy with some degreaser to start cleaning the grime off.

Looks a lot better. The next step will be to finish really prepping the surface with a wire wheel, followed by a primer, some POR-15, and a coat of Rustoleum to protect the POR-15 and match the rest of the plate. More on that to come!