Ever since I put the new stereo system in the car, I’ve been longing for a subwoofer. I got top grade speakers in all 4 corners, but because of the sizes (3.5″ round up front and 6×9″ in the rear) they have always lacked bass. I had to enable a high pass filter on them just to stop all the distortion, which means the overall audio quality was definitely lacking.
Well, enter this little gem made by DMC California.
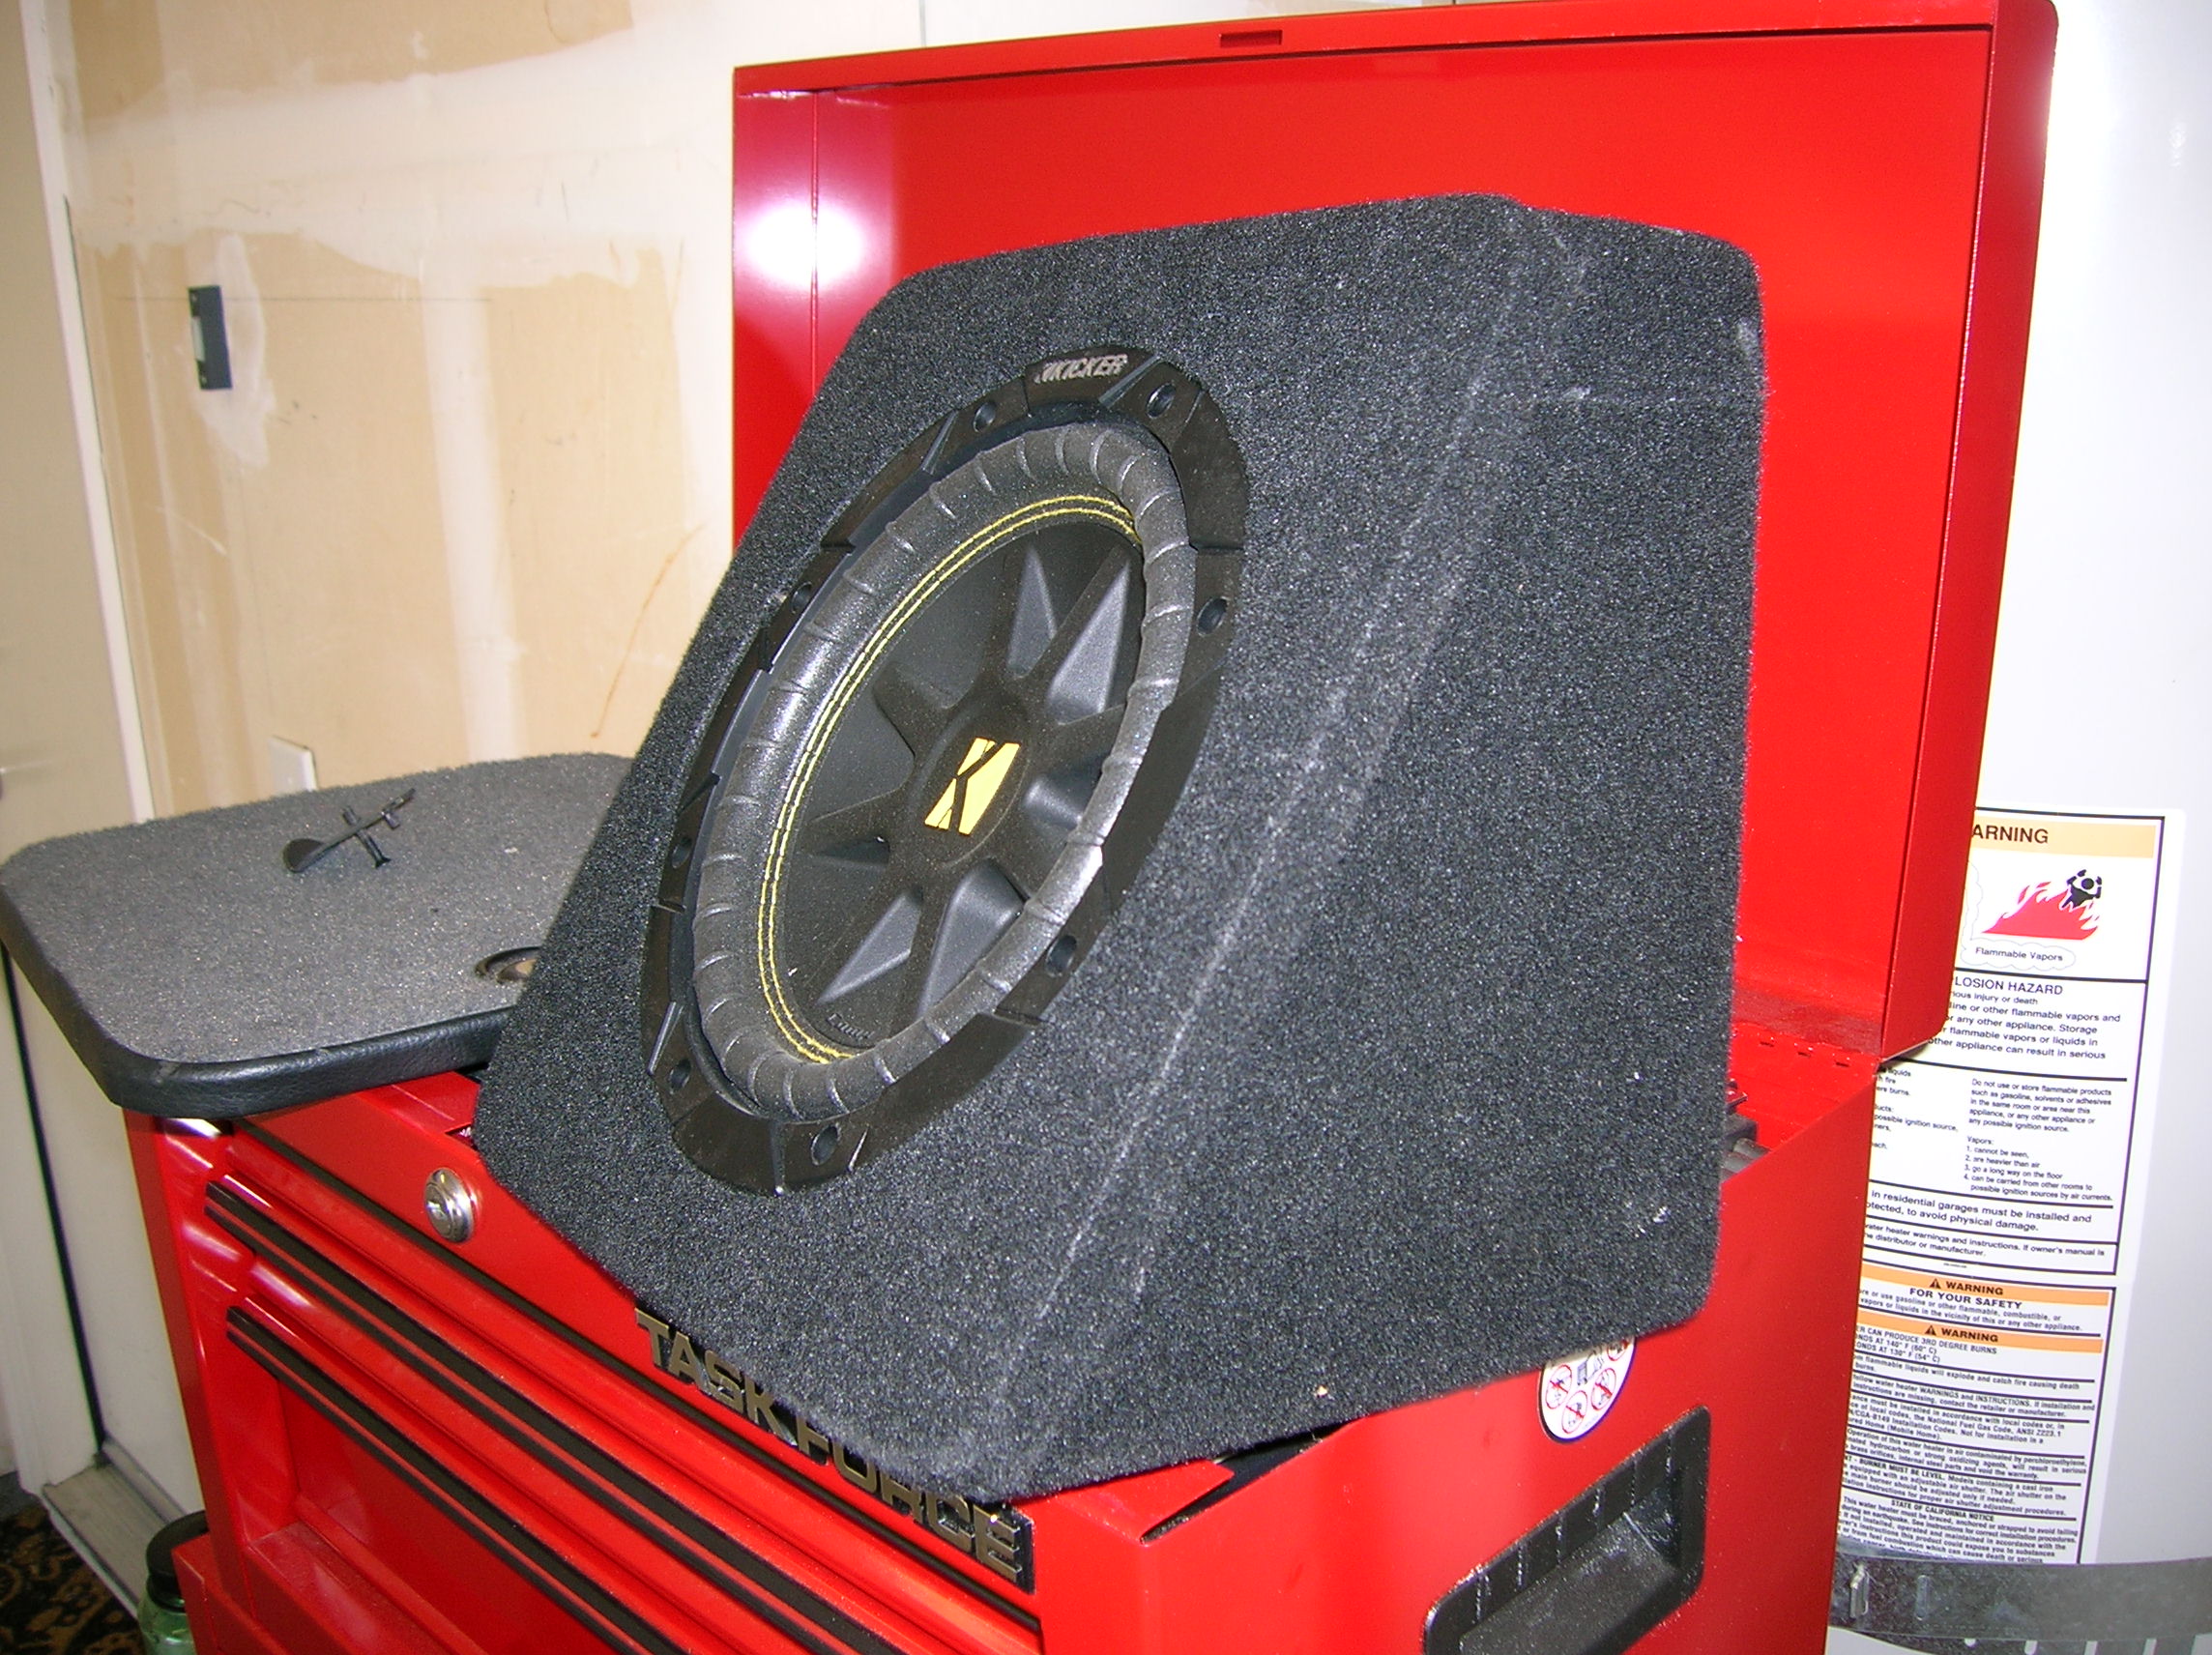
It’s a Kicker 8″ sub in a custom designed box that fits into the locking cubby behind the driver’s seat. And what’s going to drive it?

This JL Audio amp is top of the line in its class. I spent a lot of time researching before I chose it, and learned a lot about Class D amplifier theory in the process. This type of amplifier is cool because it reclaims unused power that would normally be expended as heat and reuses it when needed for sound. That means the amplifier stays cool, draws less power, and is more reliable. All good things – especially the ability to stay cool, because of where I ended up having to put it.
Originally, my plan was to mount the amplifier to the back of the speaker box like this:
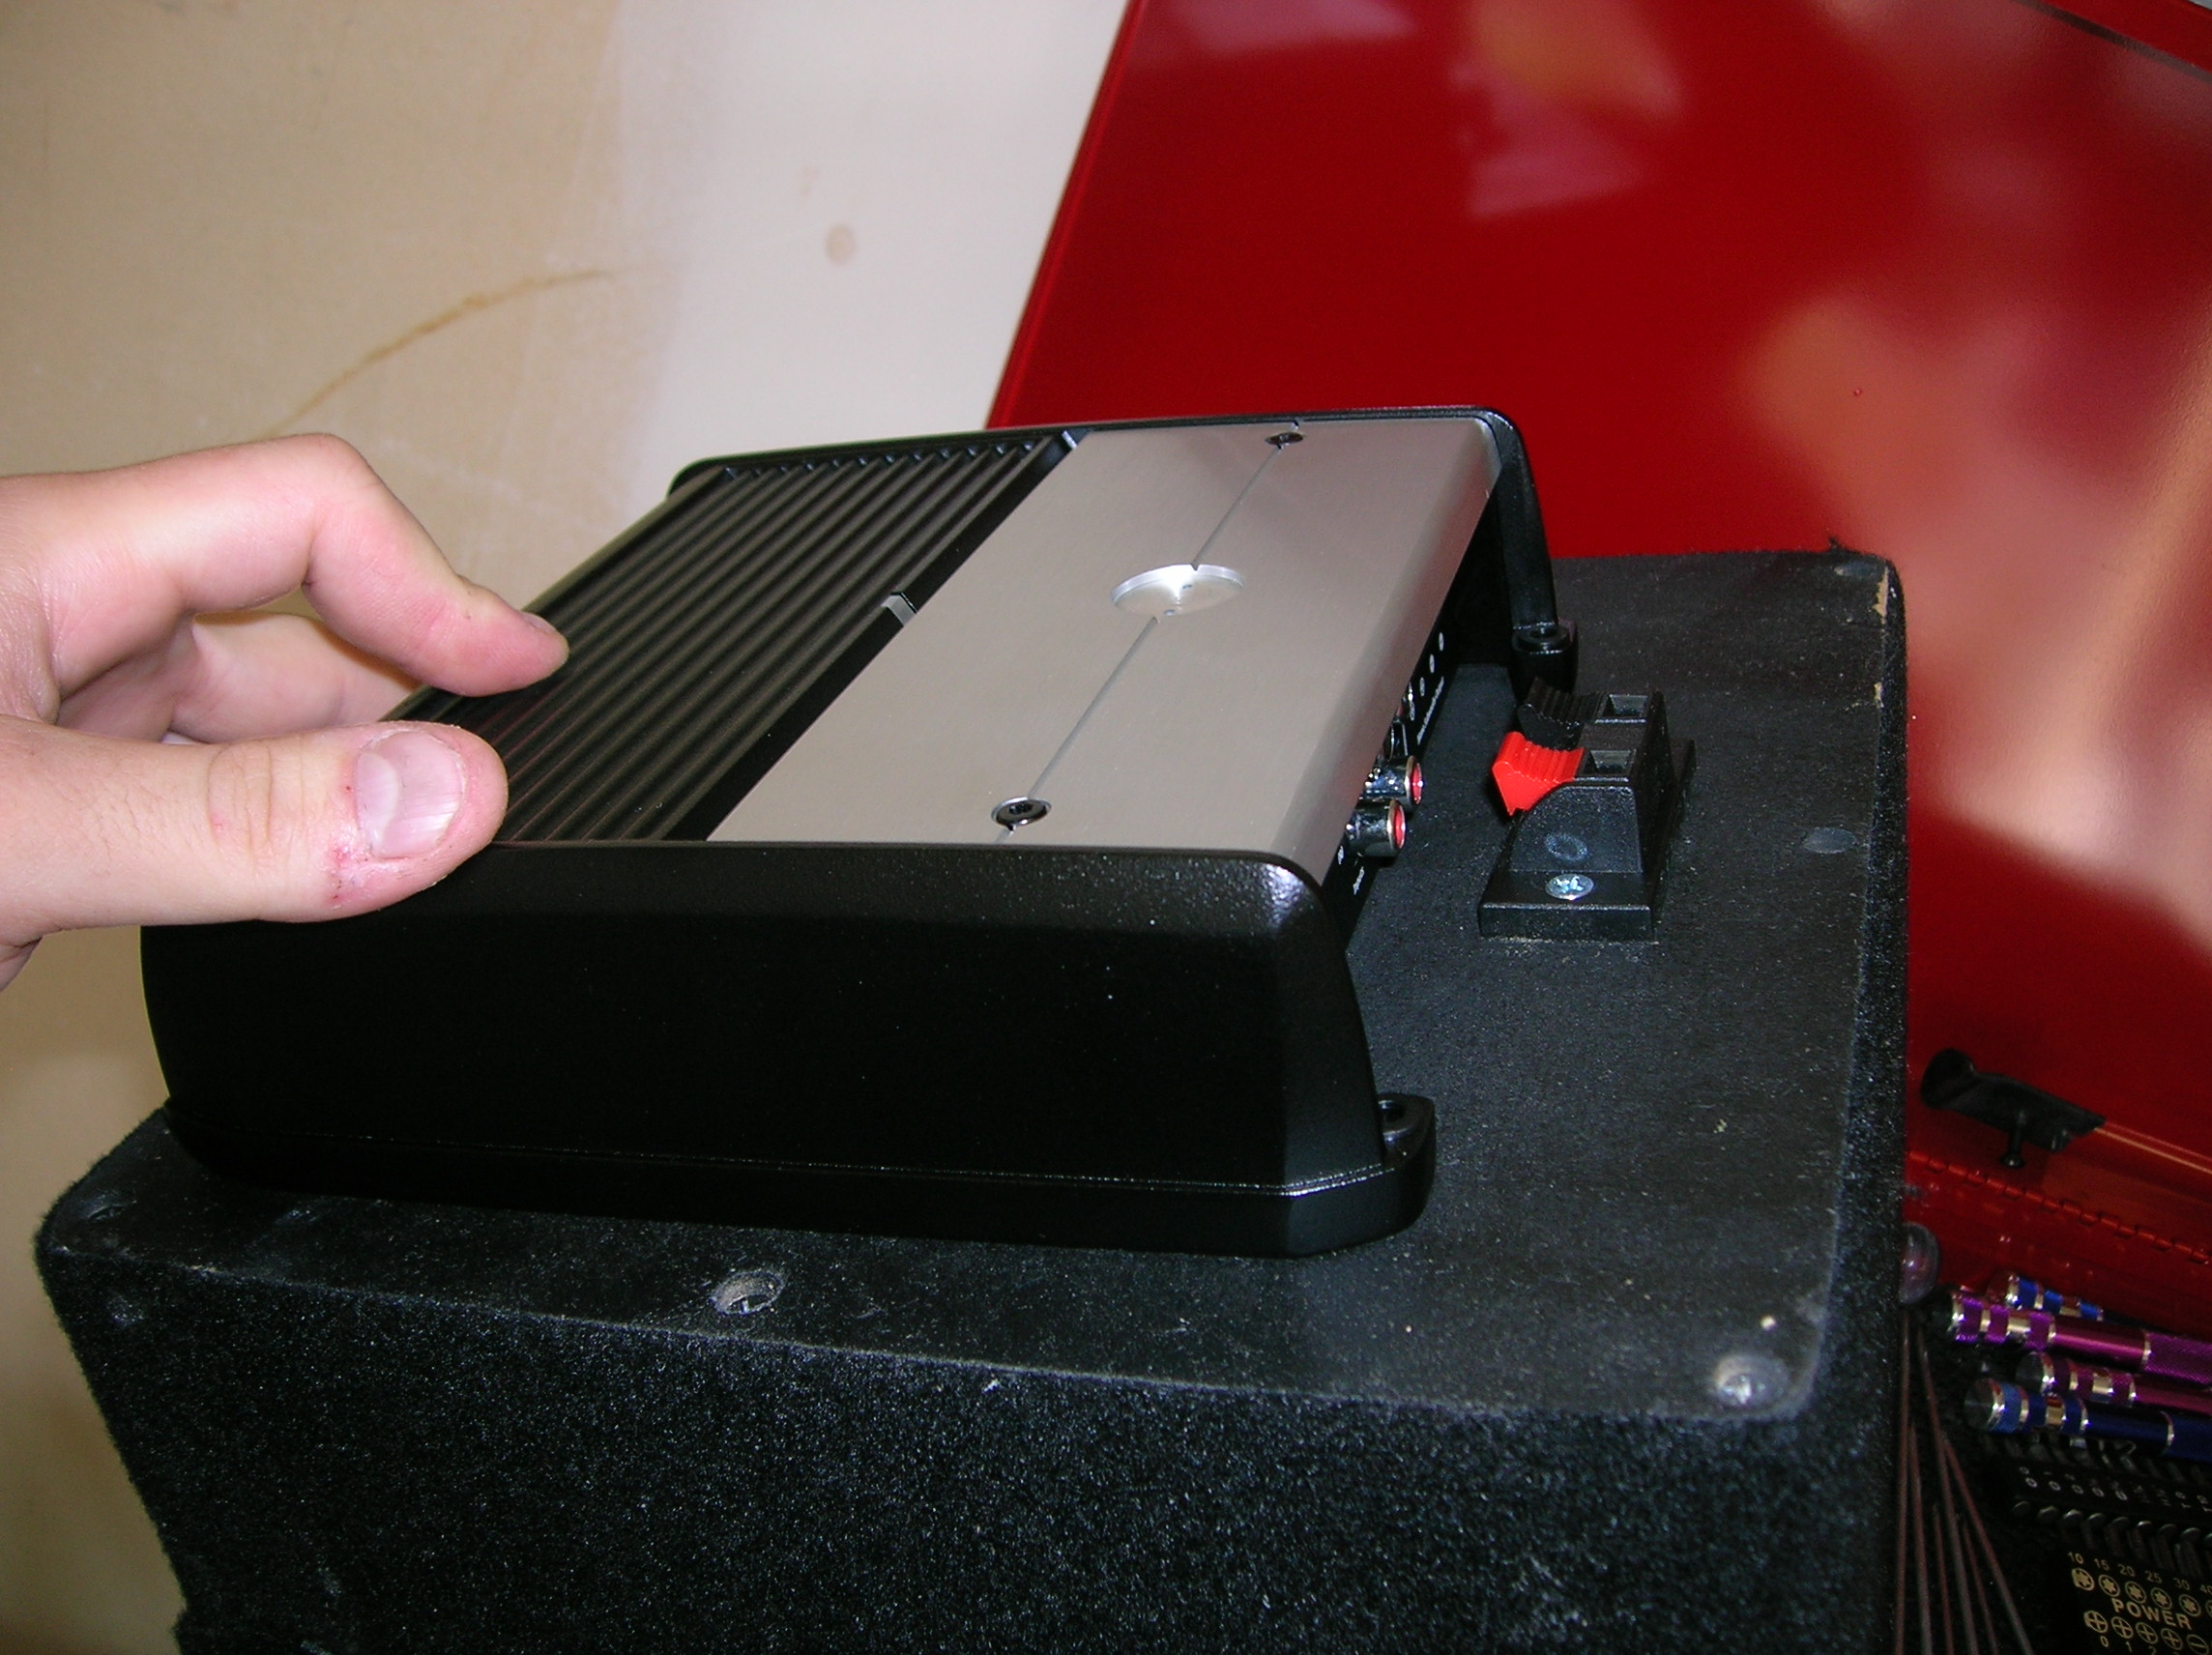
But, unfortunately that won’t work. The box is deeper than I was told, and the combined unit won’t fit in the cubby.
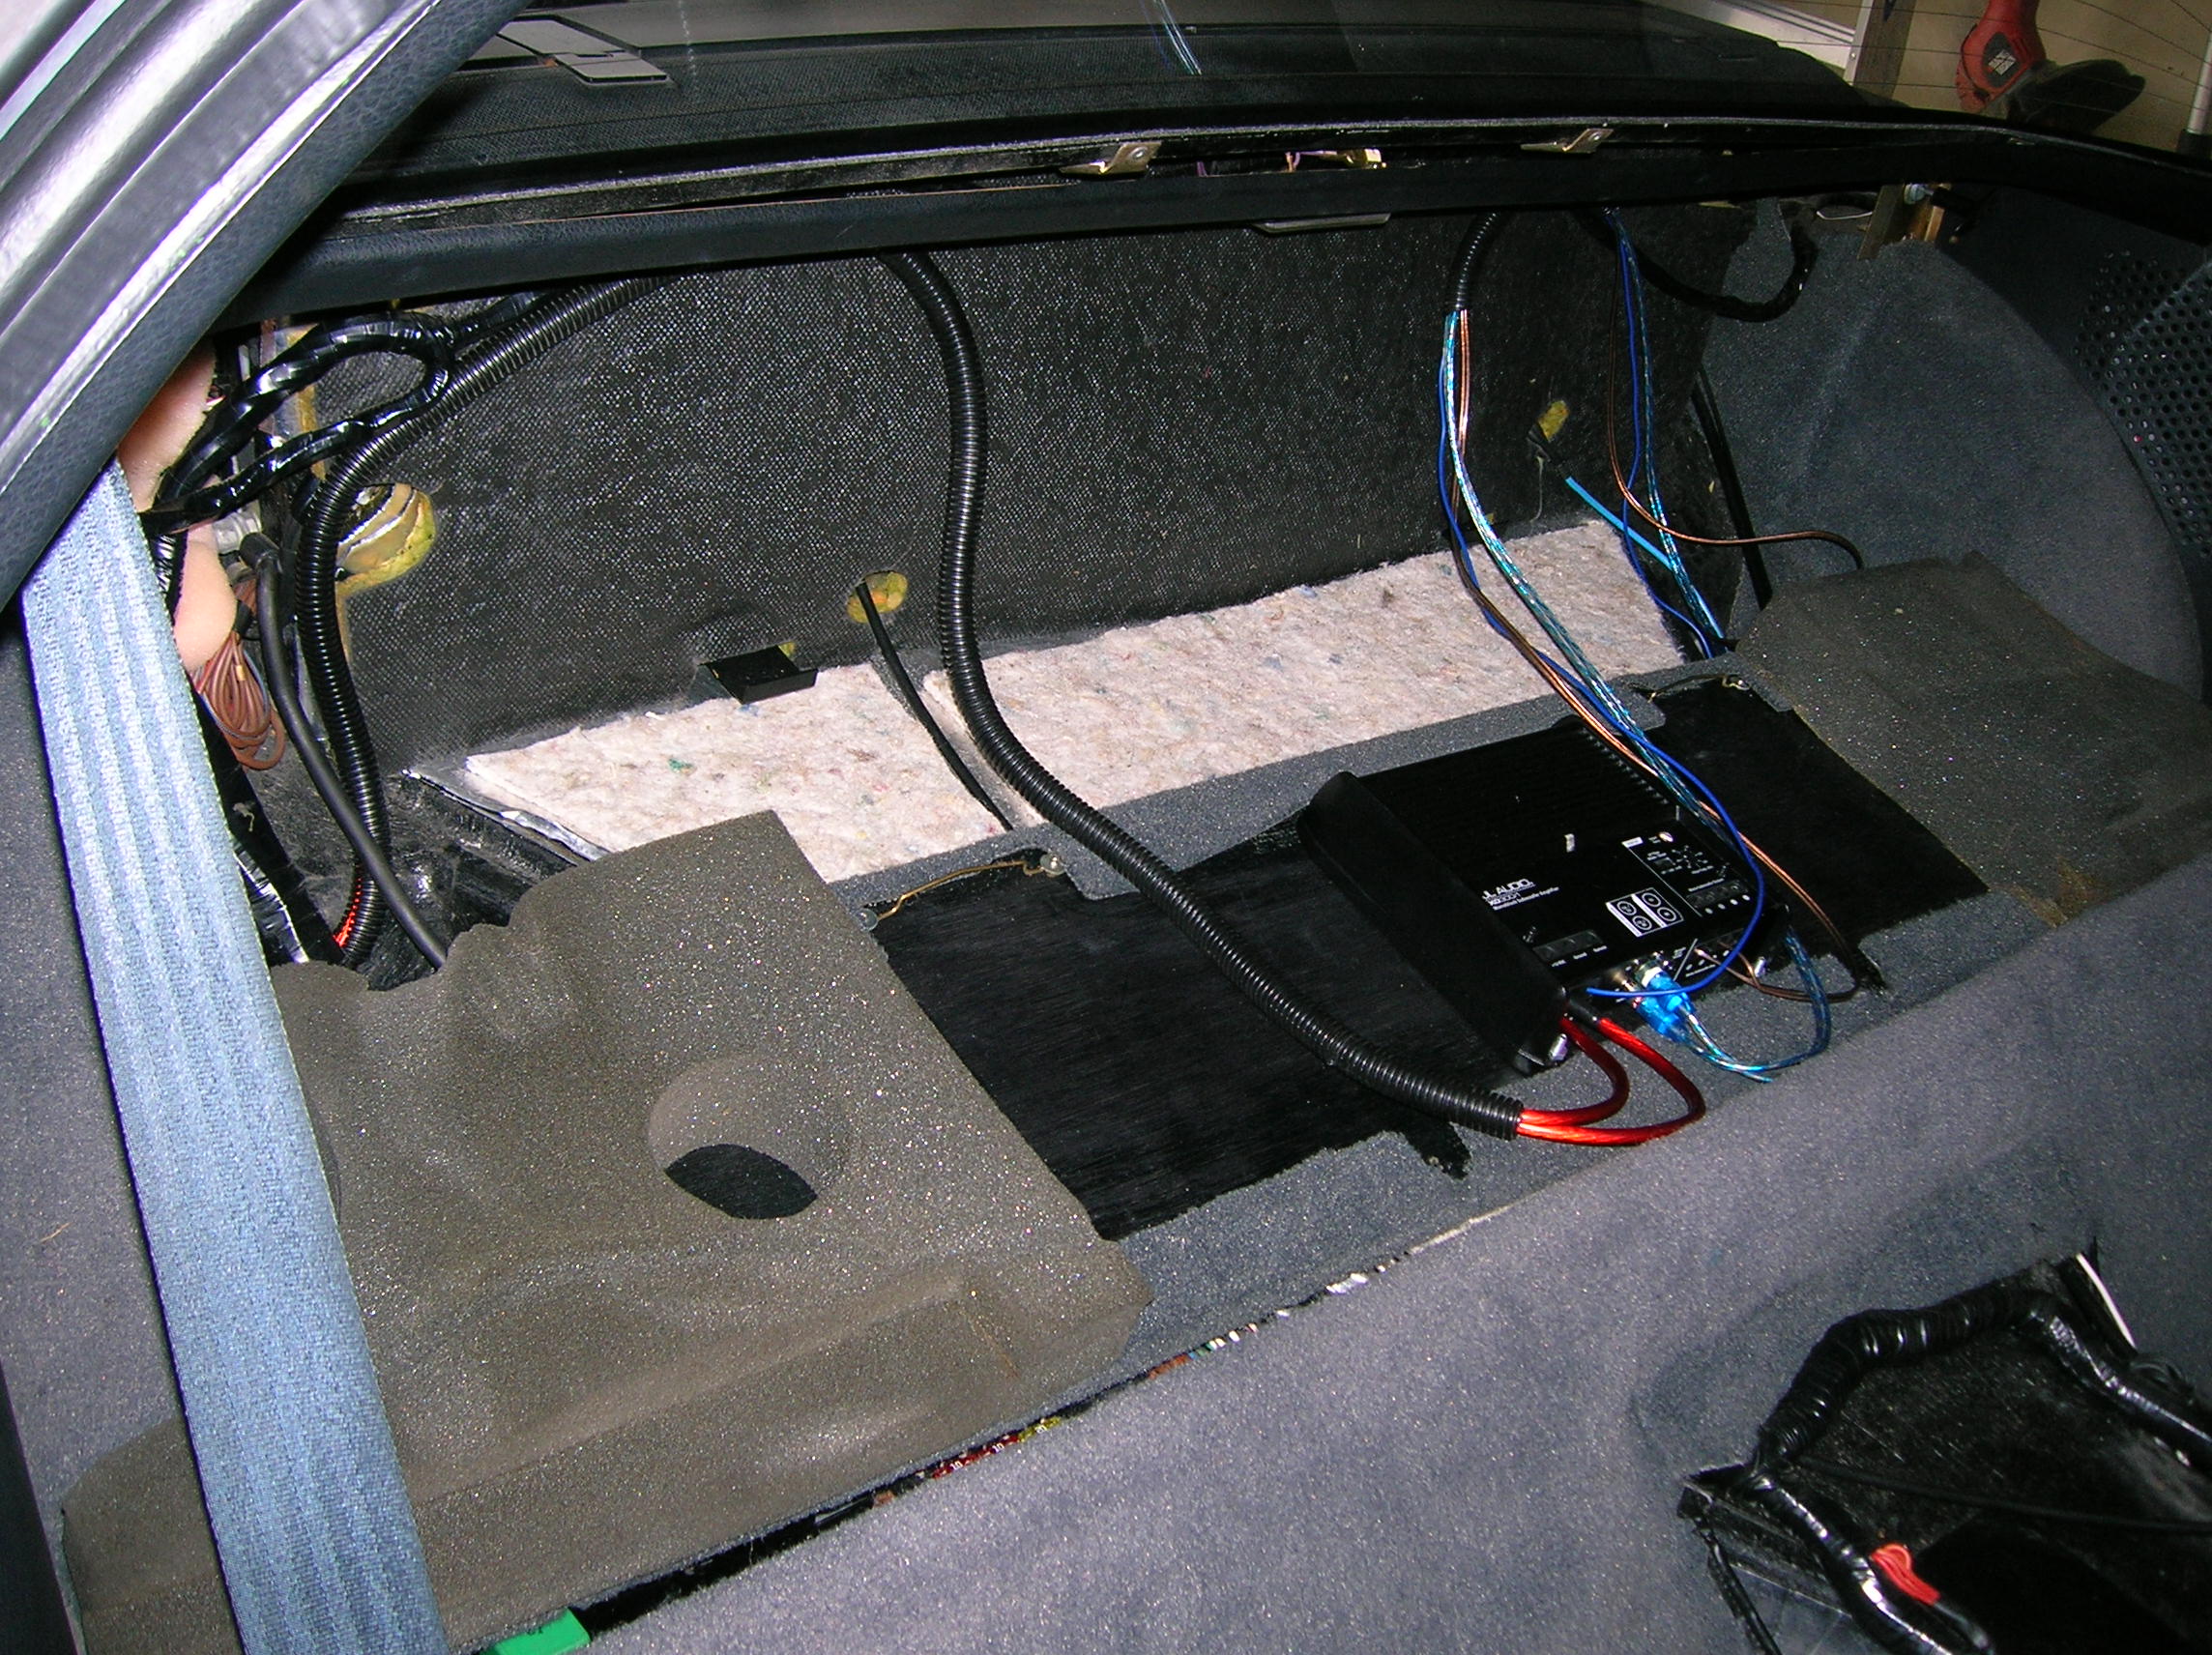
So, plan B. I removed the rear parcel shelf wall – just a thin sheet of plywood covered in carpet. It’s supported by two vertical metal strips and buts up against a thick foam pad, then the firewall to the engine. I just drilled four holes through the wood (but not the carpet,) pushed some screws through from underneath the carpet and bolted the amplifier to it.

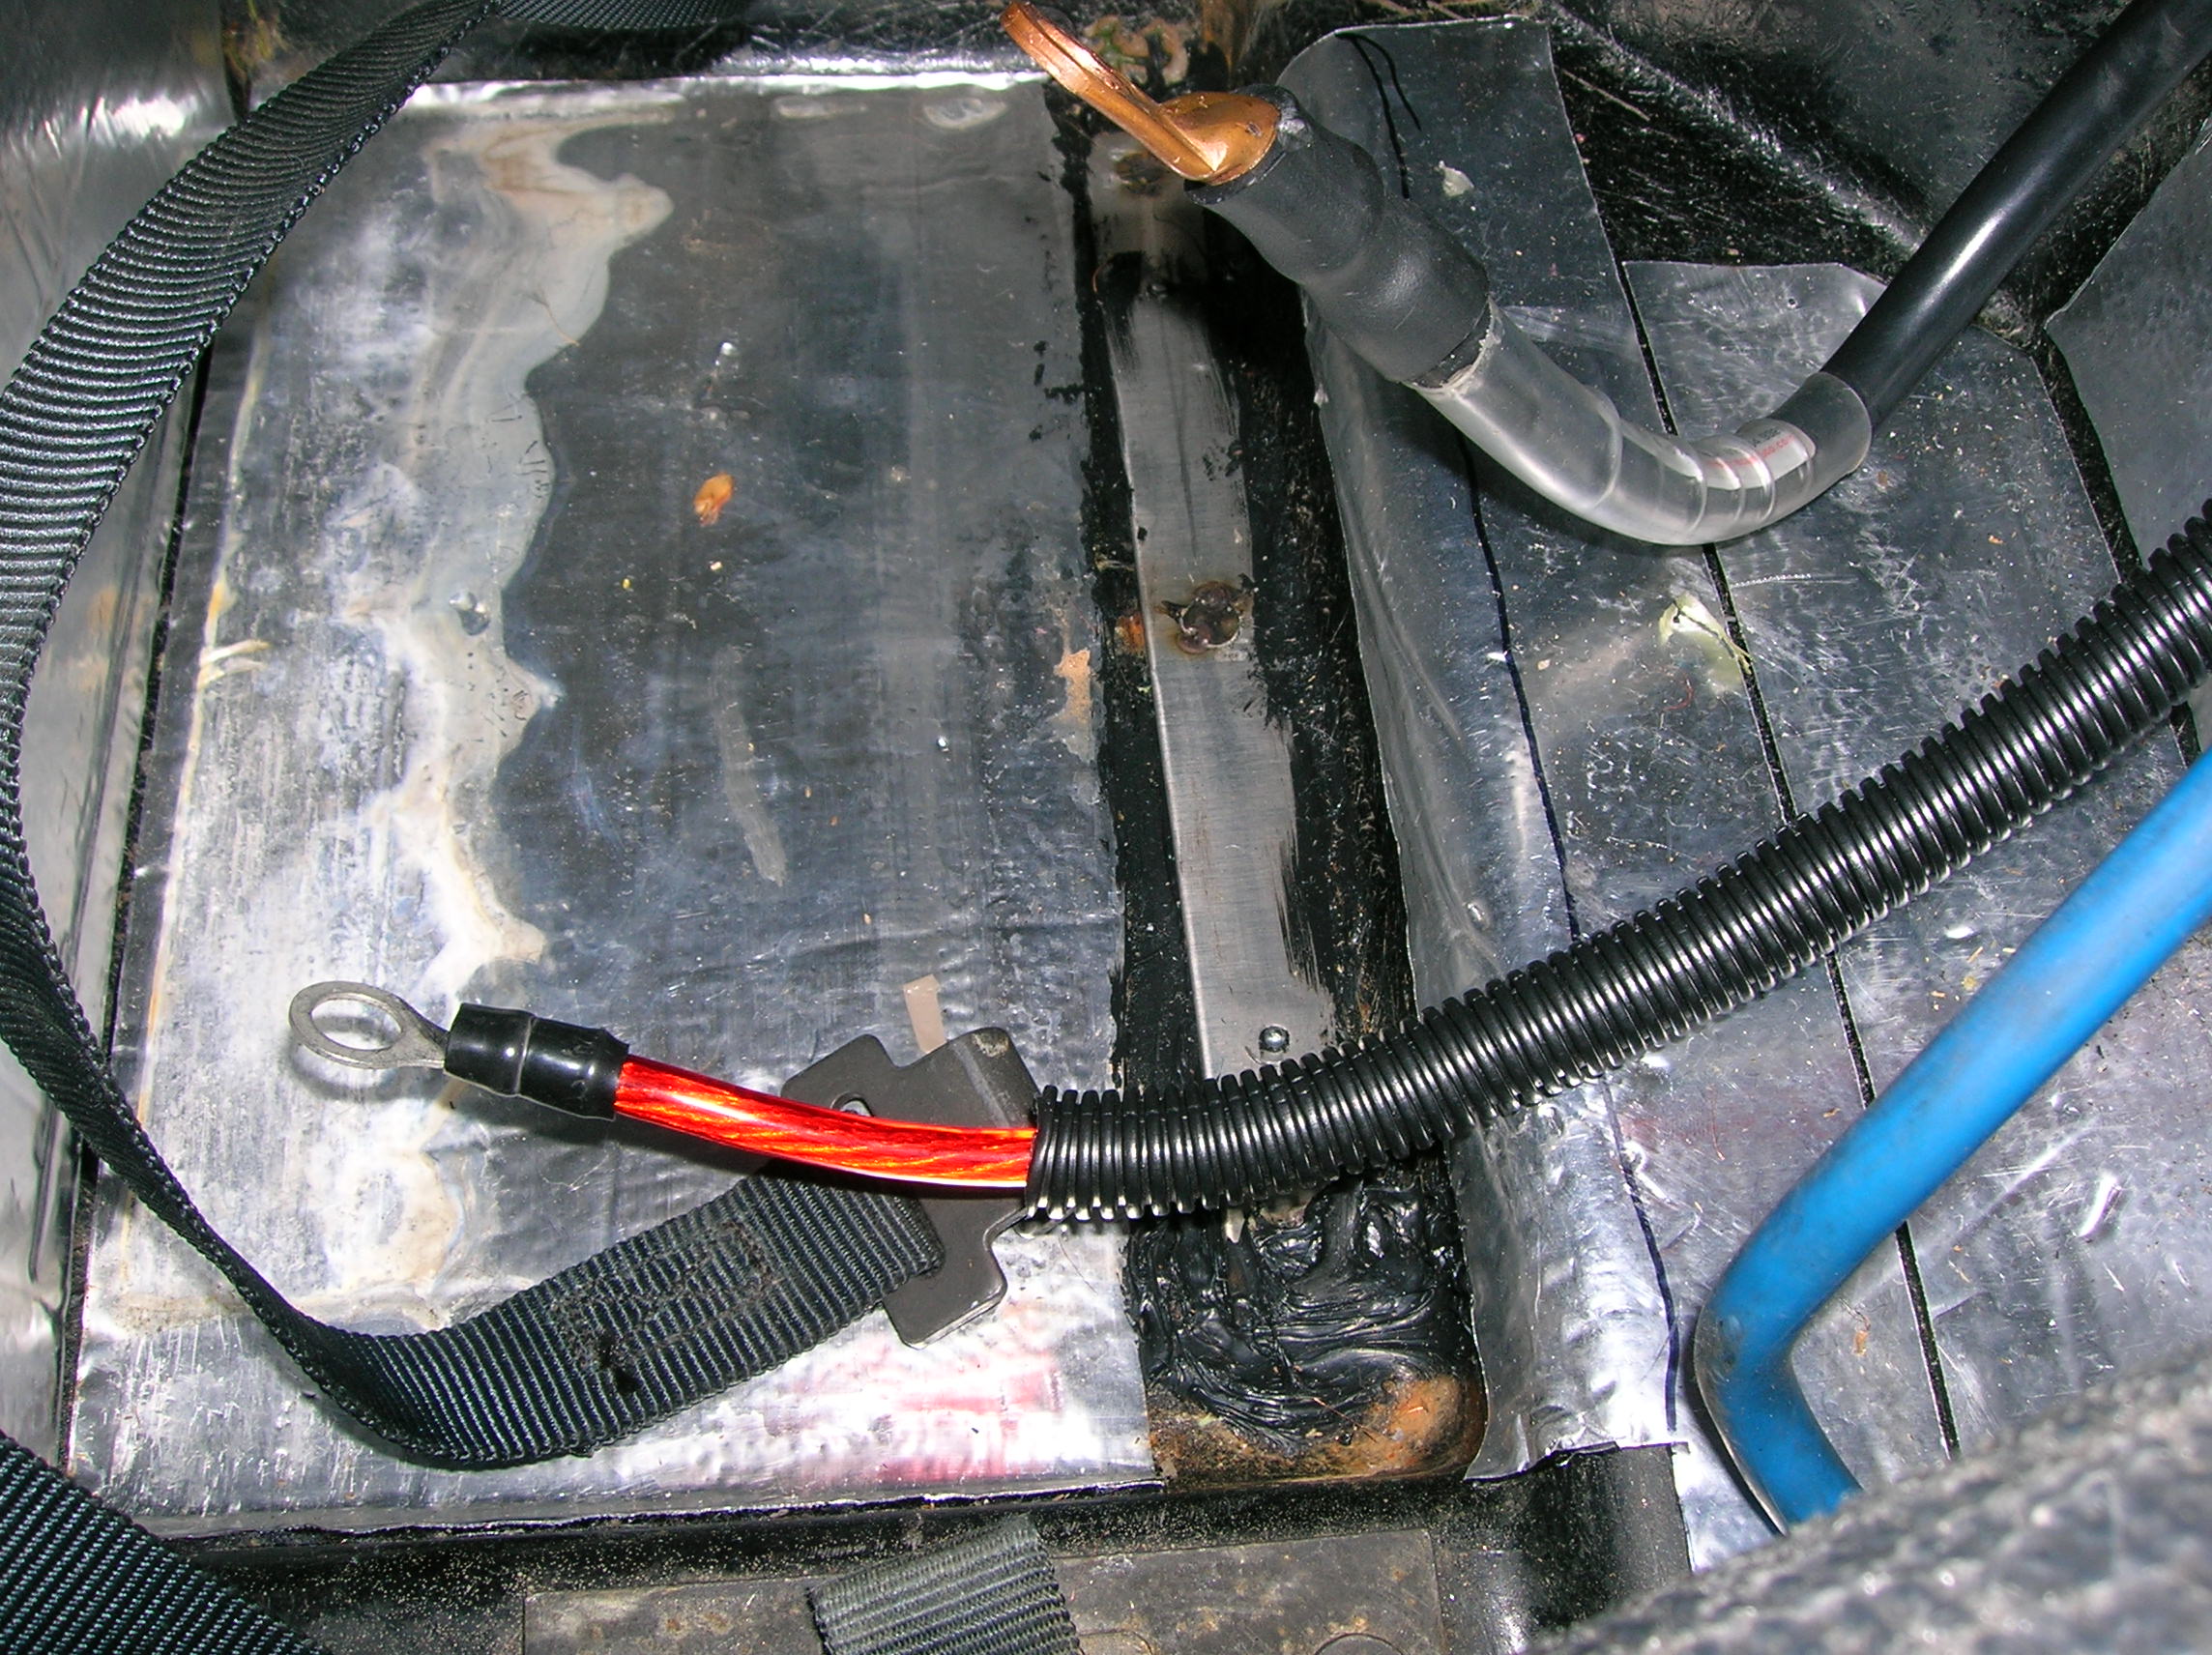
Next, I had to run the wiring. Because of how close the install was to the battery, I opted to power the amp straight from it. The 12v cable went right to the battery cut-off switch
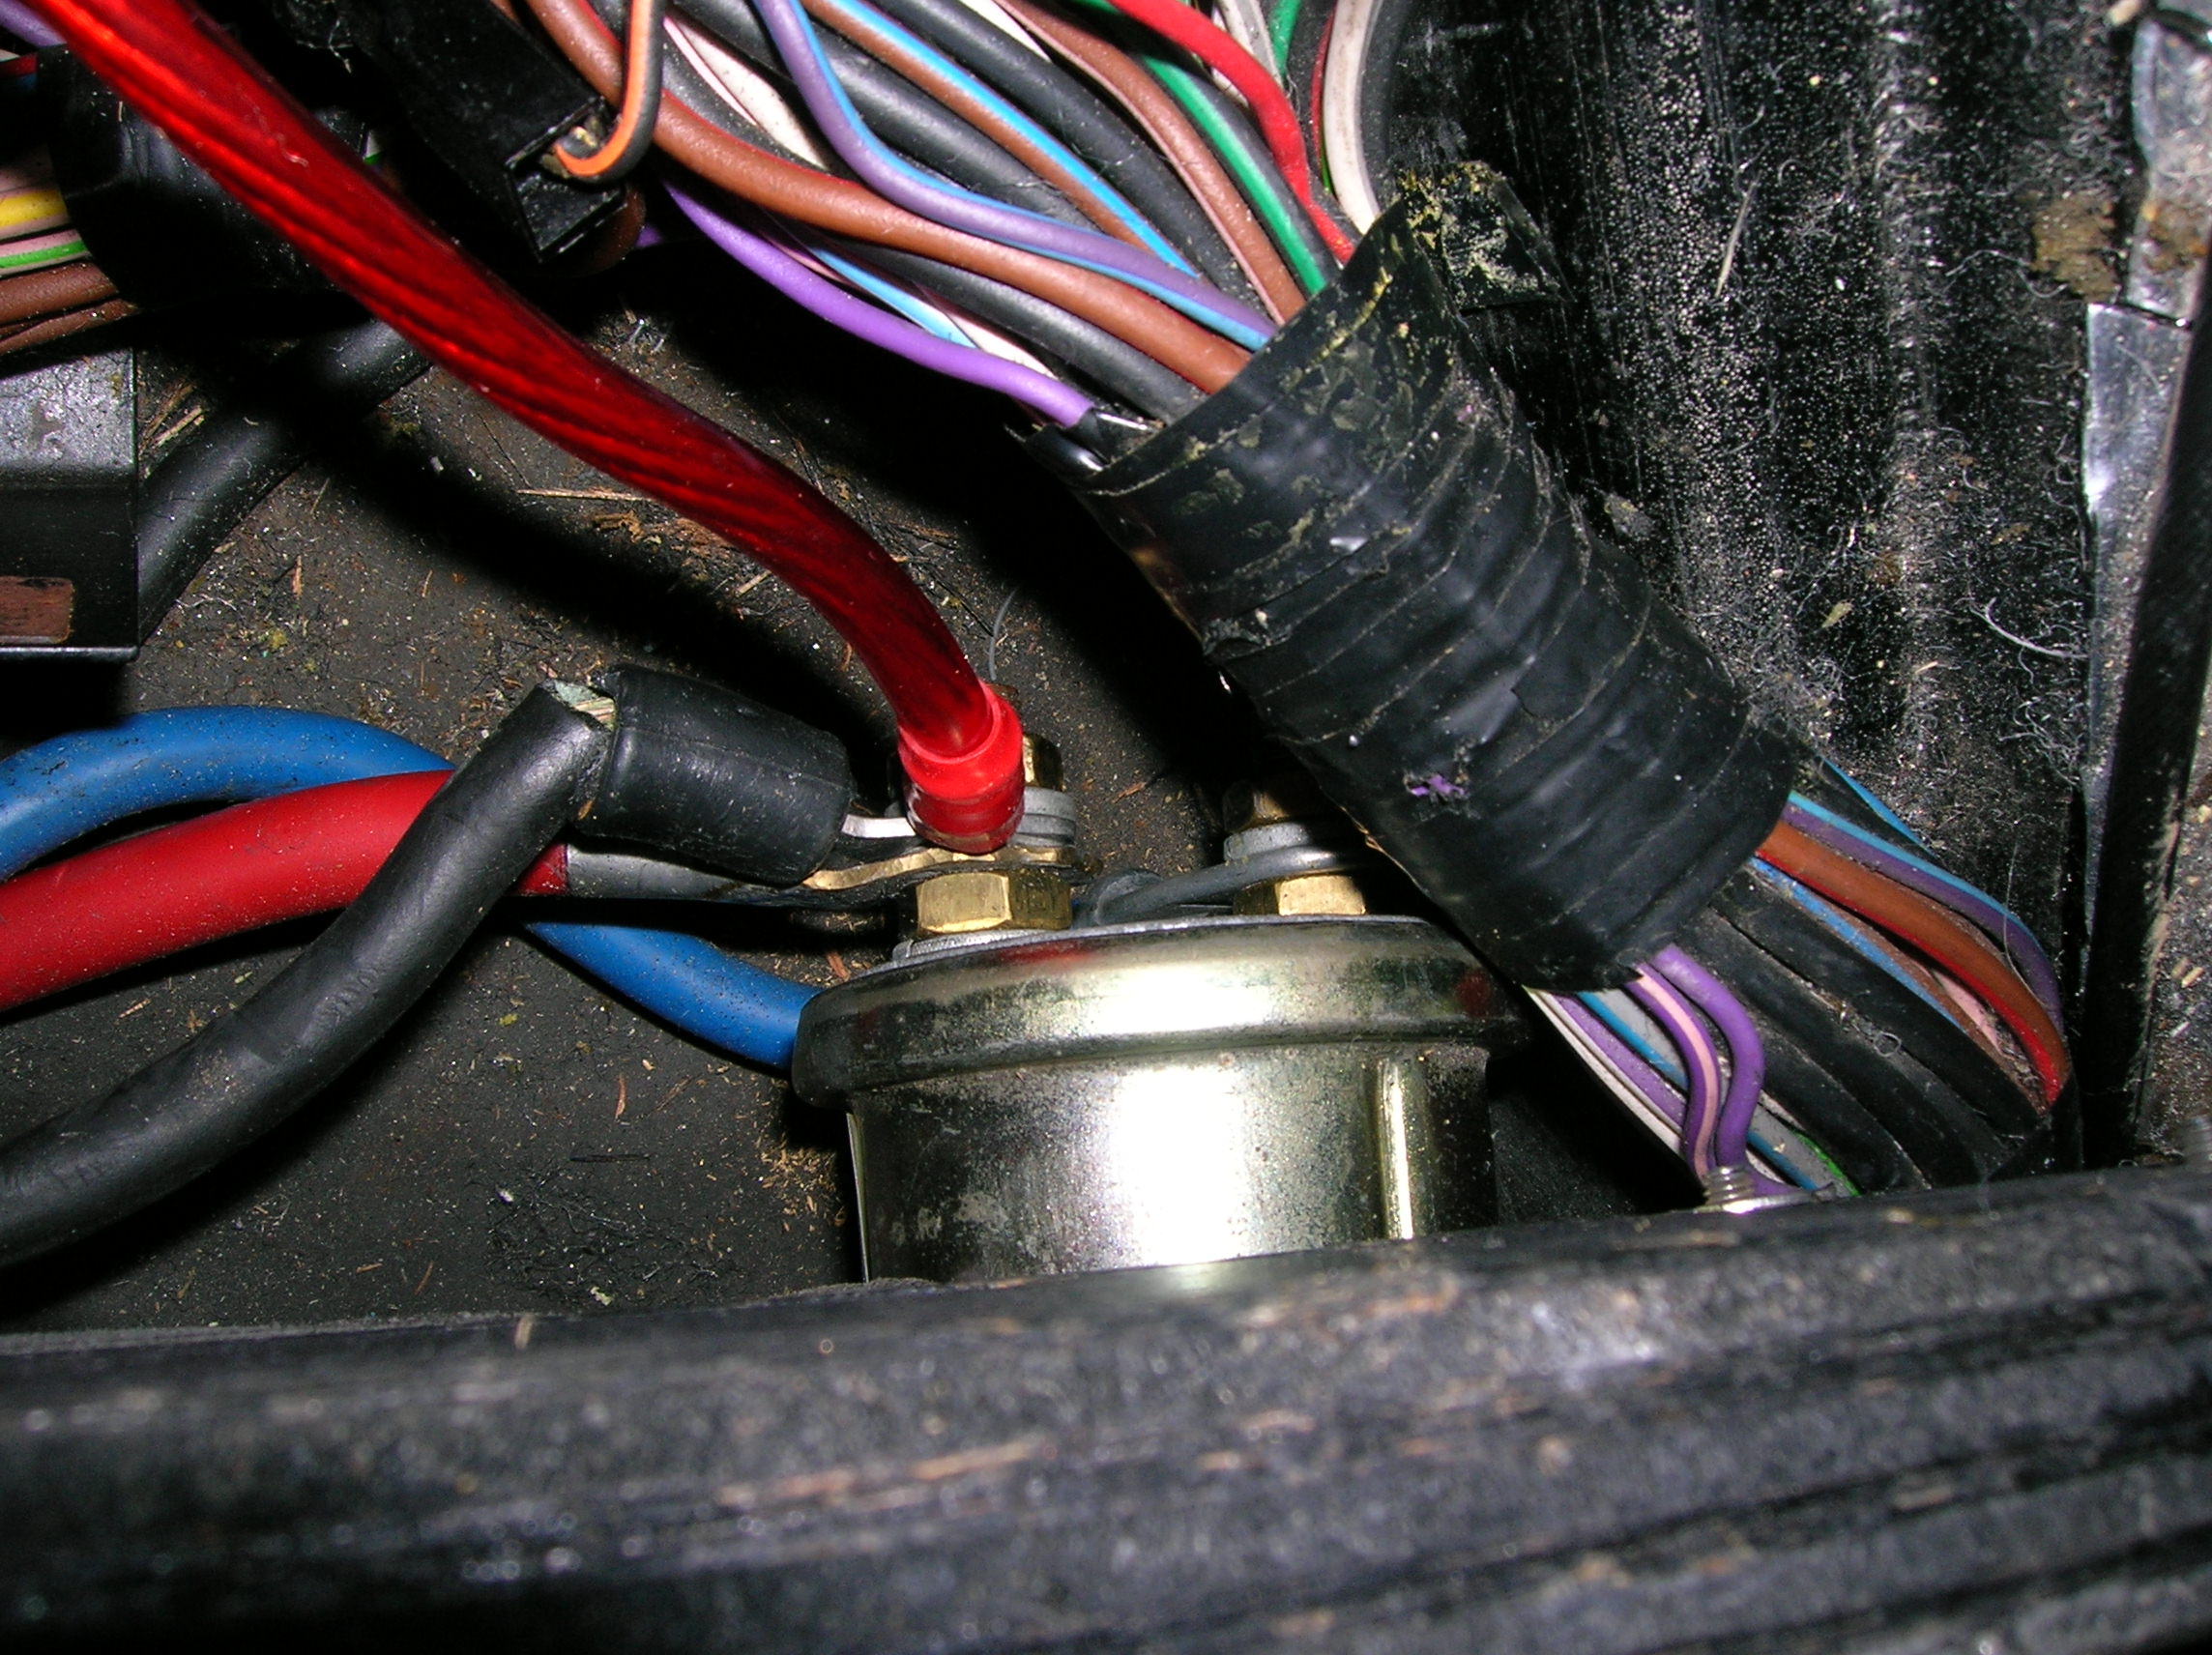
Of course, a dedicated fuse was installed in the 12v wire right at the switch

And the ground cable went straight to the ground post on the battery
Then the signal wires – speaker wire through the engine computer compartment to the sub enclosure, and remote turn-on and audio inputs under the carpet up to the head unit.
Of course, to run all of this, the whole interior had to come out – yet again!
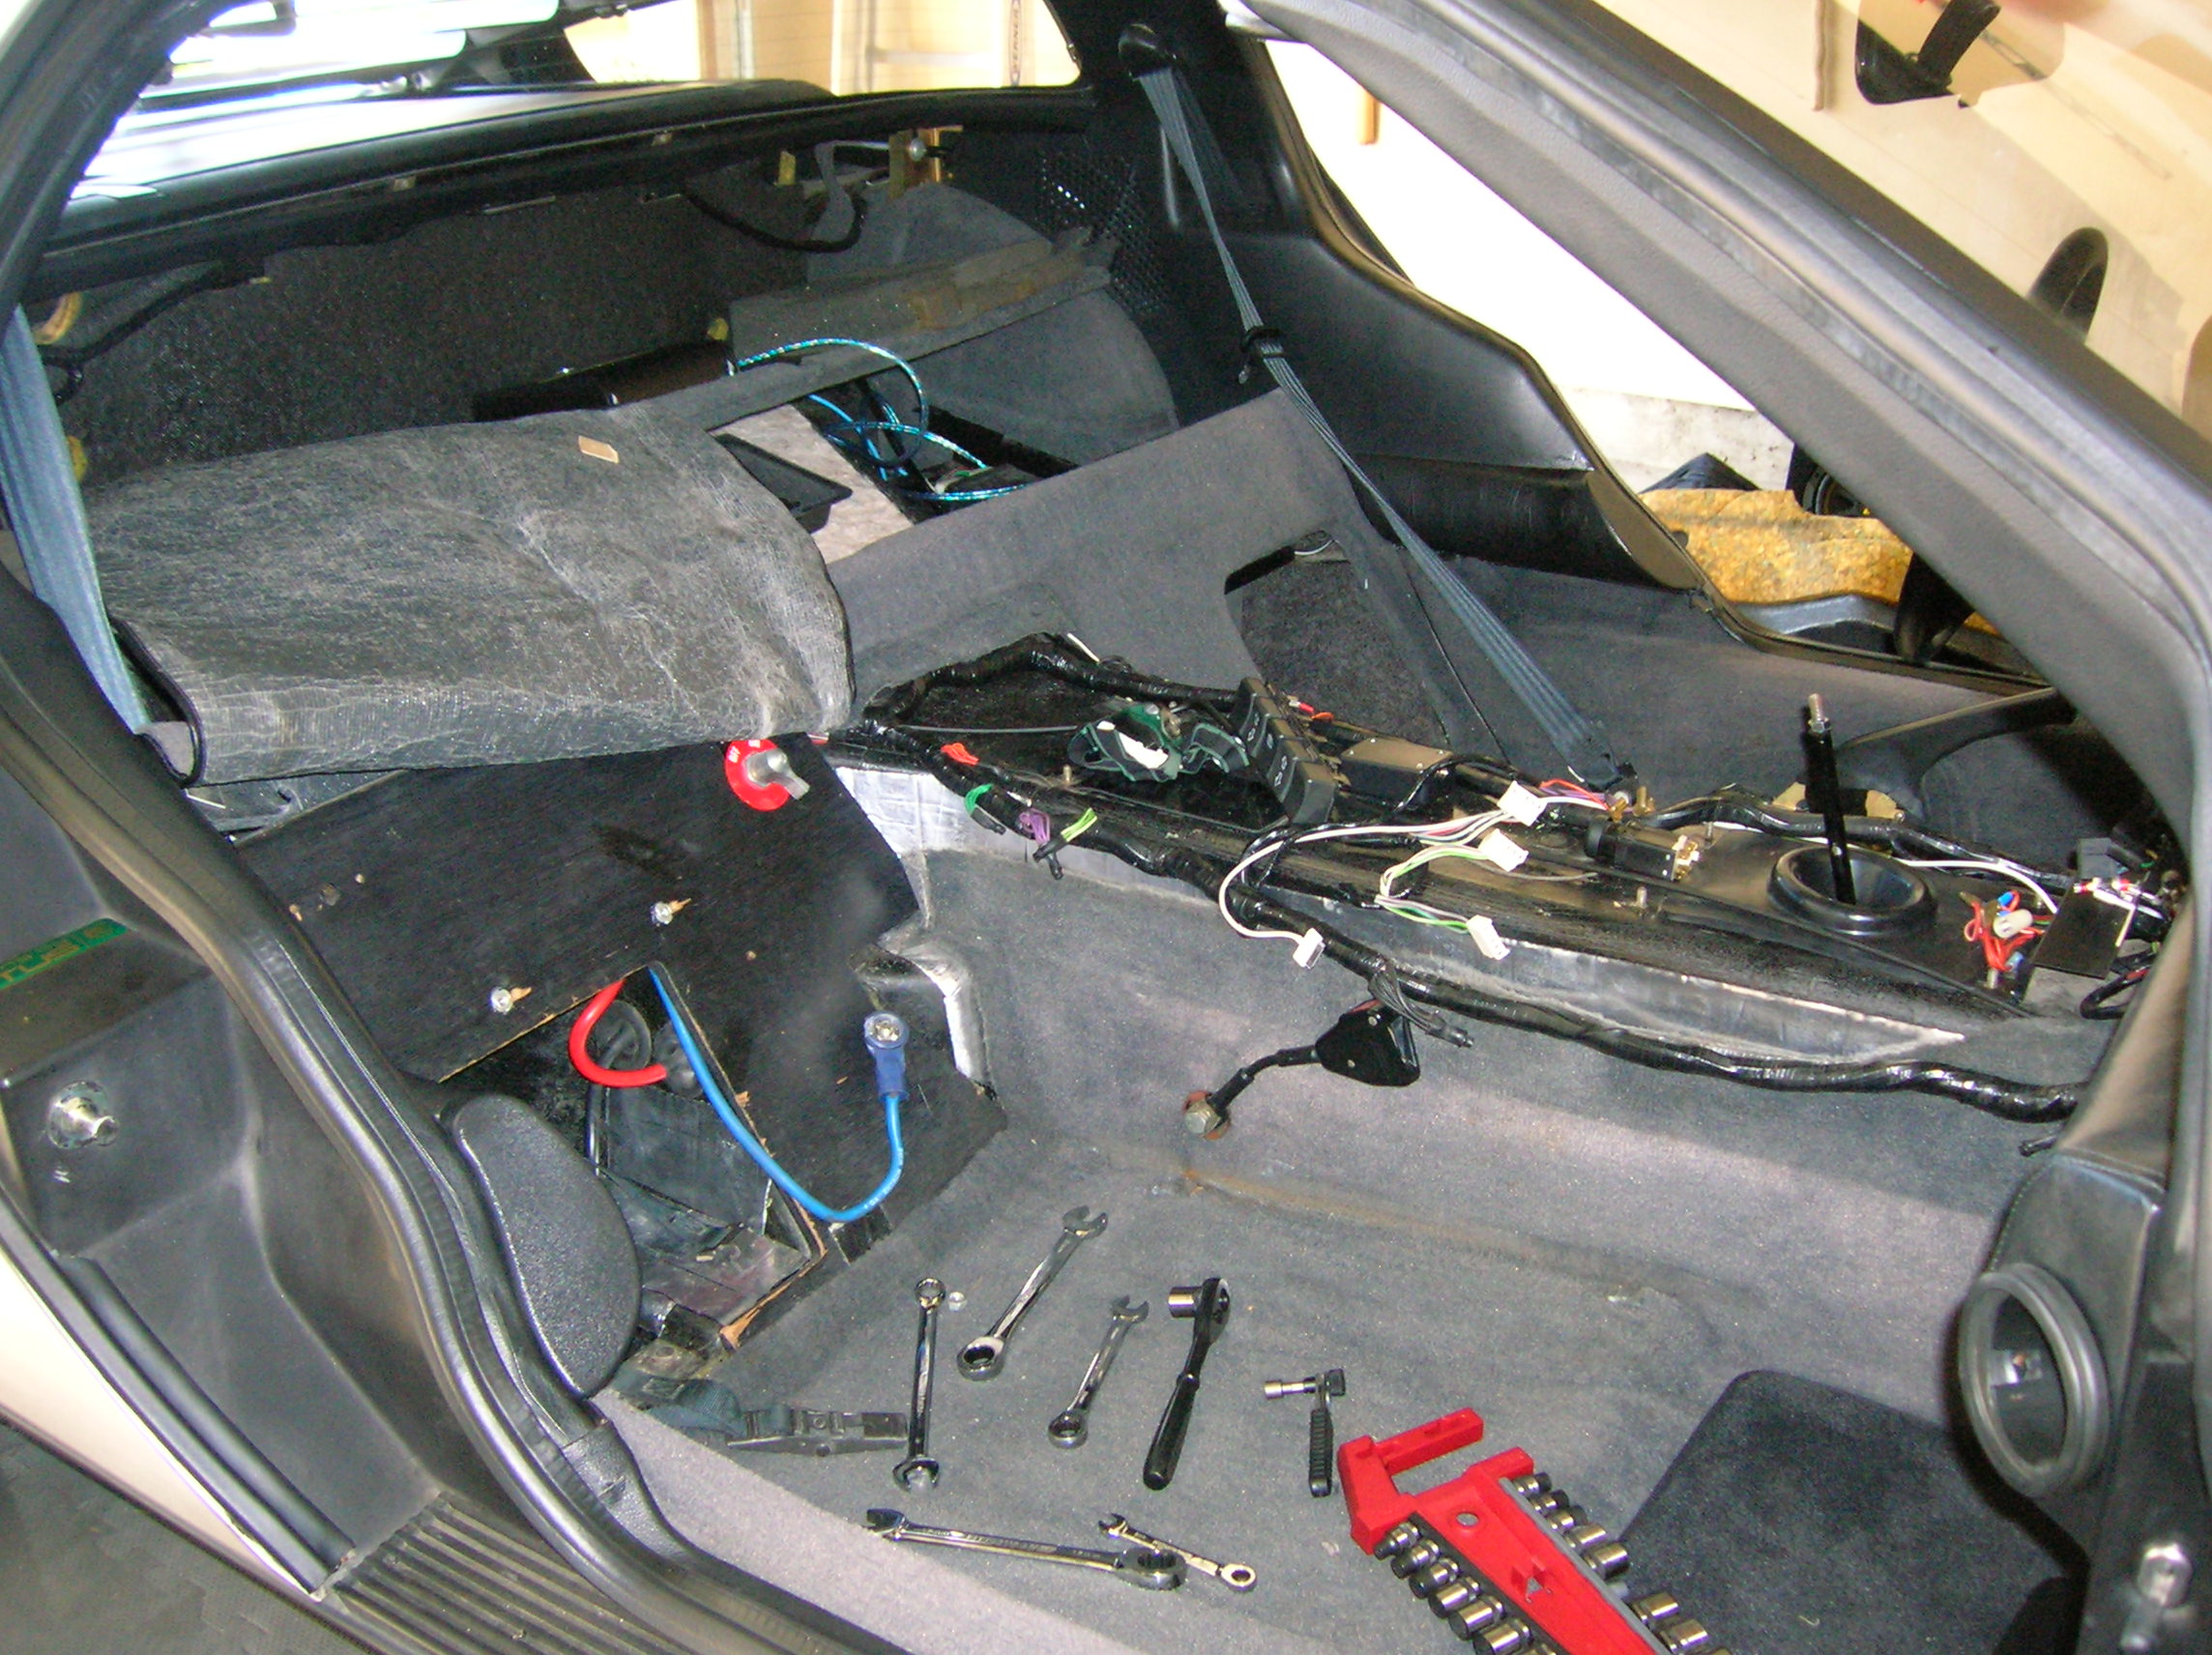
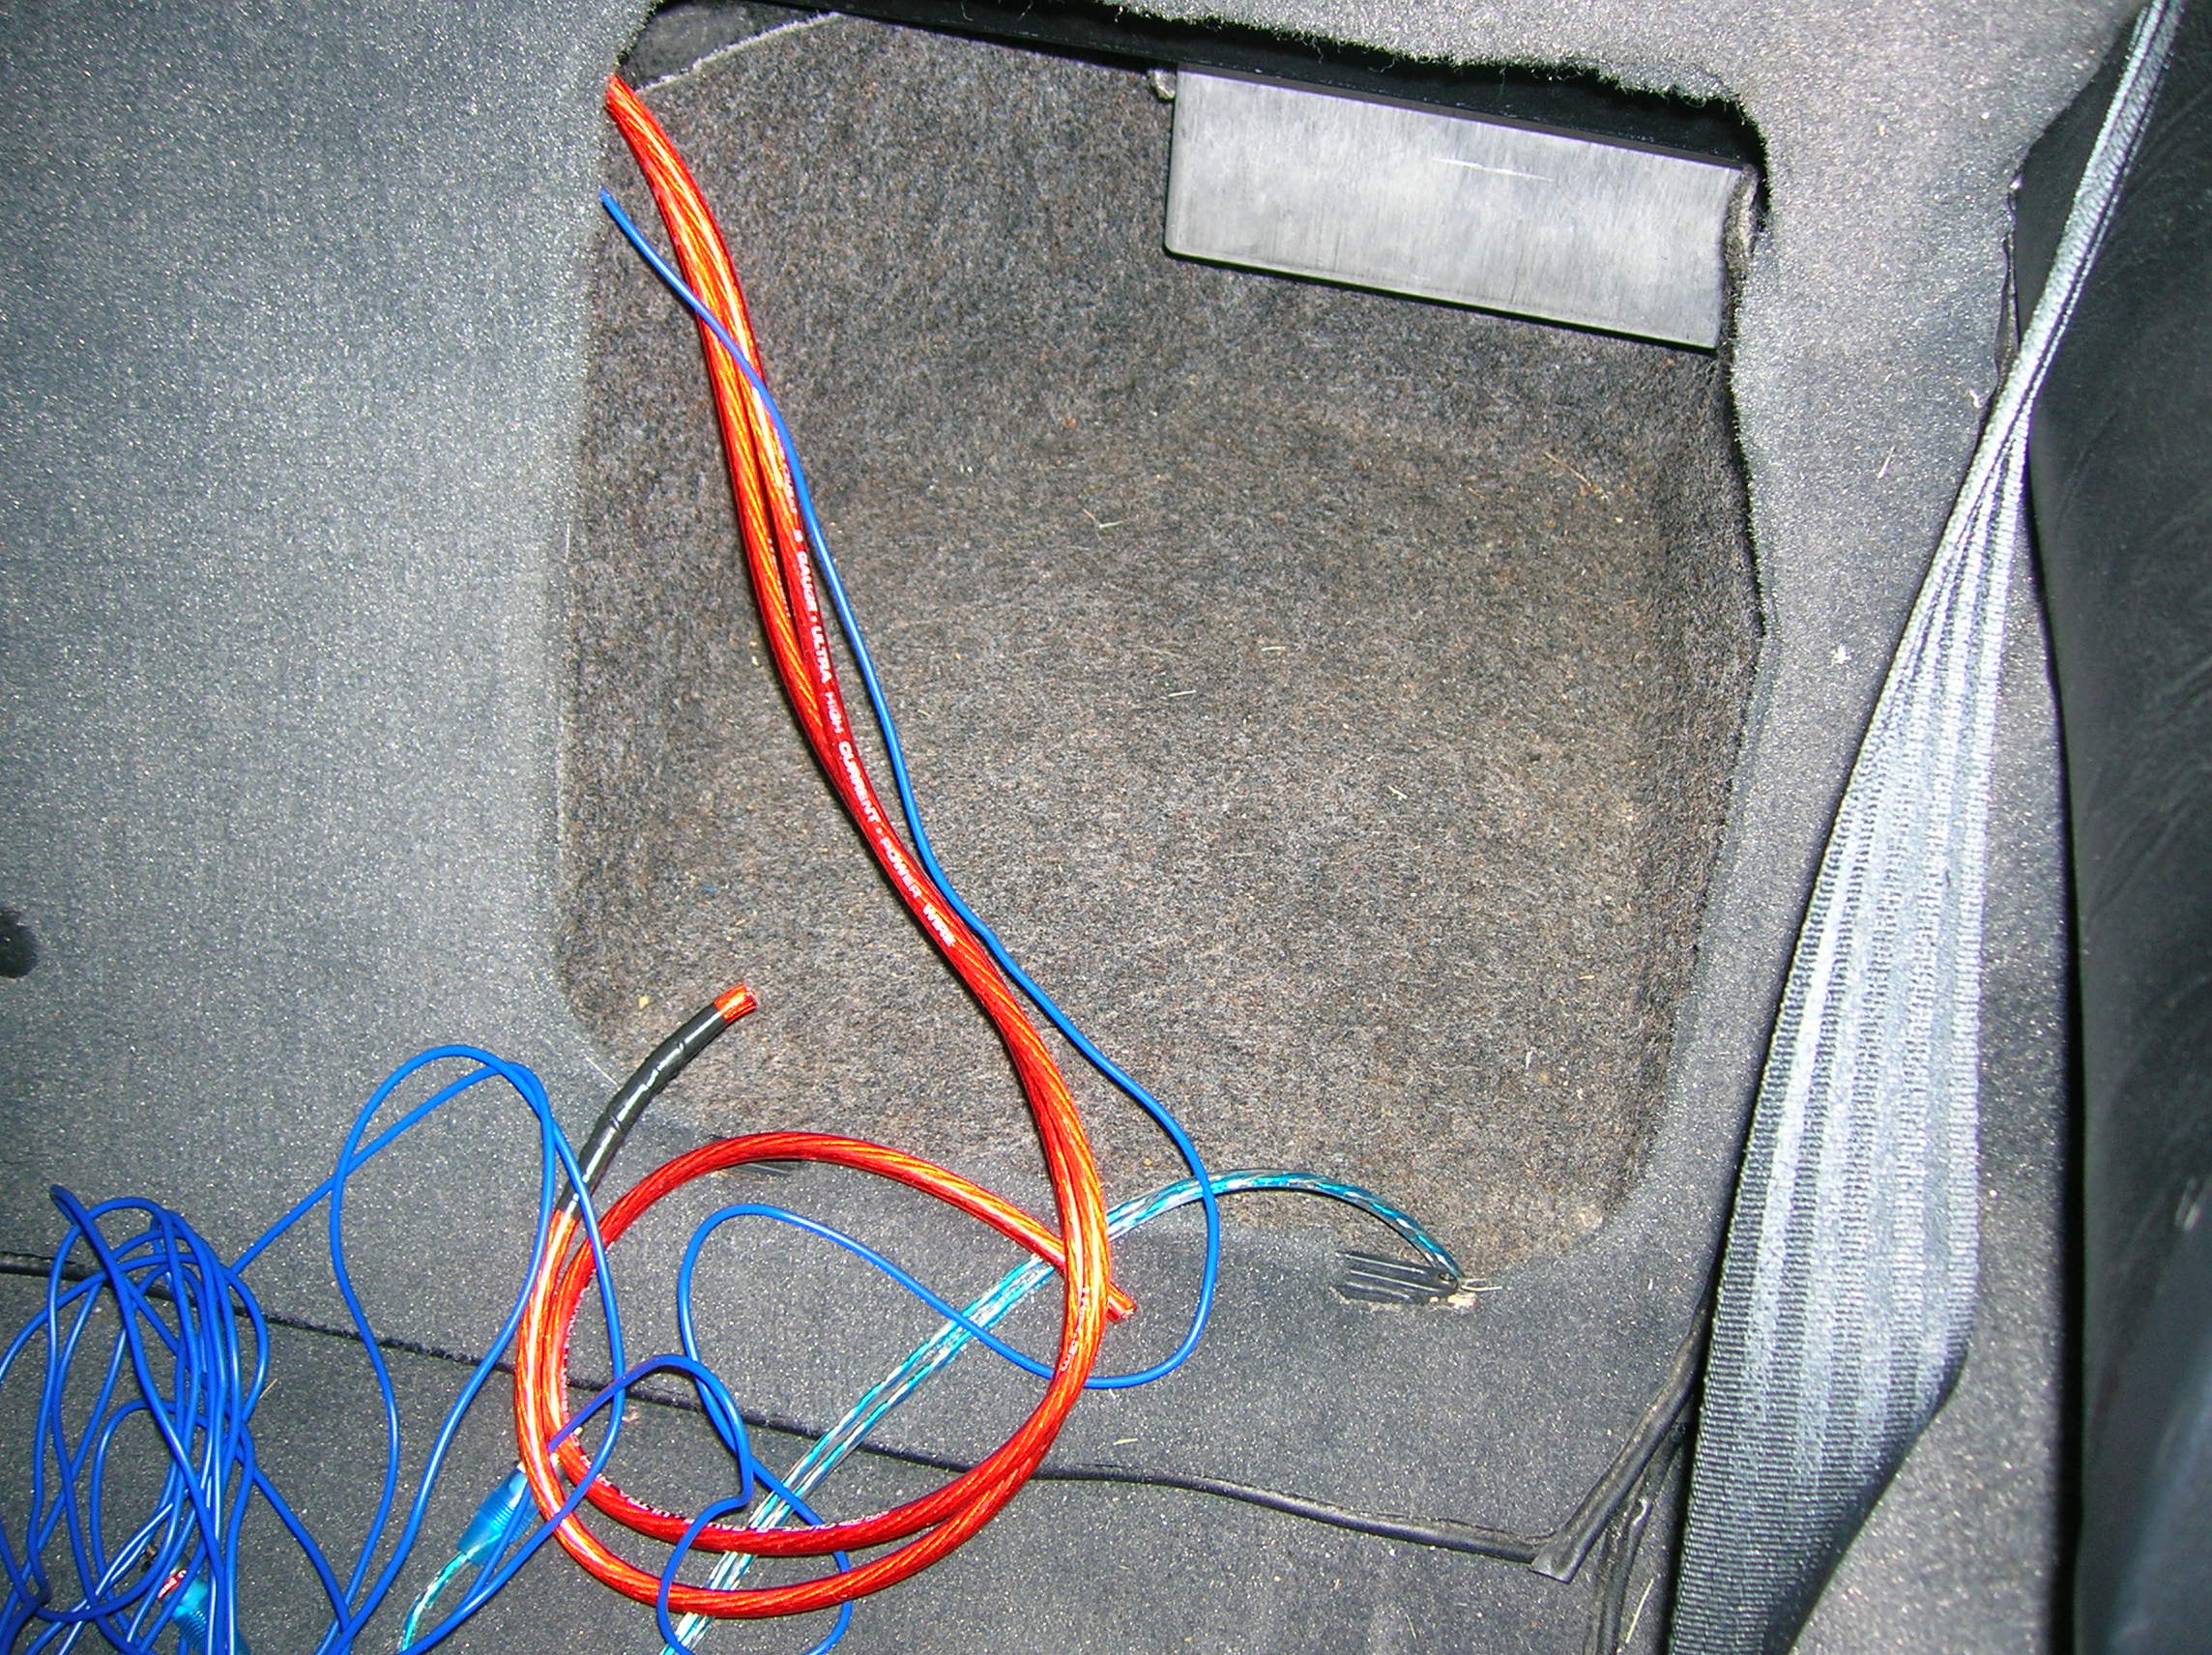
Here is the wiring all installed and dressed back.
So right around now I decided to test the setup before I started putting everything back together. Imagine my dismay when the sub put out exactly zero audio. I spent two days testing, checking, re-testing and re-checking the wiring only to eventually discover that I had accidentally turned the input sensitivity control on the JL amp all the way down, thinking it was all the way up. Oops.
With that problem solved, I started calibrating the new equipment. I downloaded some 50hz unattenuated sine wave tones and dialed in the filters and input sensitivity to the correct voltage for the driver. I used an old home audio spectrum analyzer to verify that the filter on the amplifier was set correctly for the bandpass filters in the head unit.
Once that was done, it was a matter of cutting out a section of the thick foam padding behind the parcel shelf. This was partly to make a little more space for the amplifier to breathe and partly to keep it from getting covered in the sticky adhesive that the rubber mat was coated in. A while back I covered the entire interior of the car in Dynamat to deaden sound, so the foam was more or less redundant at this point anyway.
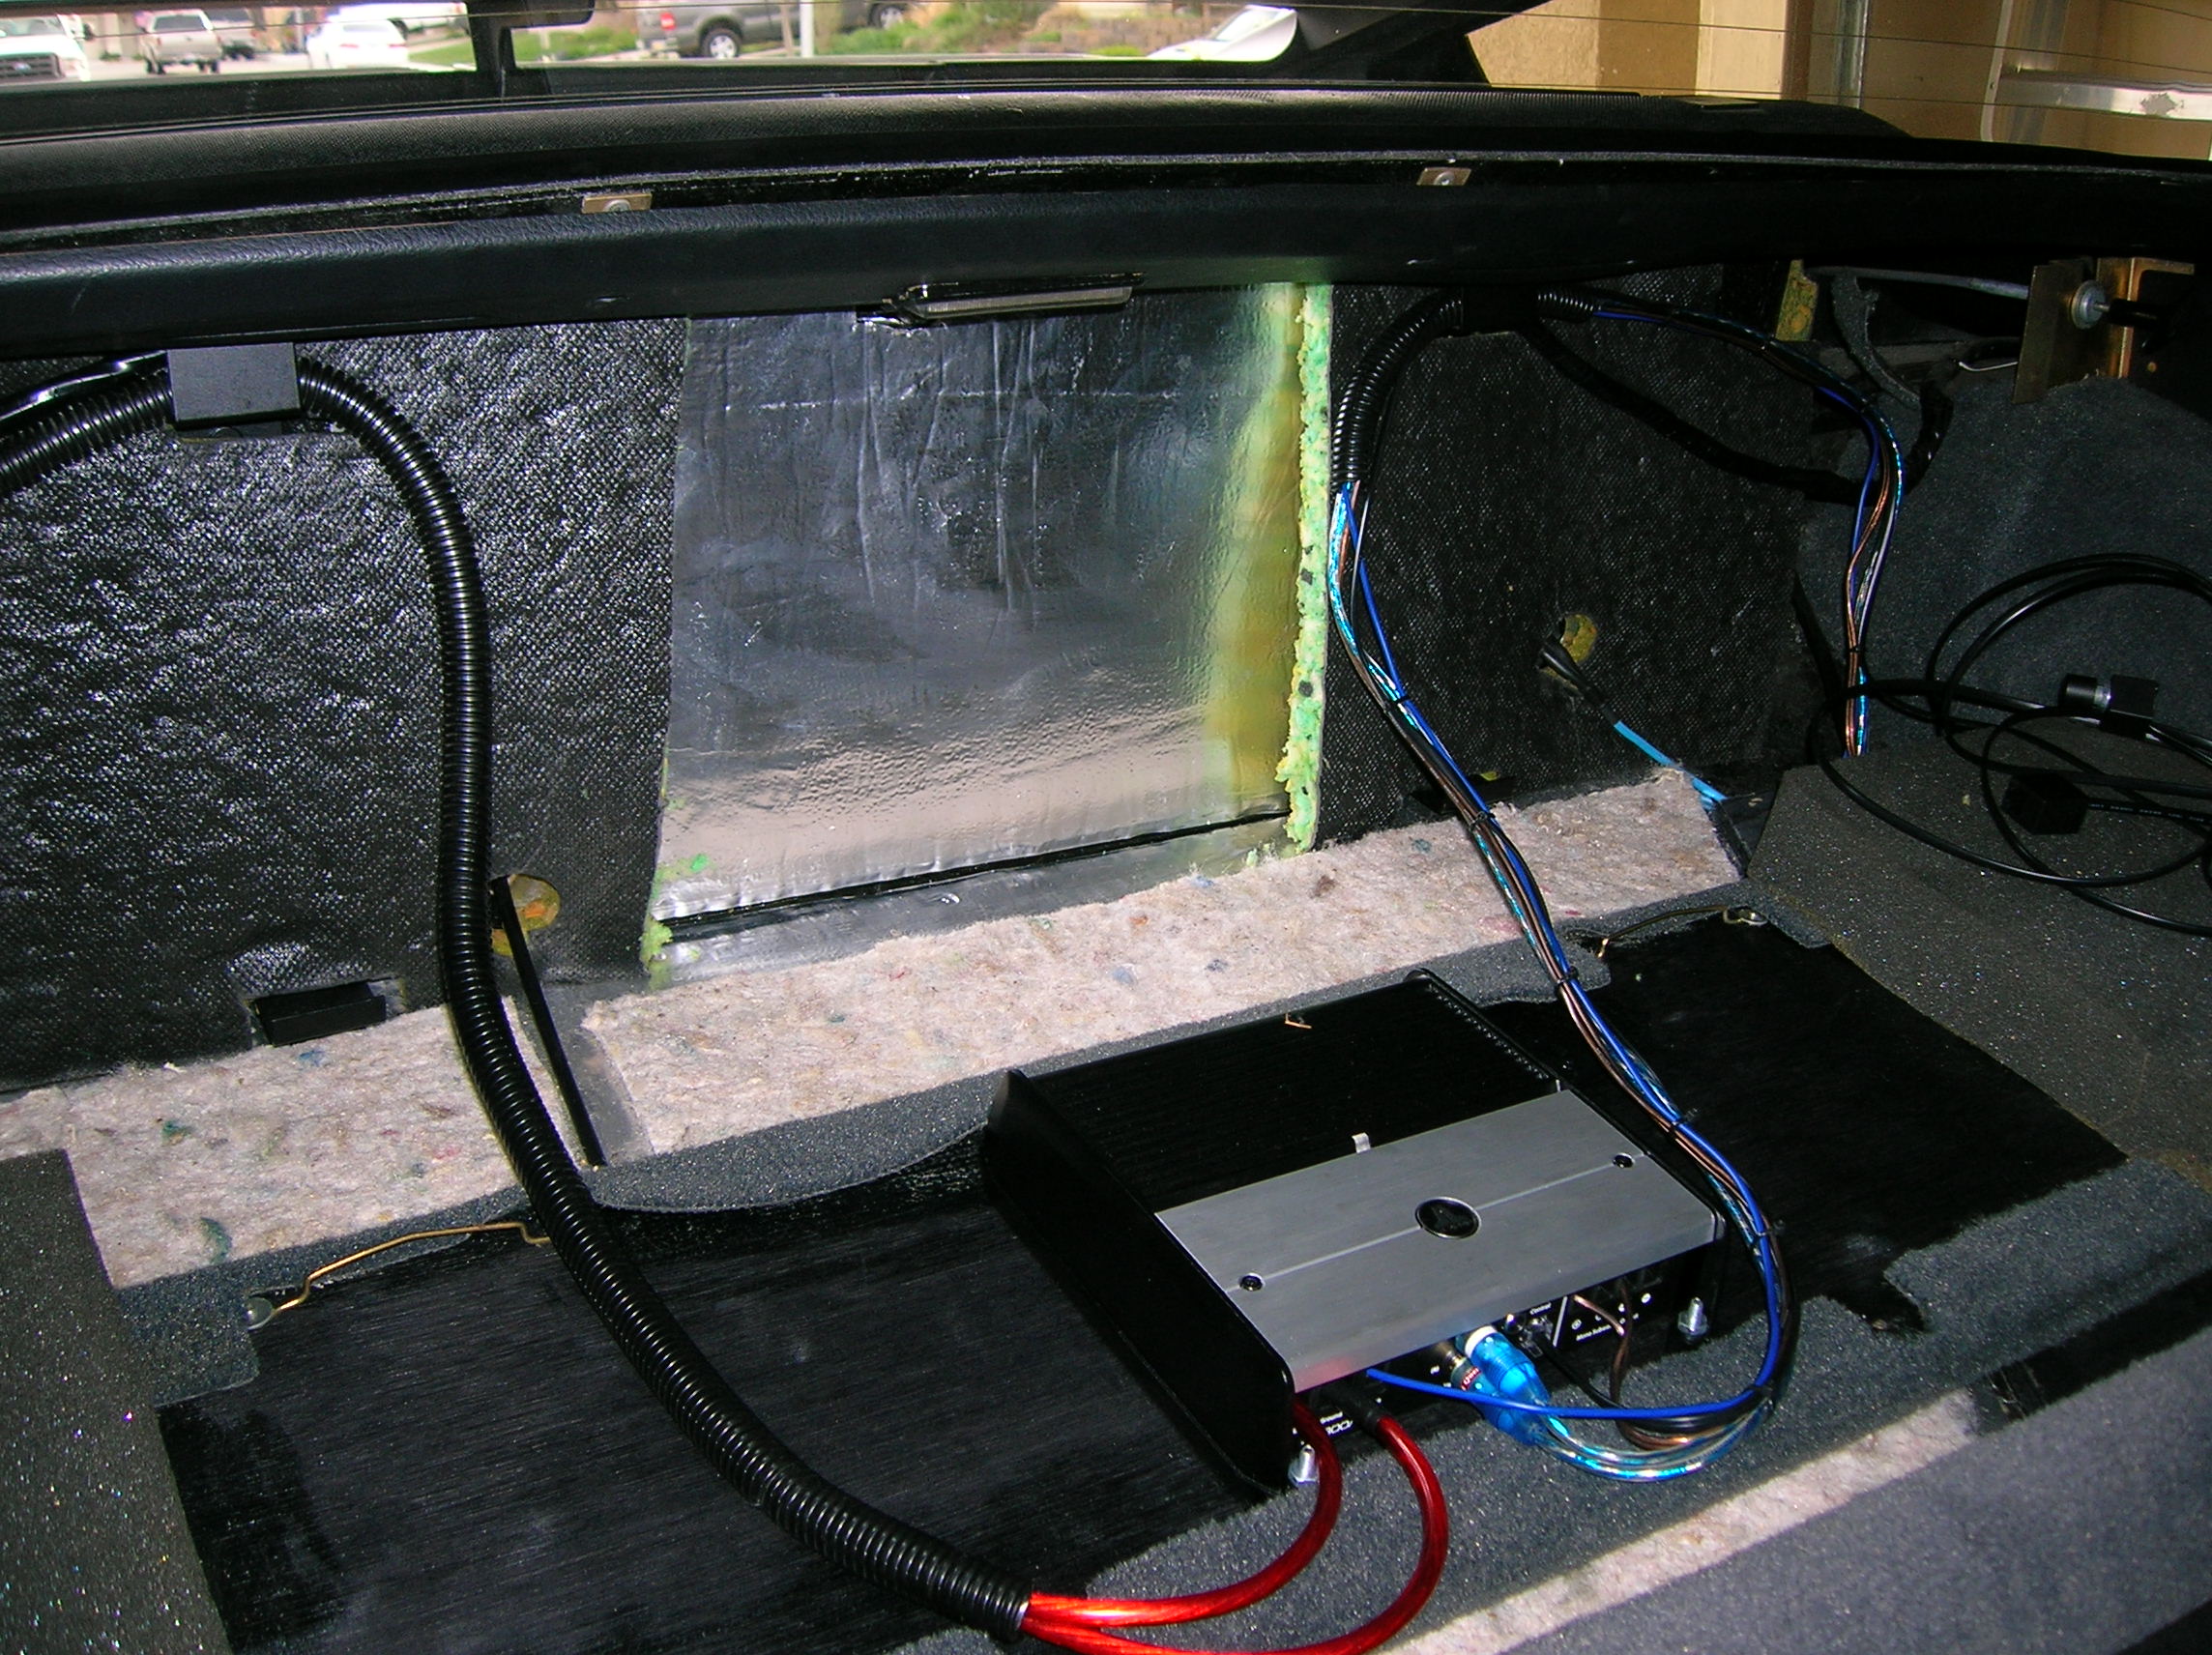
Then it was time to reinstall the wall, sit back and enjoy the music!
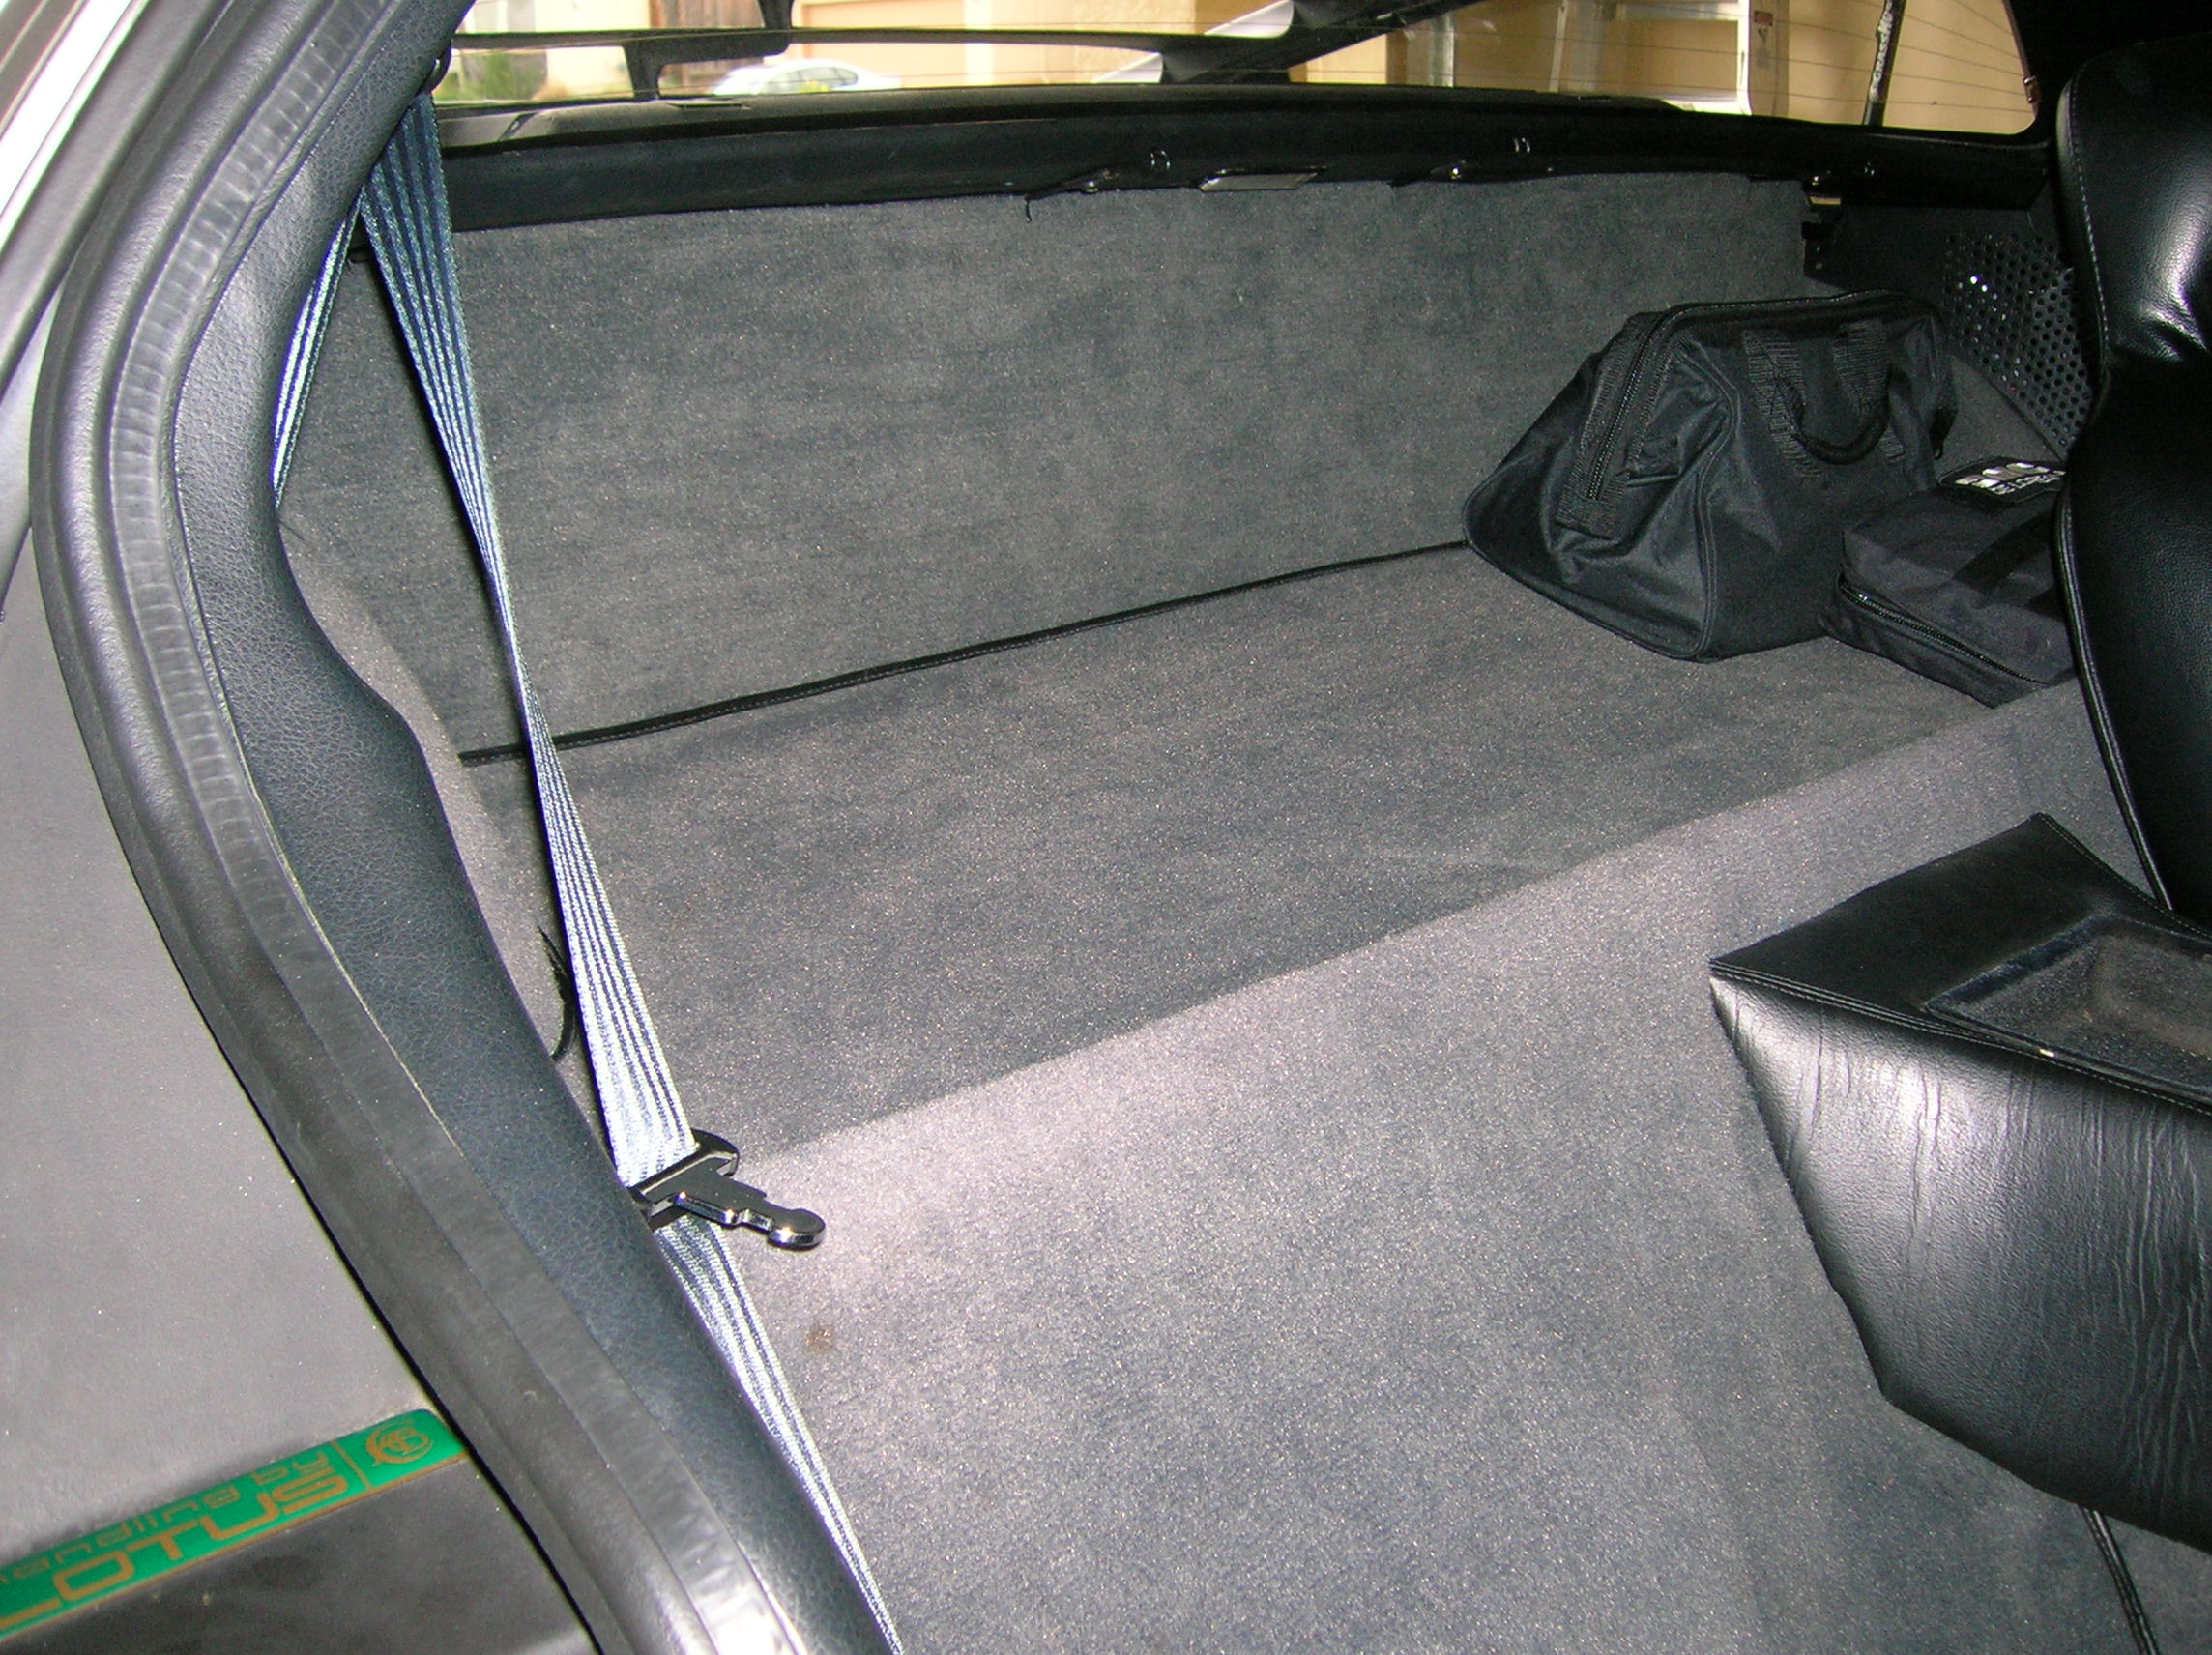
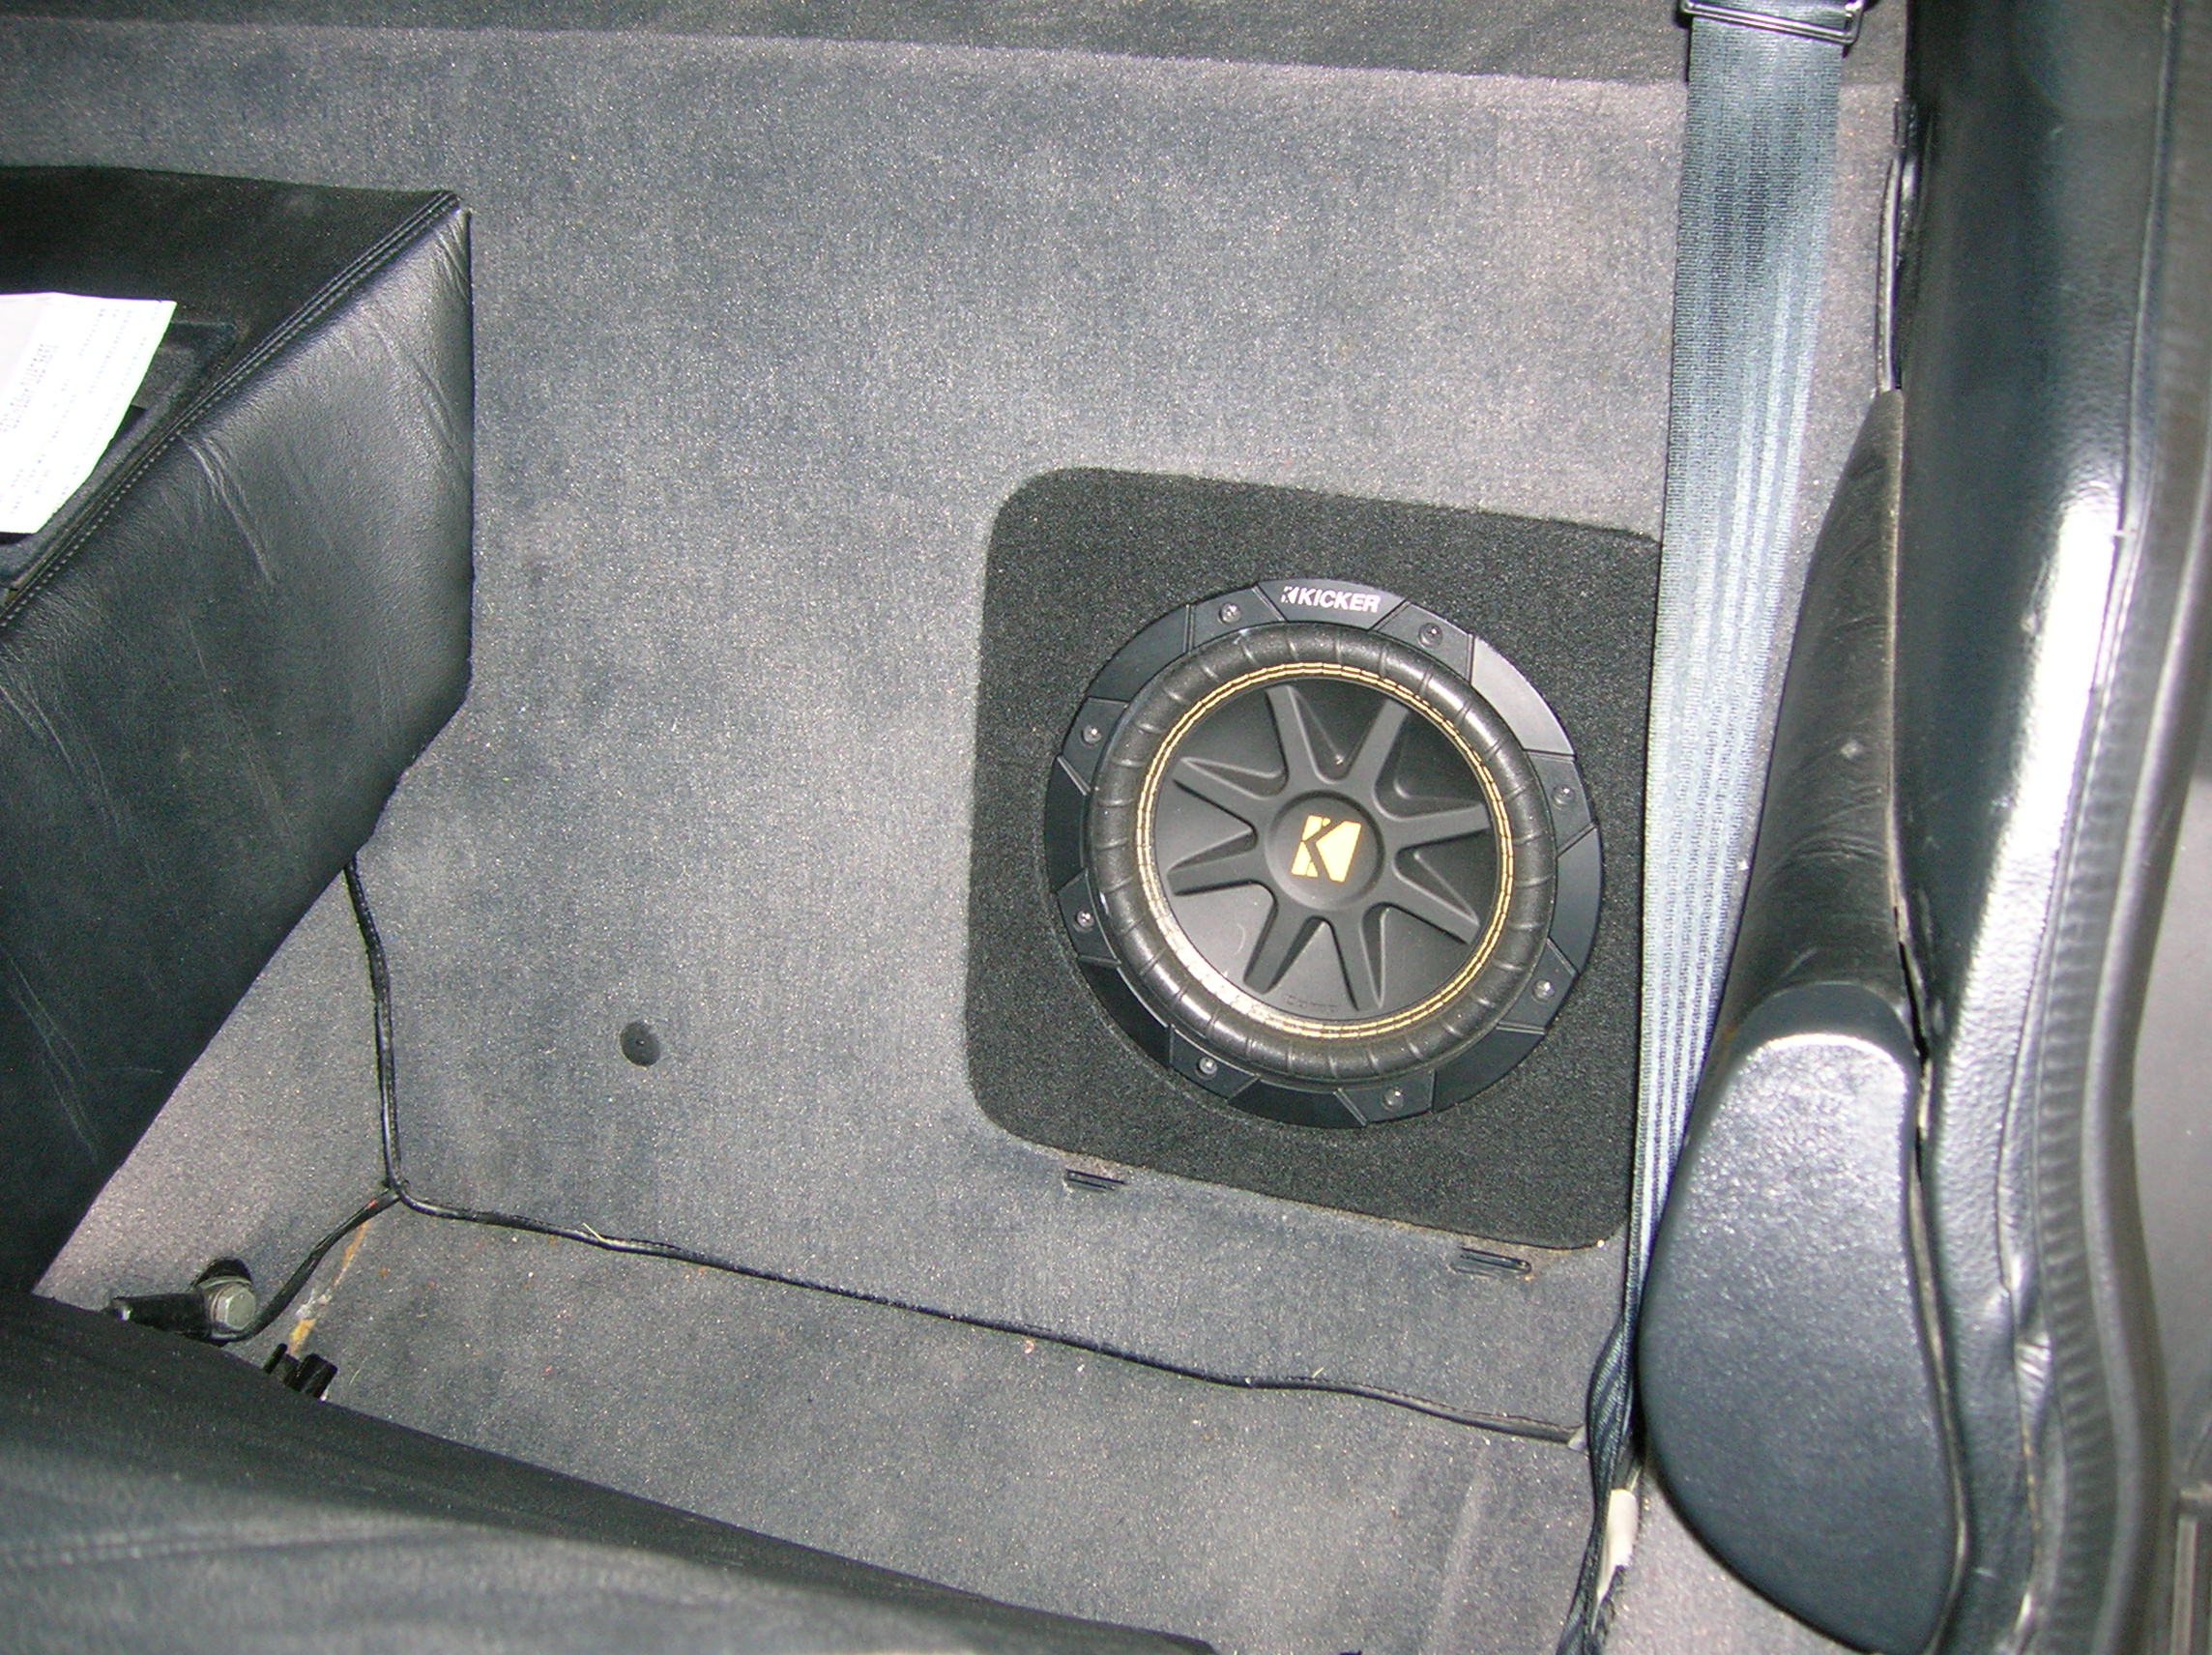
The best part about this whole setup is that besides the speaker itself, the entire installation is completely invisible. And you can’t see the speaker unless you flip the driver’s seat forward anyway.