So a bunch of the local owners got together and had our mufflers ceramic coated at a local shop in Sacramento. Shameless plug for this place since they did a really great job and turned the parts around fast – https://www.powdercoat-it.com/
Anyway, the car has been off the road for two weeks. I picked up my muffler from Clint’s place on Sunday and installed it tonight. What a huge difference!! Here are some photos.


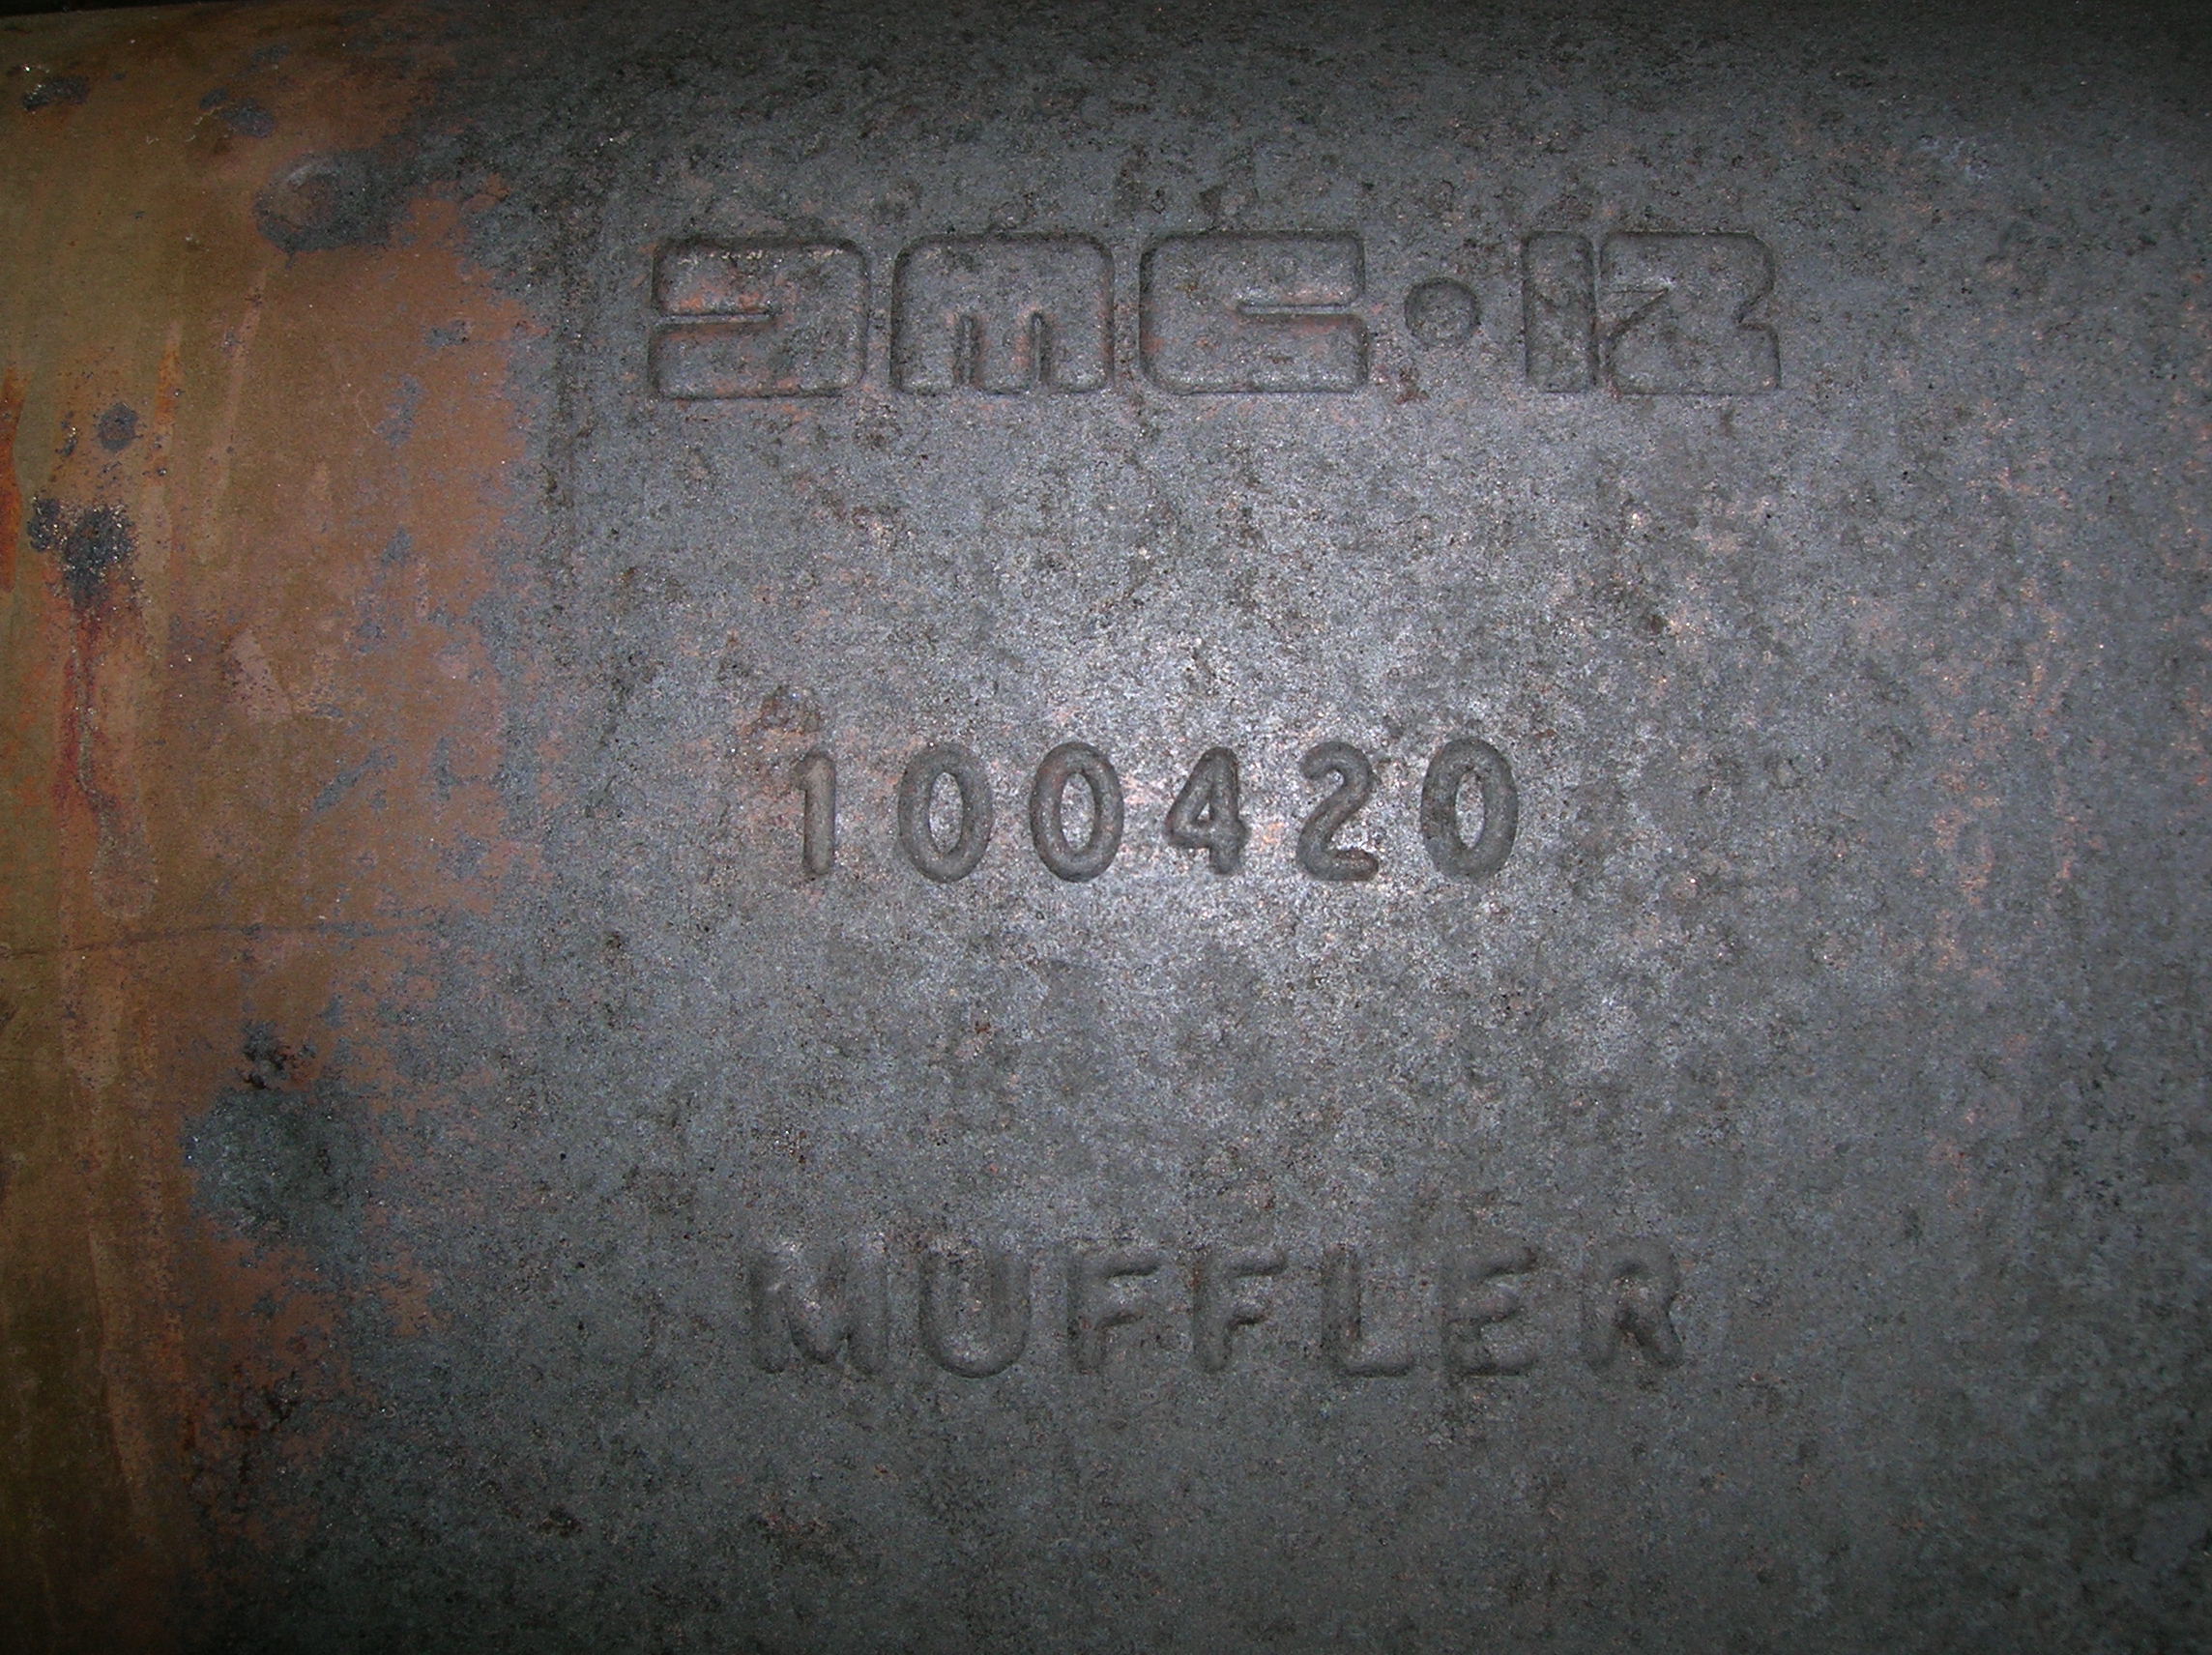
You can see how corroded and heat damaged it had gotten. These mufflers put up with a LOT of shit, as they are stuck with ambient engine heat as well as exhaust gas that has had no chance to cool off as it moves from the front of the car. Hot. Very hot.
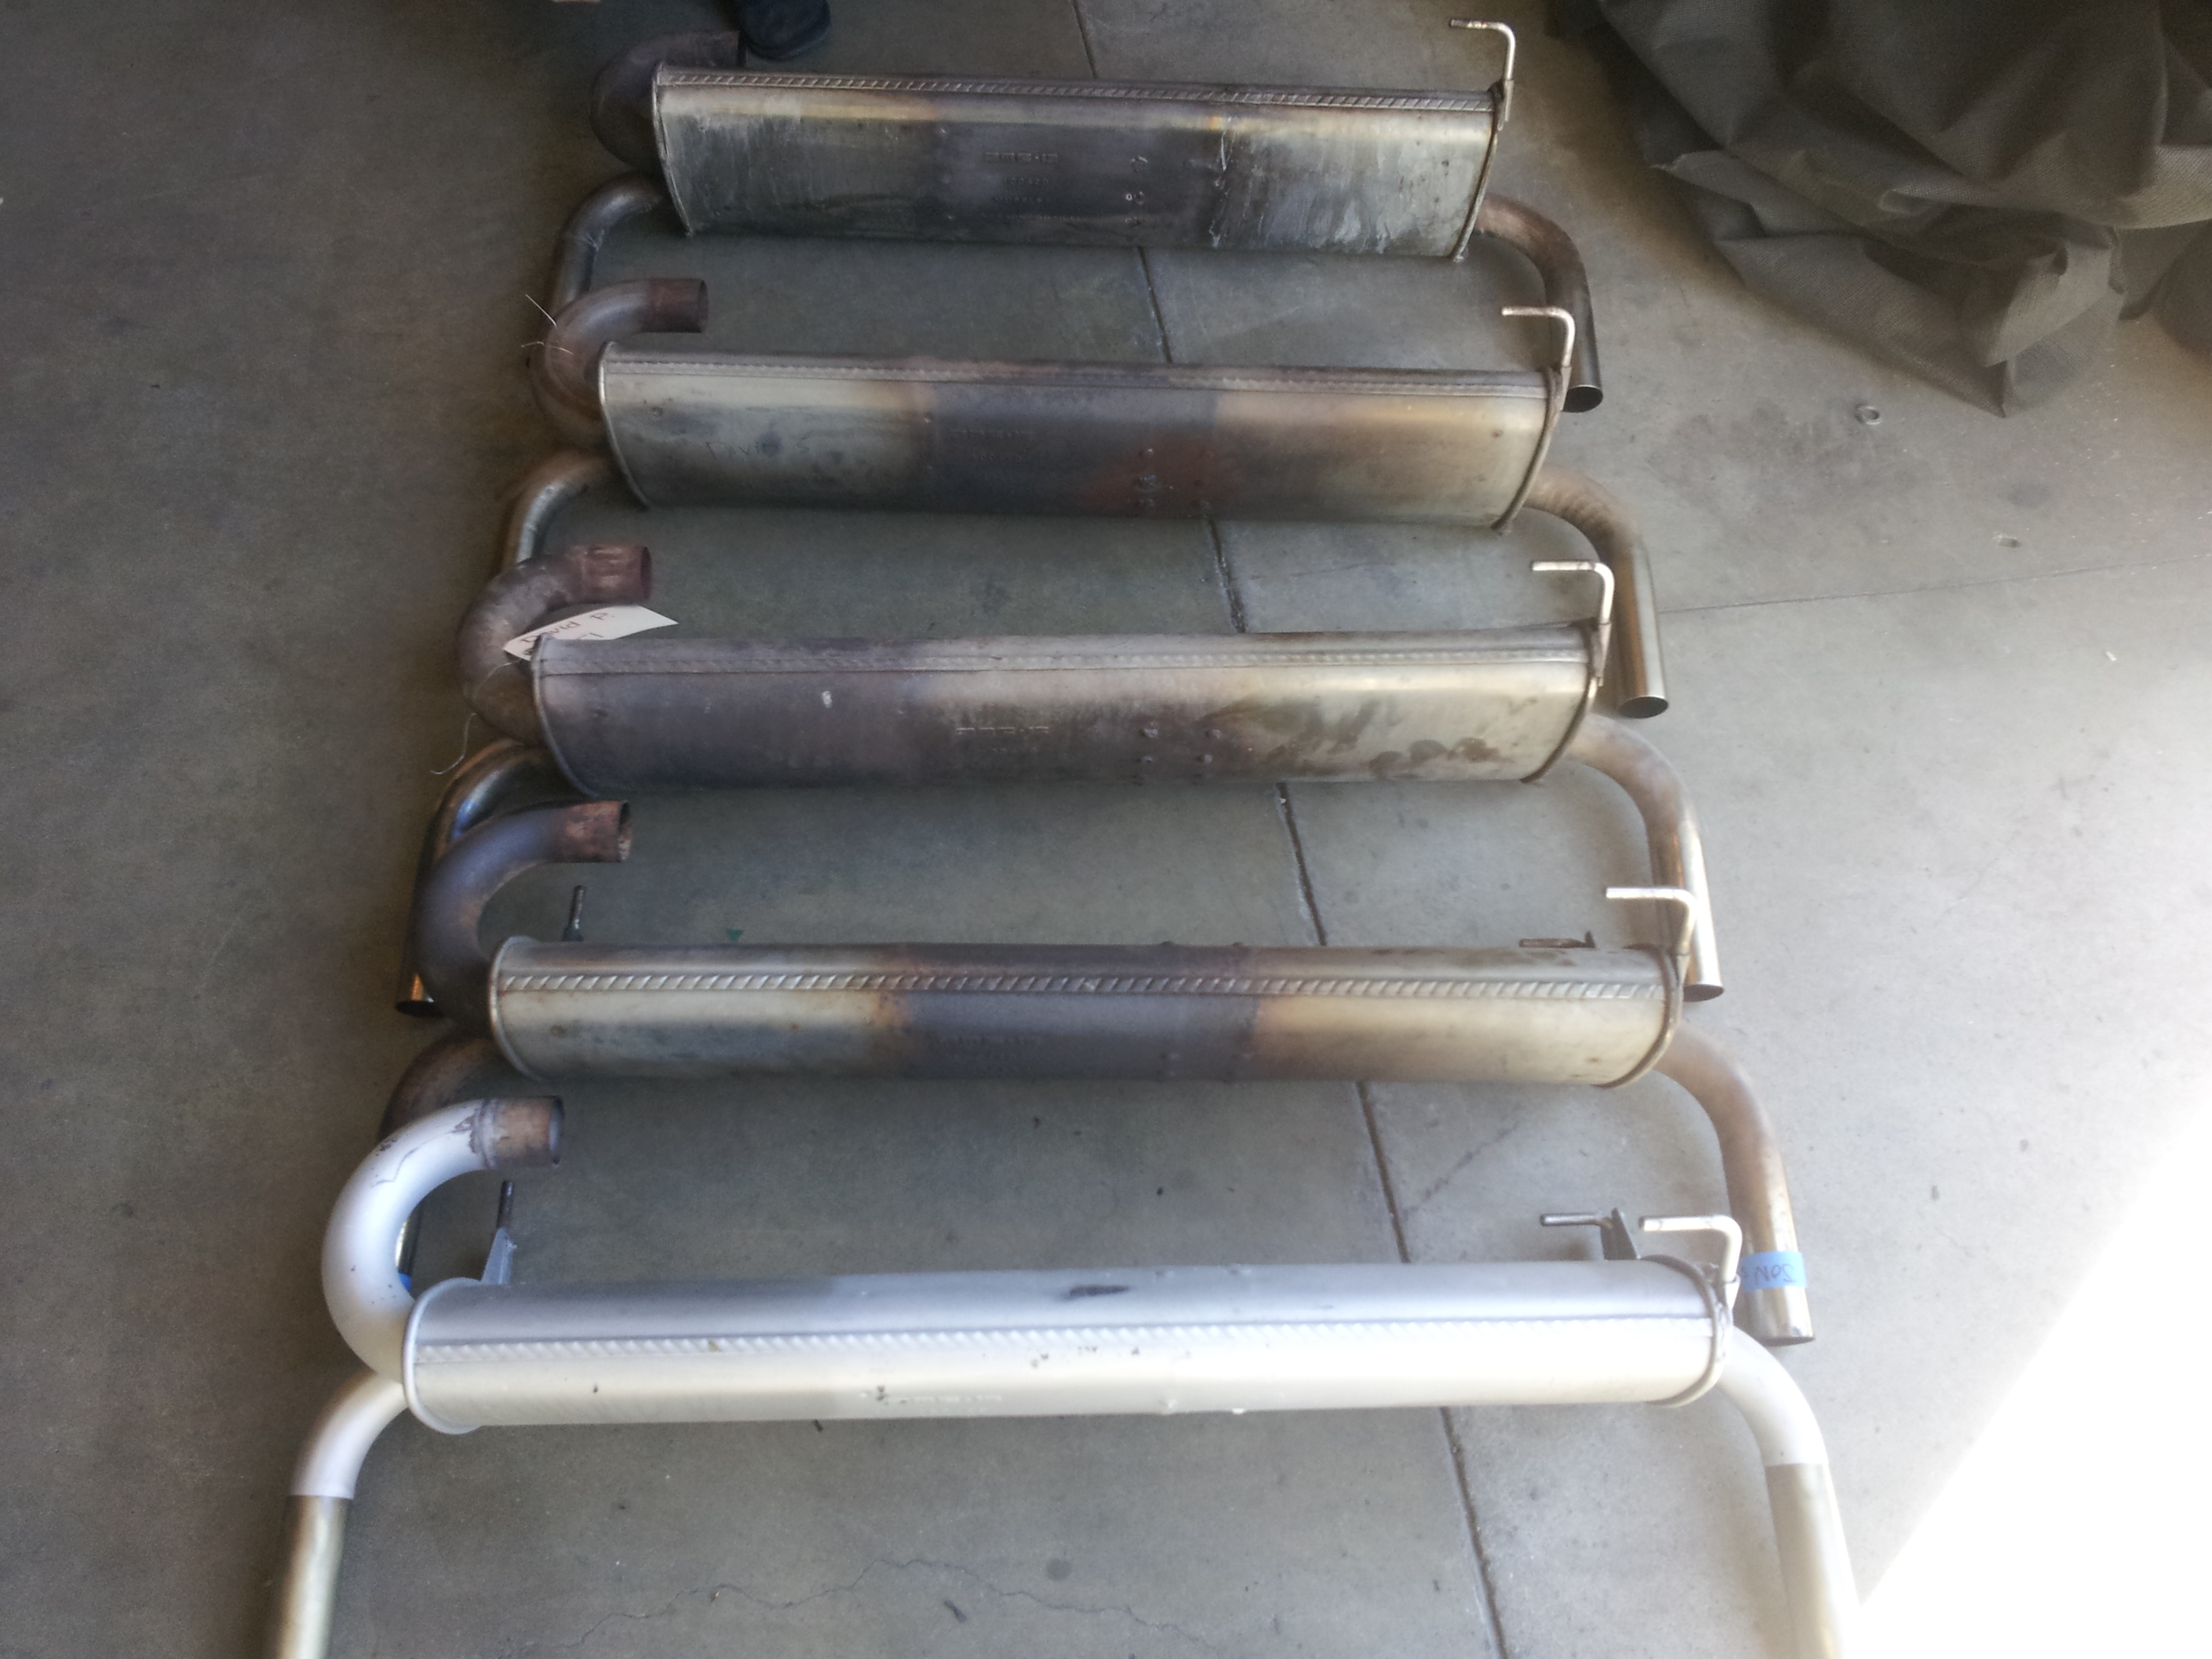

Also, mine wasn’t the only one that looked like this. I managed to round up 4 other local owners who were interested in the same treatment. Every muffler looks more or less the same – corroded and heat damaged in the middle and around the pipes and more or less clean at the edges. You can really see where the heat concentrates in this design. The only one that didn’t look like total crap was Stephen’s, which is only because he had already painted it once… but the paint wasn’t holding up.
So the coating shop has a multi-step process to ensure a perfect job. They degrease the parts thoroughly, then bake them to allow any impurities to outgas and come to the surface. Then they sandblast the part, bake it again, spray on the ceramic coating and bake it one more time. The results are astonishing.


Only problem was that they had (at our request) masked off the tips so they didn’t get coated or blasted. This meant I had to clean all the corrosion and heat damage off by hand. Here’s how it went:
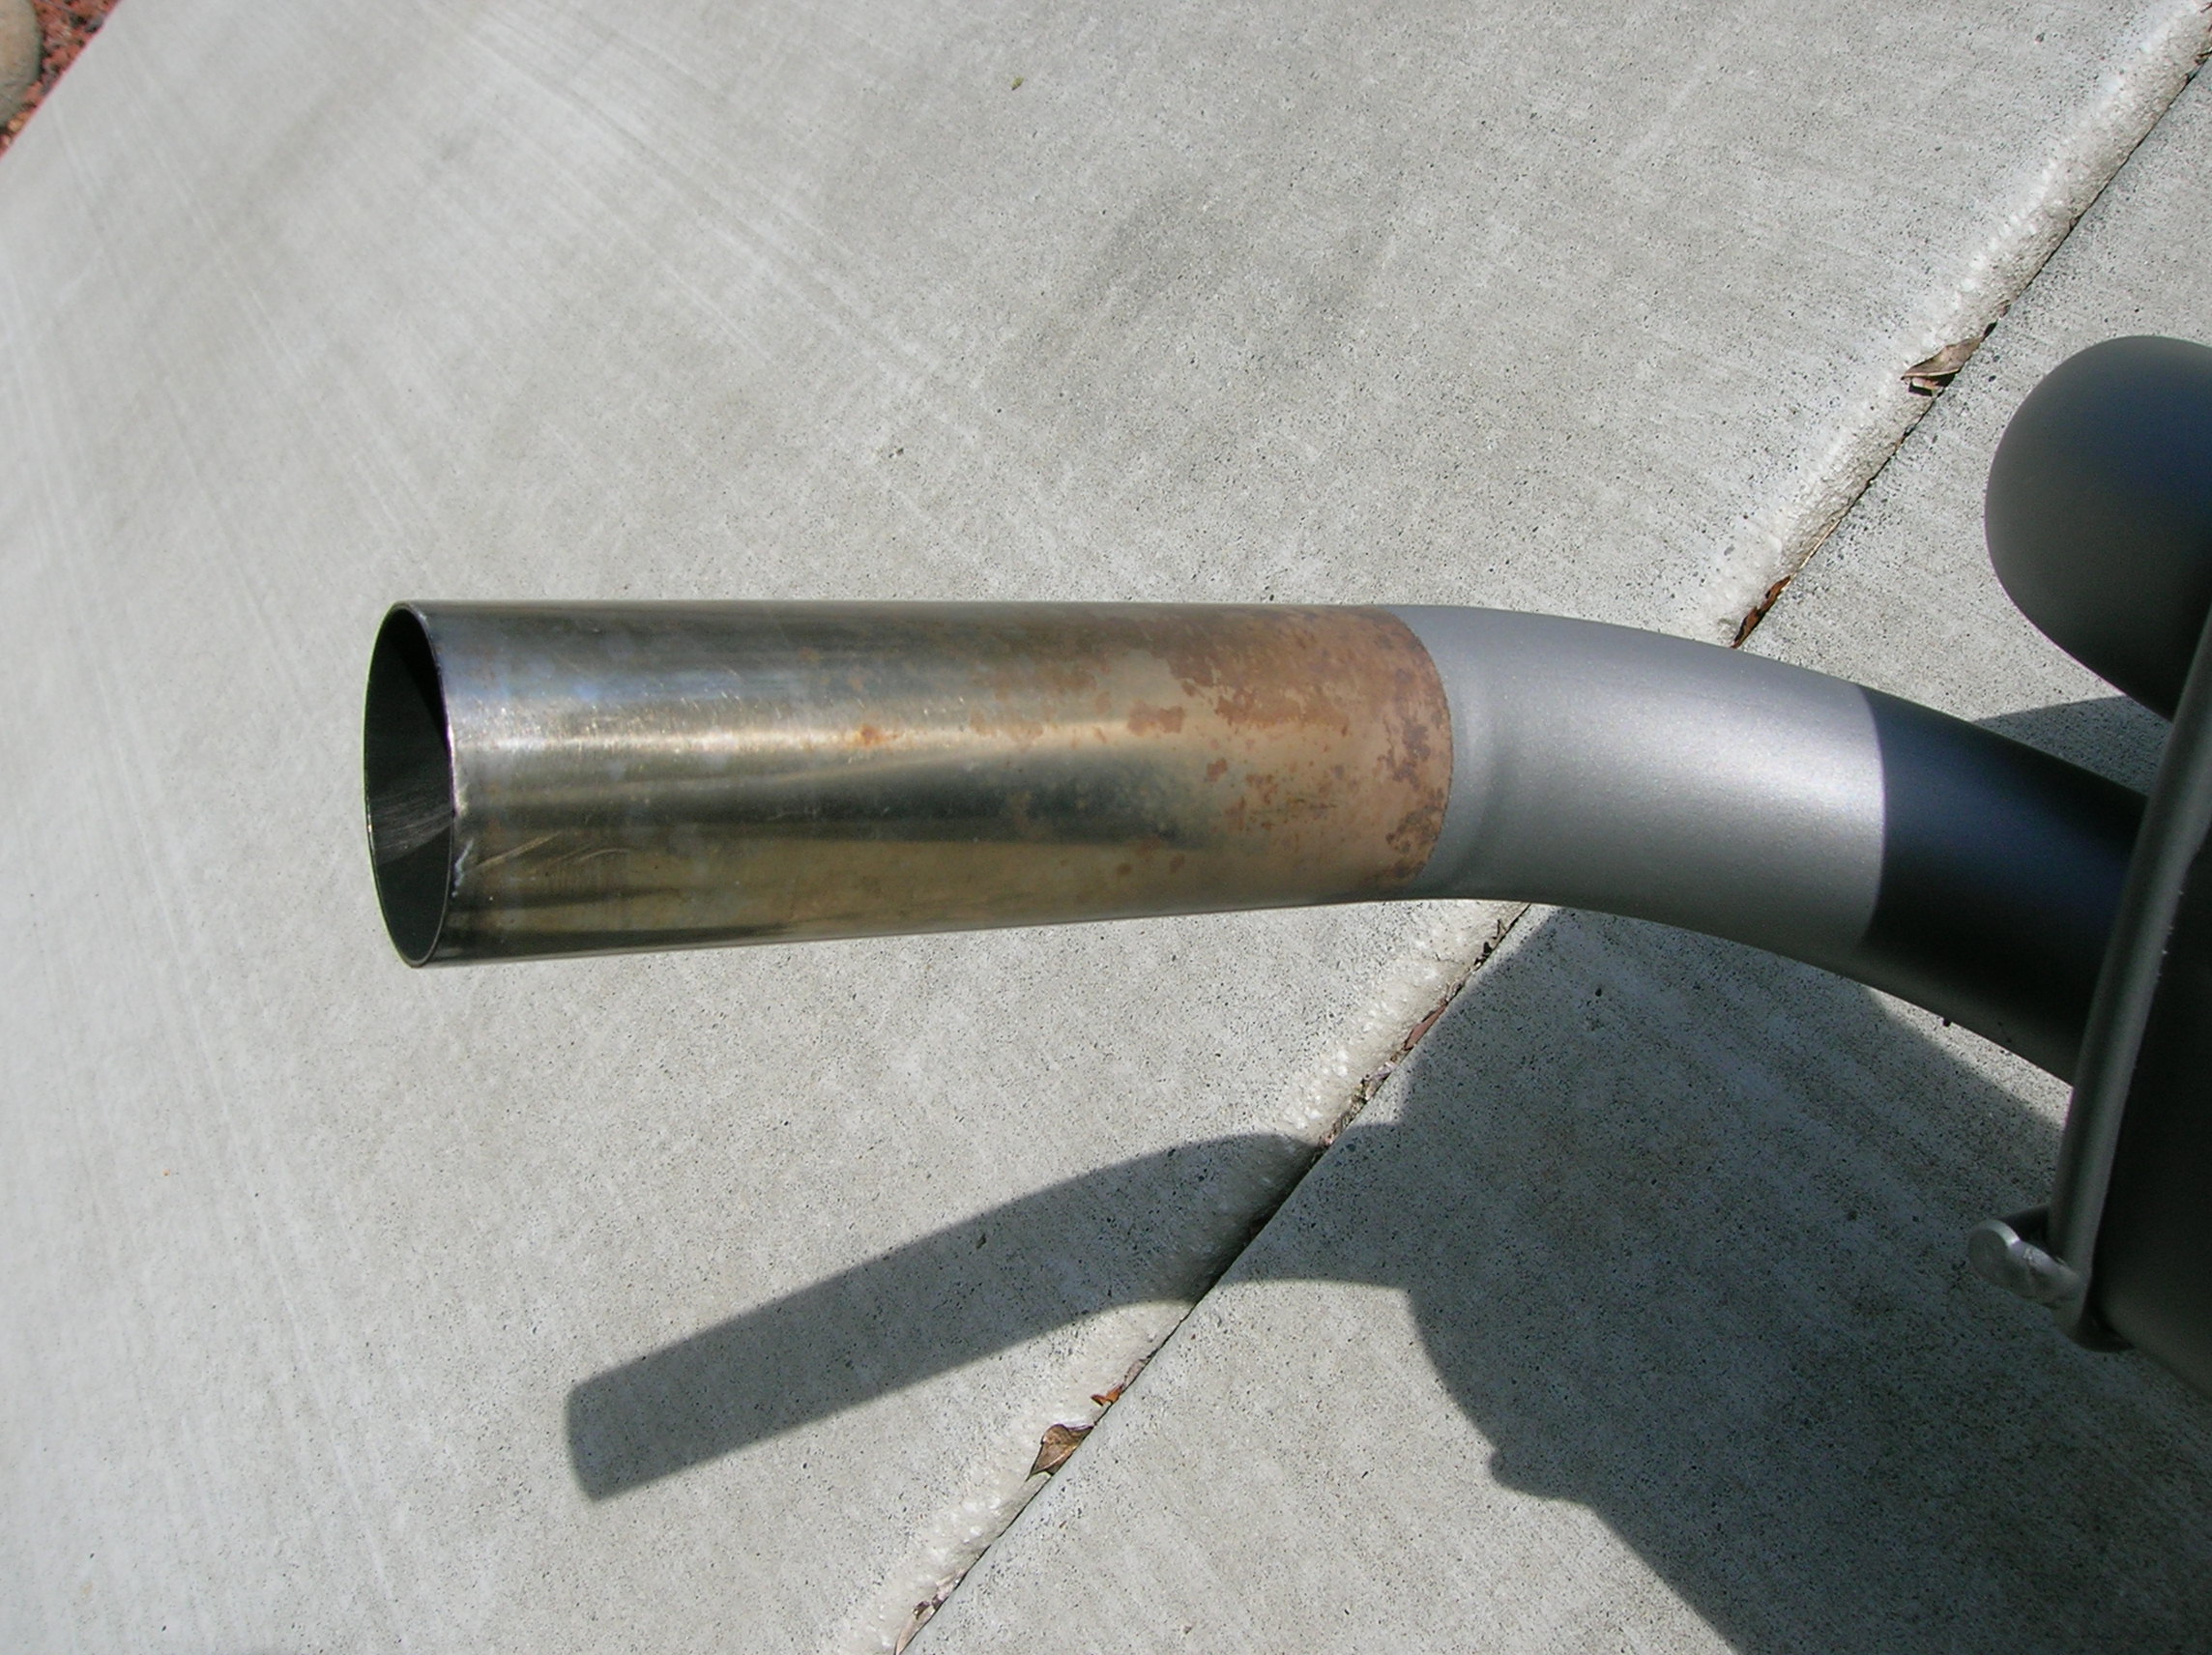
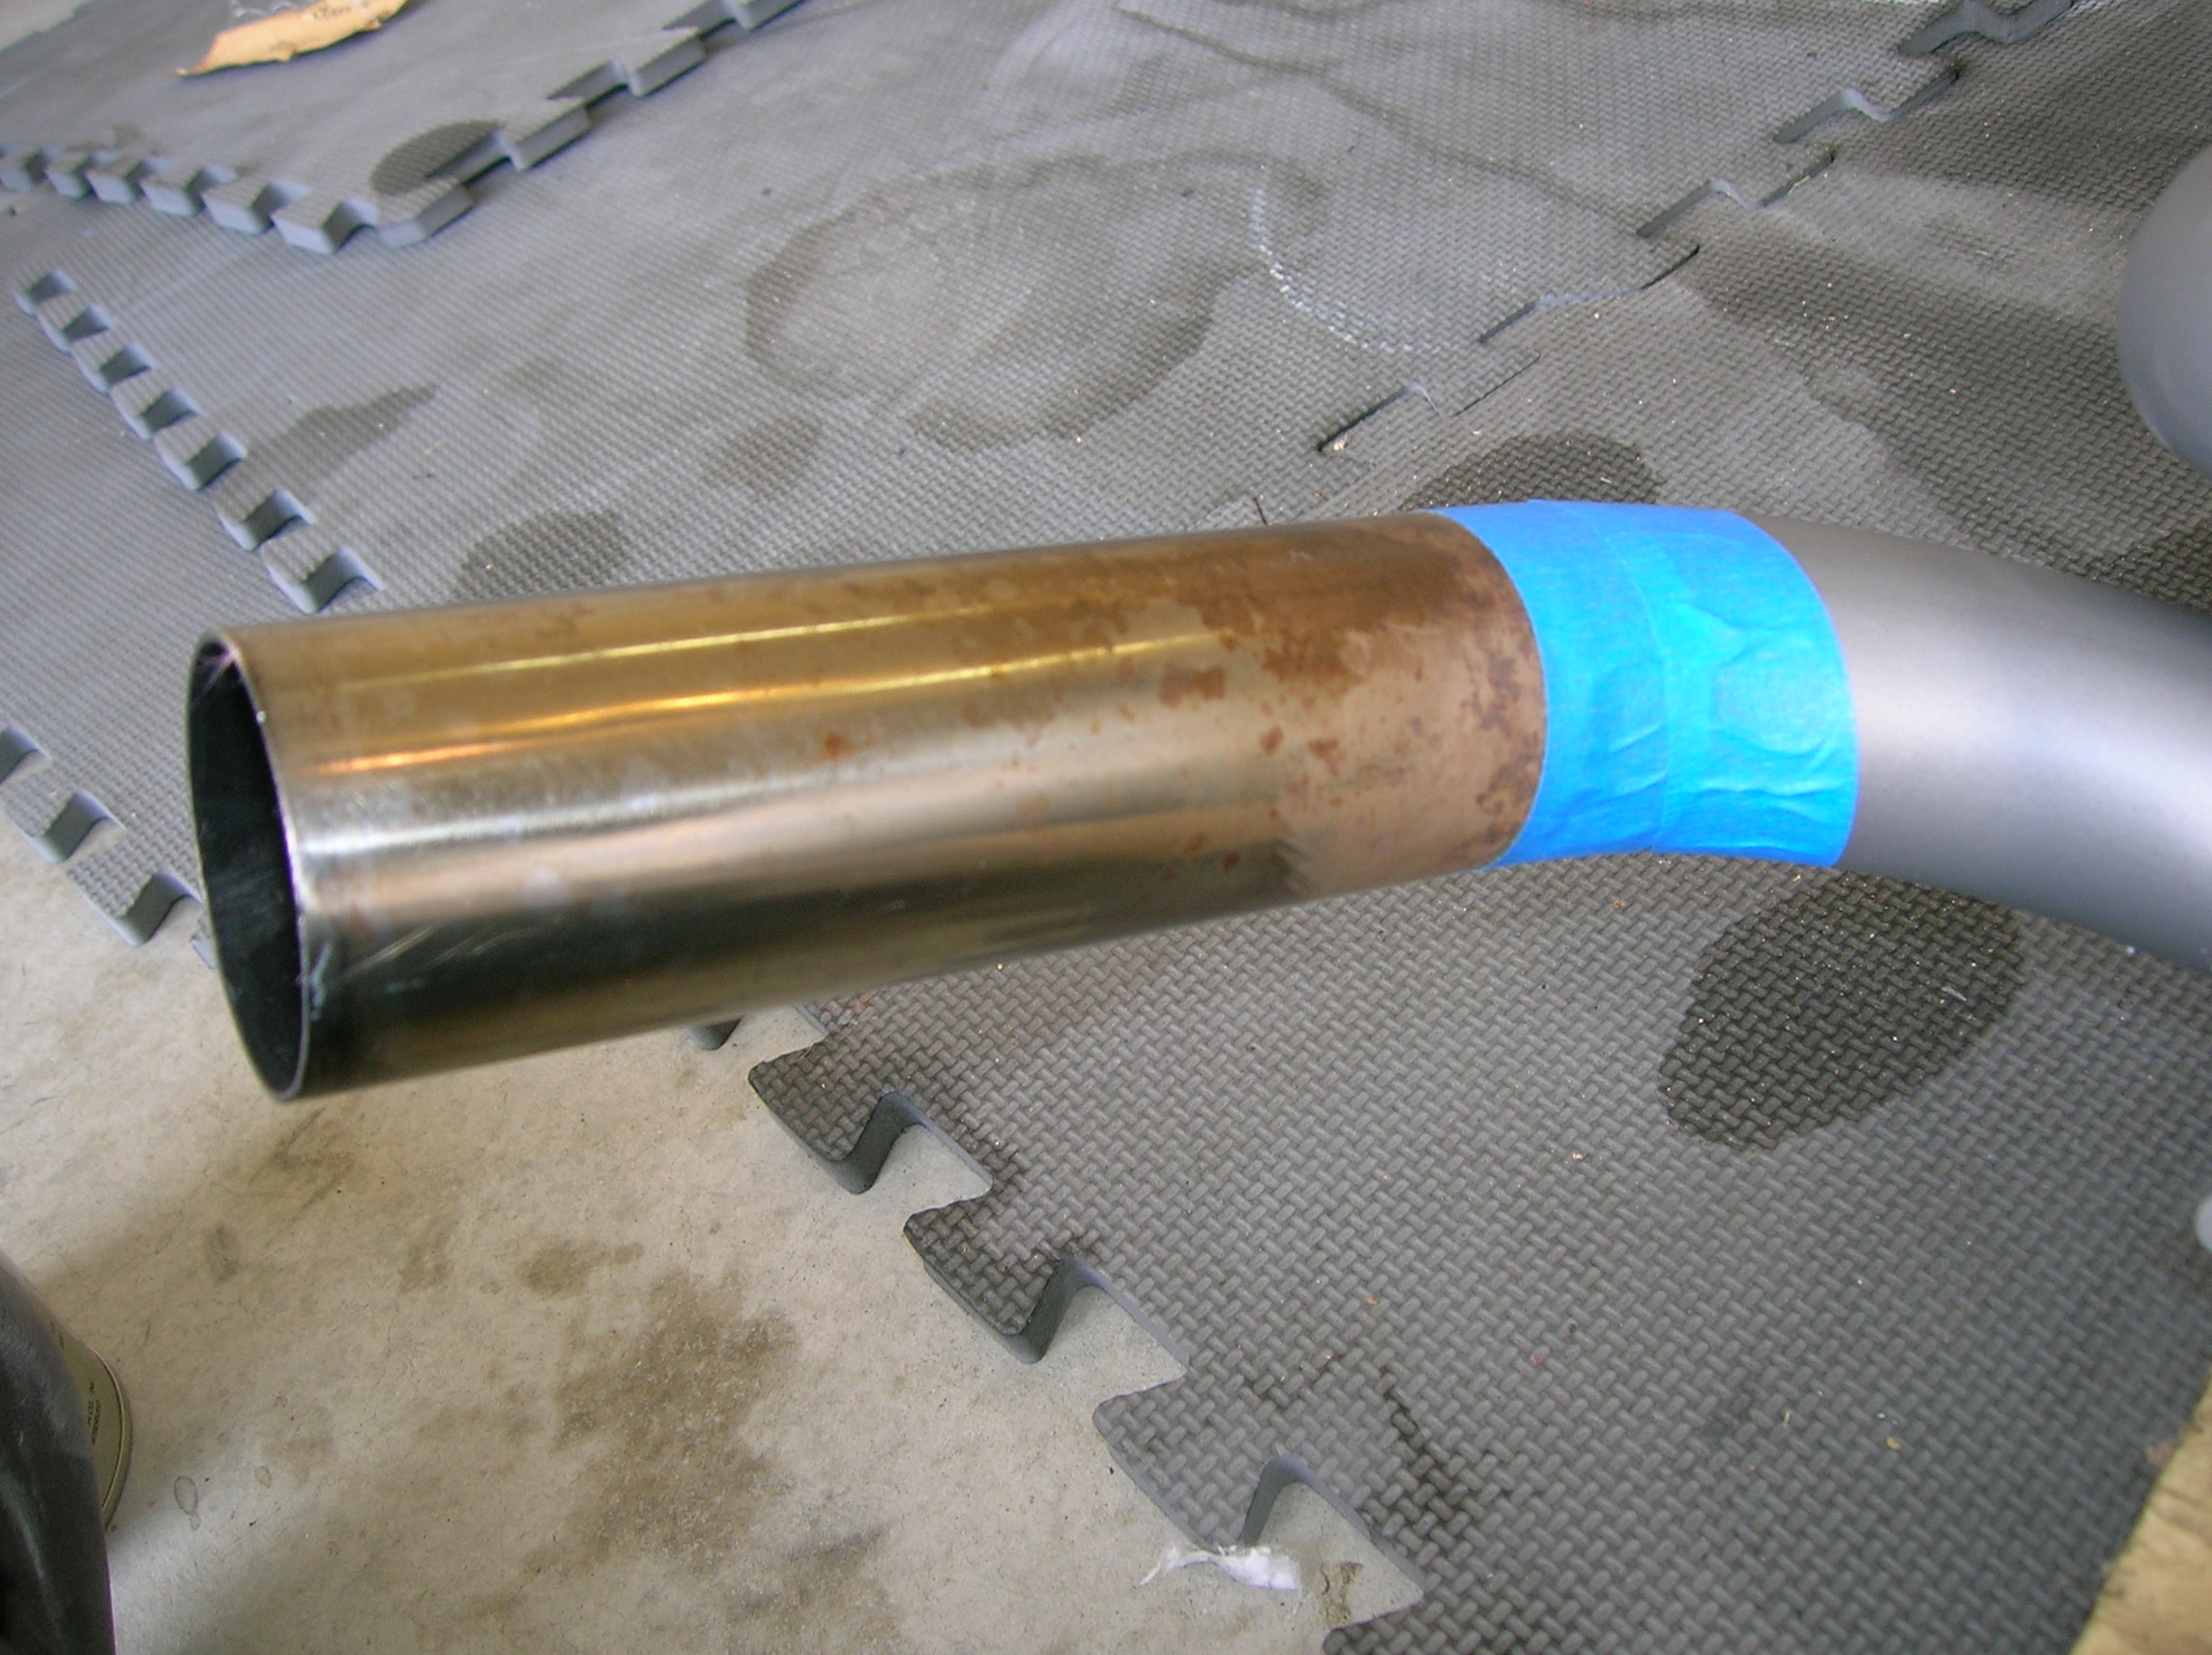

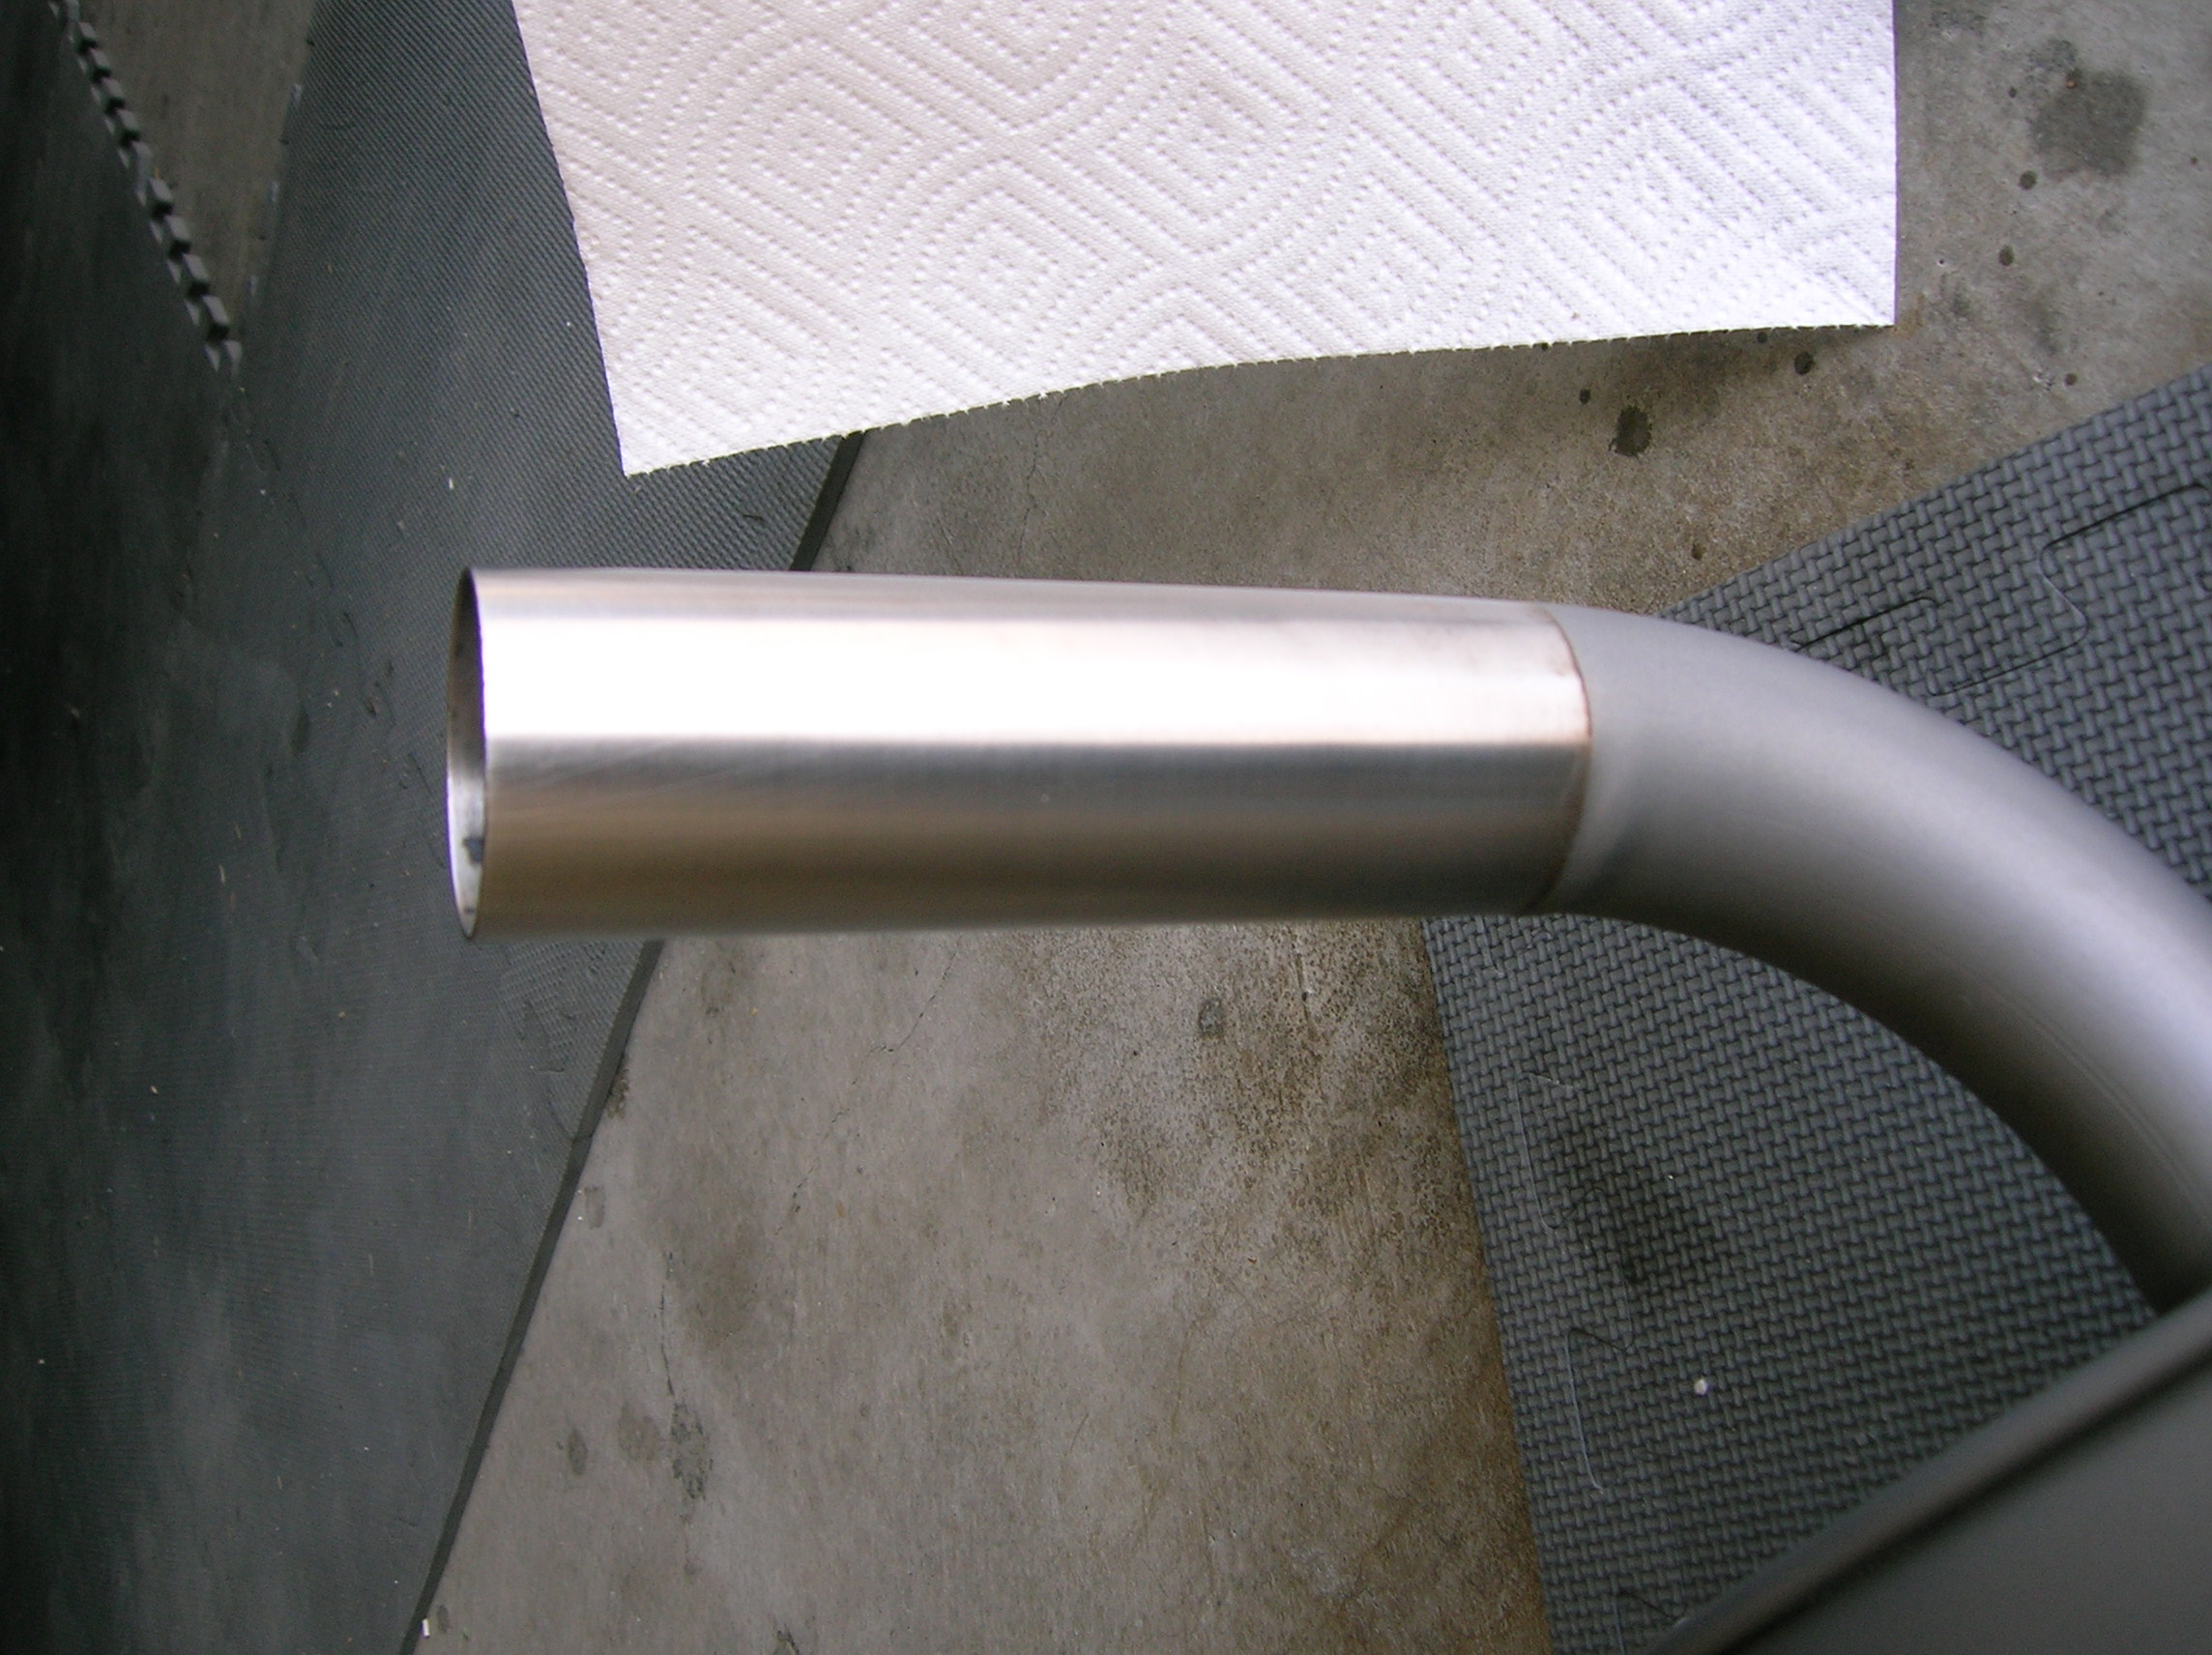
As you can see, they were pretty tarnished and discolored. I taped off the coated section and polished them up with some Eagle One Never Dull and a Scotch-Brite pad. The result is a brushed finish that matches the car’s exterior beautifully and certainly looks better than the burned orange metal did.
Here’s how it looks installed on the car!
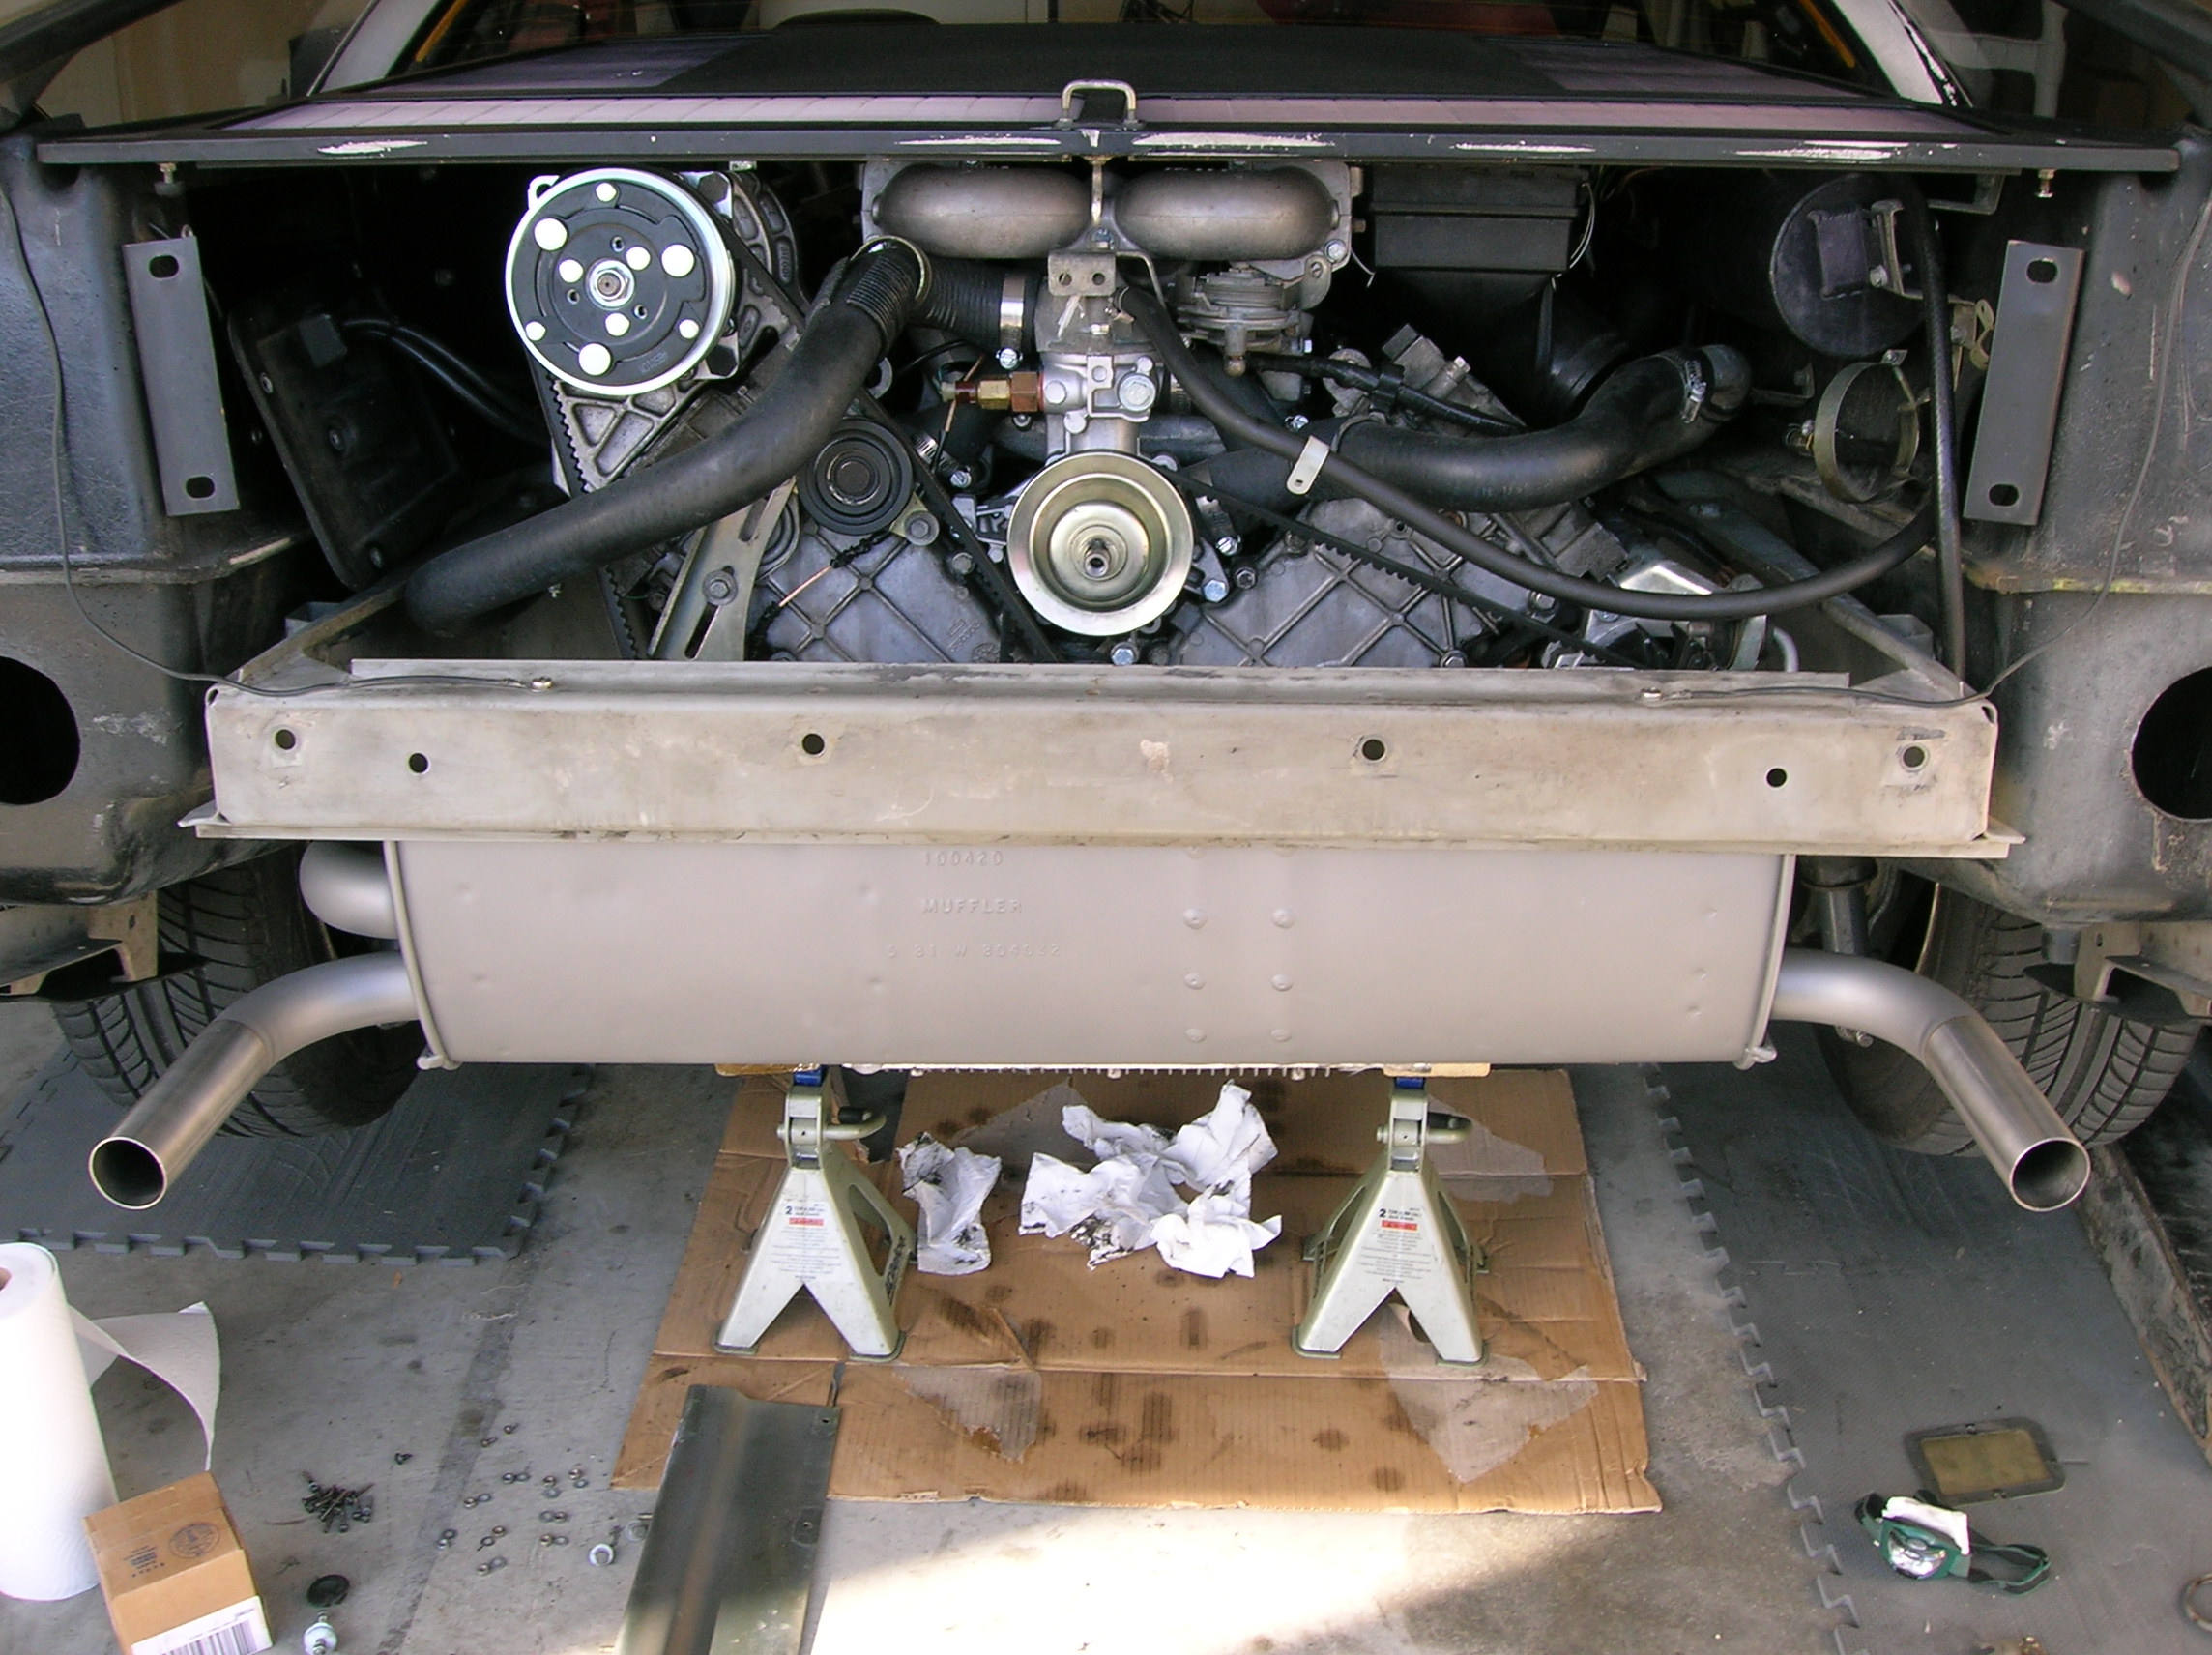
Anyway, I buttoned everything back up and took a spin. The exhaust seals MUCH better than it did before, thanks to a new stainless band clamp I used instead of the stock U-bolt.
The downside is that while I was under the car (first time in months) I noticed that something is definitely still throwing oil. Not sure what – but it seems to be coming from the back of the motor. Main seal again? Who knows. We will have to pull the motor again to figure it out.
I also got some more surprises in the mail today – the rest of the parts to finally get my subwoofer installed. That will be tomorrow’s project. Stand by!