Wow, has it really been almost three years since my last post? I didn’t realize how much time had gone by. Between work and all the other stuff going on, I just haven’t thought to keep this site up to date with everything I’ve done.
Yesterday was a huge event for 8BIT, so before I launch into that more detailed post I thought I would just document the last couple of years worth of work in one summary post.
After the alignment work in January, there was an oil change, a new battery, and a replacement audio head unit. For some reason the JVC I had installed just up and died one day – no warning, it just stopped outputting audio. Got a really nice Pioneer DEH-X8700BH instead and am very happy with the additional control it gives me over subwoofer/crossover frequencies and volume.
I also replaced the ashtray with one from a Porsche 924 – the original one’s door had stopped staying closed and it was bugging me. New gas pistons all around have the doors, boot and bonnet lifting smoother and stronger than ever. Got this set from PJ Grady and couldn’t be happier with them – I’ve bought so many sets of crappy ones over the years and these are the best and longest lasting to date.
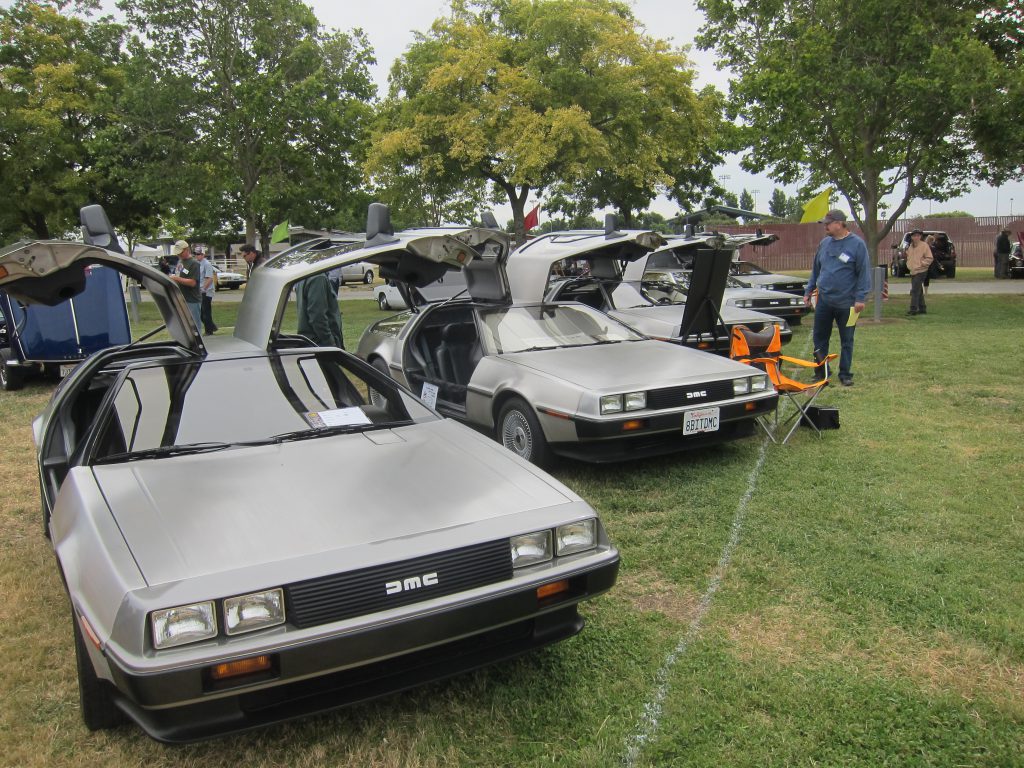
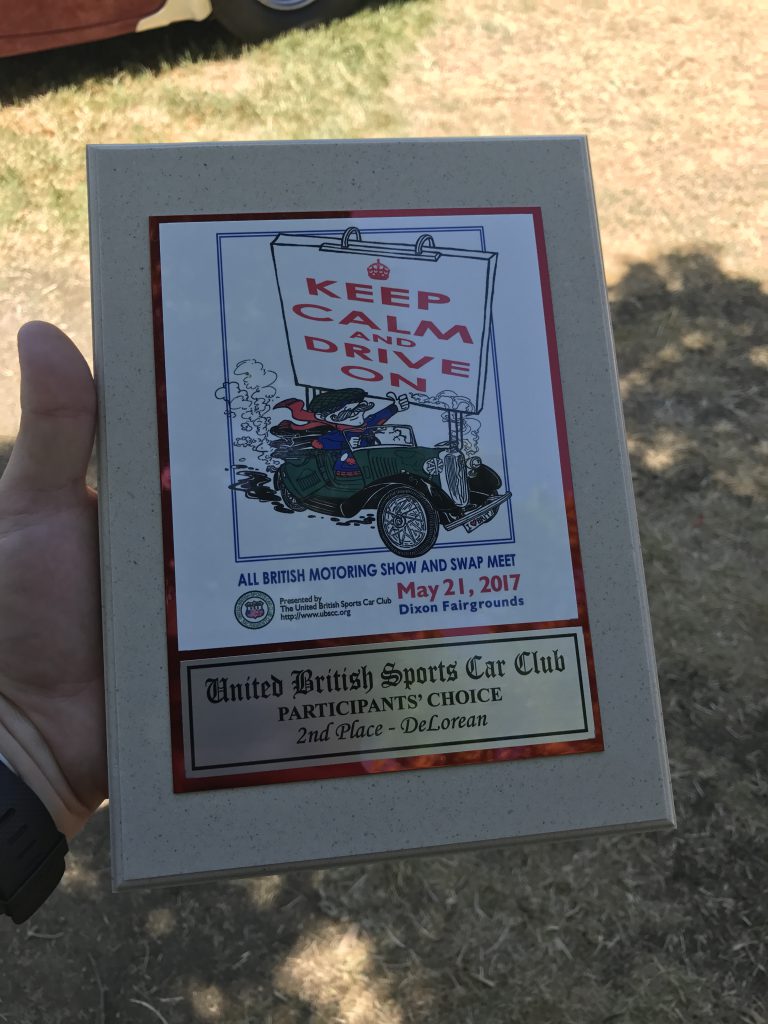
We had a great time in a few more years of the UBSCC All British Car Show, taking some 2nd and 3rd place trophies. I don’t know why I don’t seem able to lock down that first place – but it’s not about the awards, it’s about the people and the fun!
Then, on a hot and sunny day last June – disaster! I had taken the car out for an early morning drive and was having a great time. I was sitting at a stoplight and was about to go through when… nothing. The engine just sputtered and died, and wouldn’t restart. No amount of cranking would bring it to life. Eventually I gave up and called a tow truck home, where a few hours of diagnosis revealed that my fuel pump had cooked itself. Apparently, you have to keep the fuel tank pretty full on these hot California days, as the gasoline acts as a coolant for the submerged pump. I was fairly low on fuel and the heat just got to it. I agree, that sounds ridiculous; but apparently it’s true. A replacement pump was dispatched to me and I got the car running in no time flat, though at a pretty considerable expense.
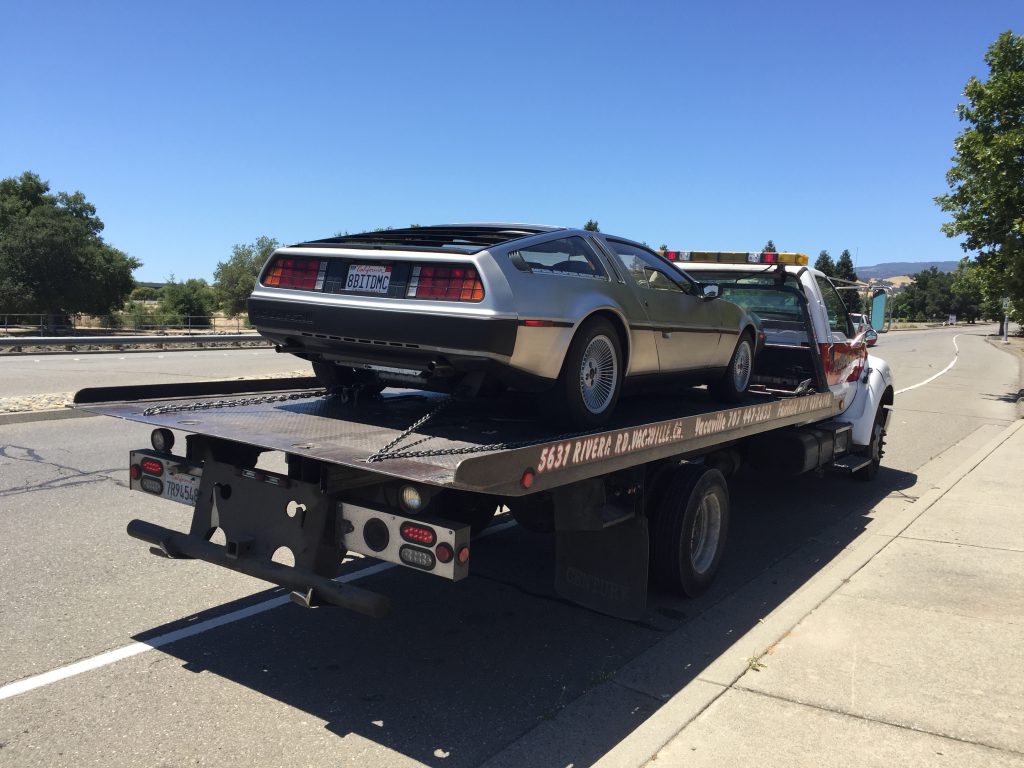
It was also during this little incident that I also decided my taillights and flashers weren’t bright enough, since people kept pulling up behind my clearly disabled vehicle and honking at me to move. More on that in a bit.
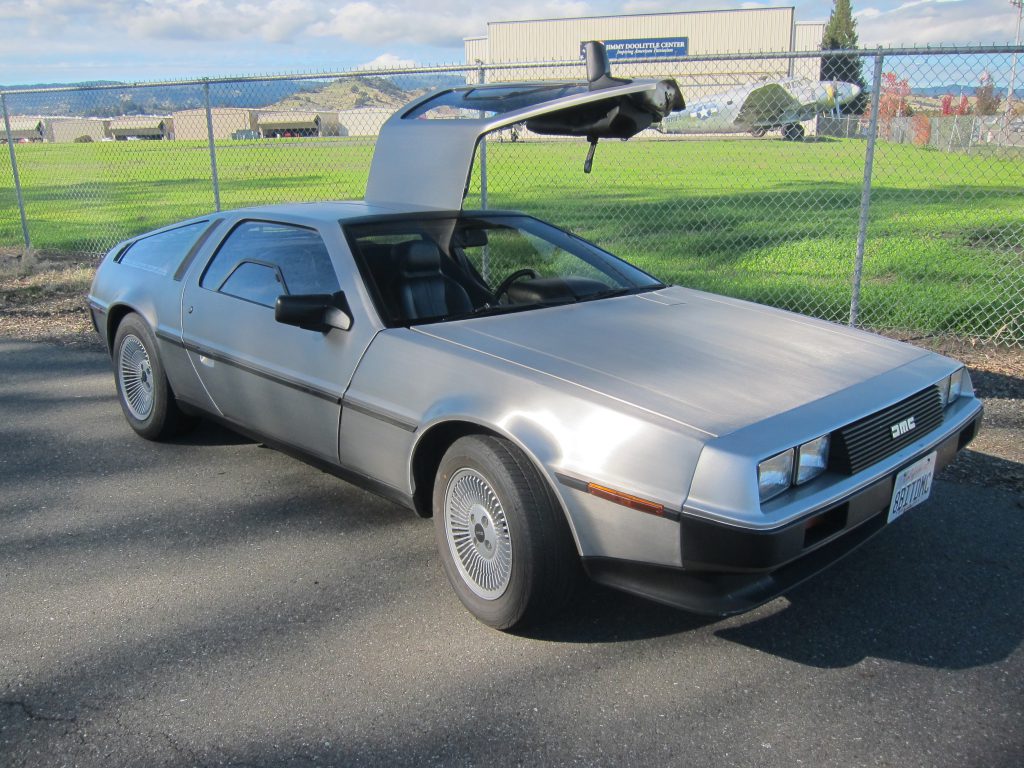
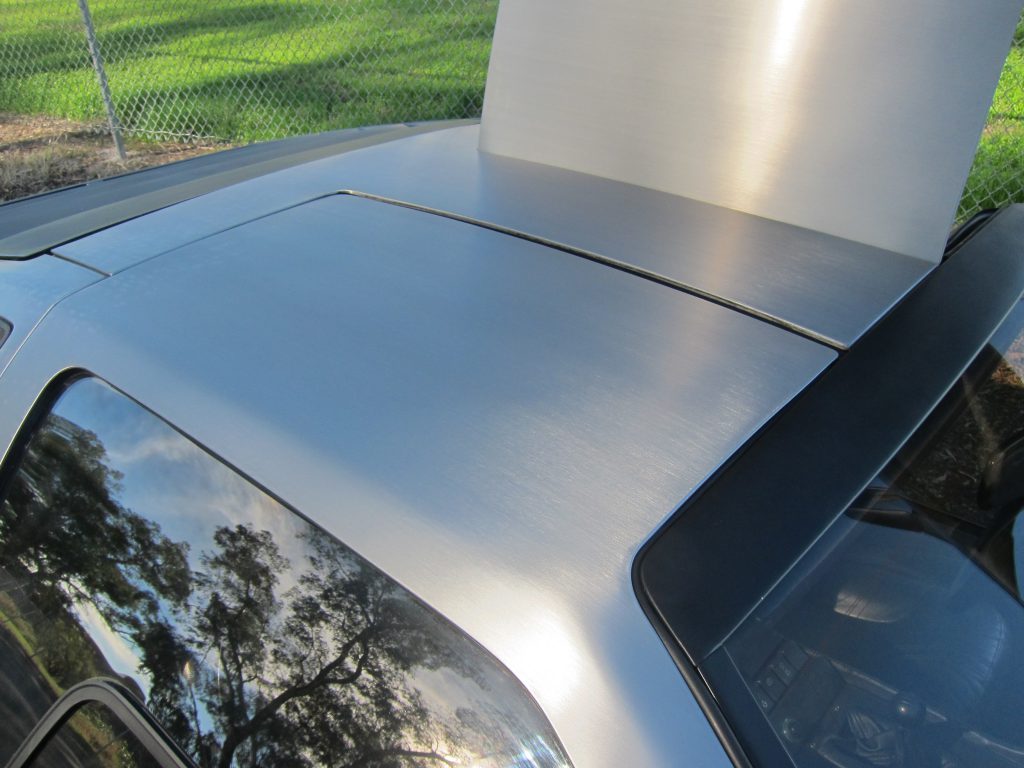
After that, a stroke of surprising good luck! Chris Nicholson, the leading world expert on stainless repair and regraining was making a trip to Northern California. Not just to San Francisco or San Jose, but right to my little town – at a shop less than 5 miles from my house. Amazing fortune – because I have been wanting to have a few small dents removed and a full-body regrain for years now. It was just a prohibitive expense to ship the car to someone qualified, so I put it on the back burner. But with Chris coming to town – there was no excuse.
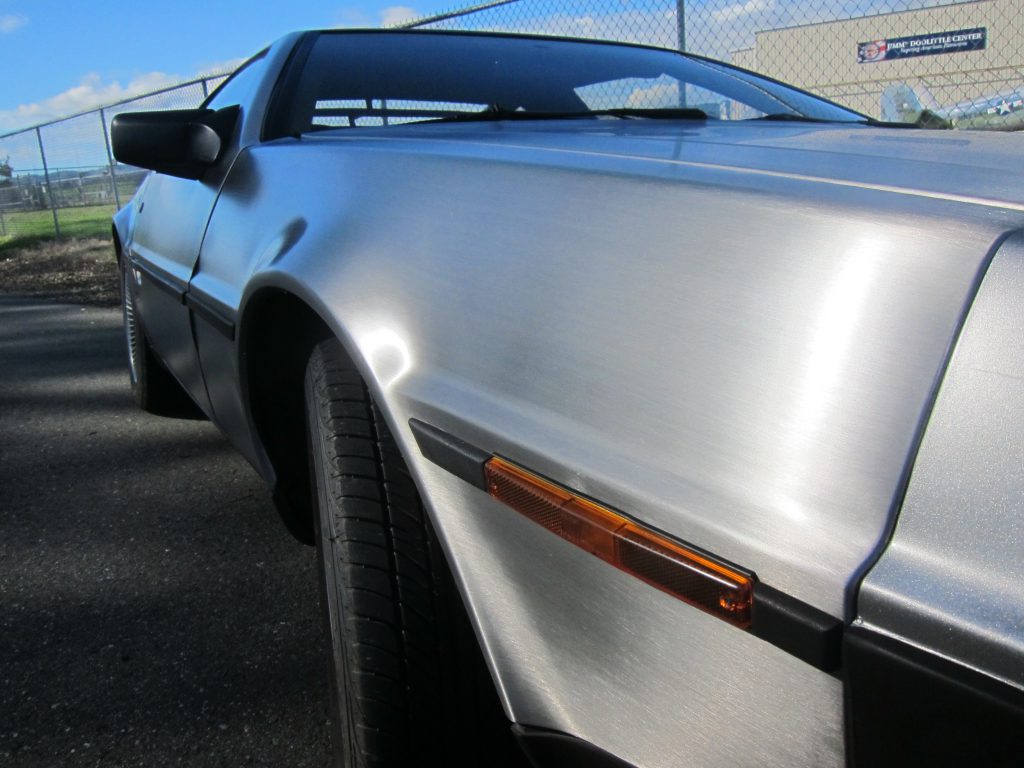
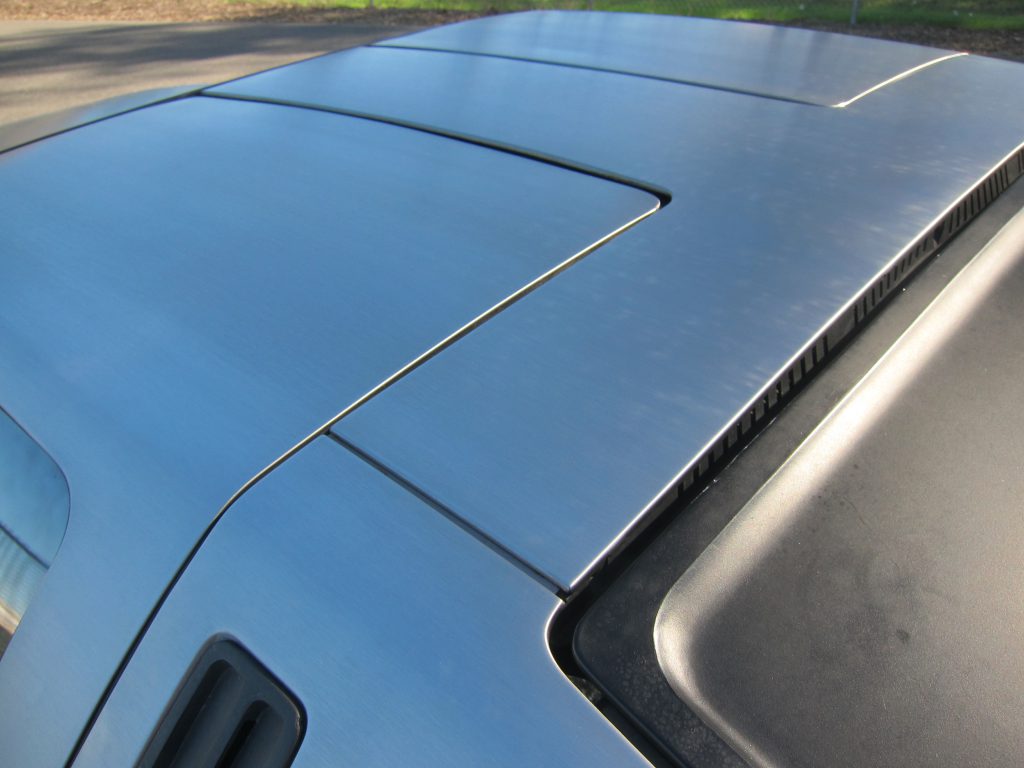
The difference was amazing. I had him pull and rework every dent on the car, straighten out the T-panel and grain every inch of stainless. It’s never looked better; I don’t think I quite realized how much better it could look until it was done.
Rob Grady also aligned the doors so they open and shut smoothy and solidly, better than ever. It was a great feeling to get in the car and have the door close with a finger touch.
After that, it was a pretty uneventful few months. The car mostly sat undriven as I was traveling a lot and we had a very rainy winter which saw me taking my daily driver more frequently.
Fast forward to April, when we had our annual participation in the yearly UC Davis Picnic Day Parade. As always, it was a super fun day filled with great discussion, nerdy talk, beer and of course, DeLoreans. It also yielded what is quite honestly the best picture ever taken of my car – one of the UCD press photographers took it and used it in the official record of the day. Check this out:
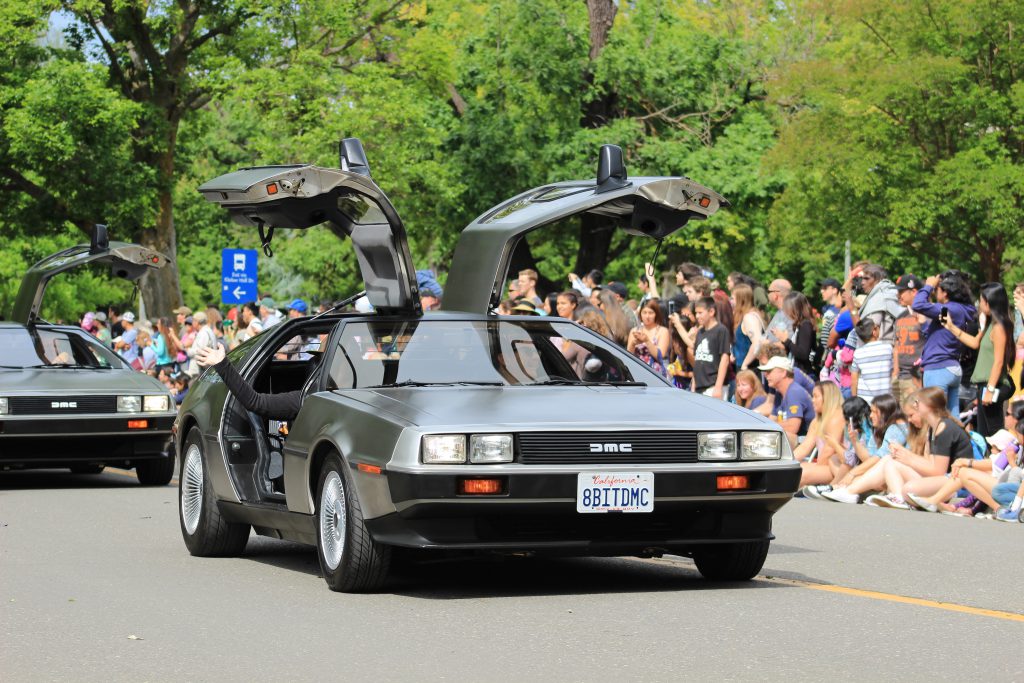
Simply a stunning photo. Perfect focus, depth of field, color, lighting, and the car is really showing well.
But, of course, I wasn’t the only one there…

All told we had 7 cars this year. Still haven’t cracked the 10-car barrier, but maybe next year! After the parade, we had a nice back-country drive up to the Berryessa Brewing Company for some beers, dinner and conversation. And since we can’t travel anywhere in a group without causing a bit of a stir, we spent some time answering questions and showing off the cars to our gathering fans.
After the parade, I started having some troubles with my interior lighting in the car. The dome lights were coming on at weird times, or not at all – the instrument panel illumination was blinking oddly, and the whole system just seemed to have gremlins in it. After a few solid days of troubleshooting and back-breaking periods hunched over the relay compartment, I tracked it down to some bad ground crimps in the forward relay strip.
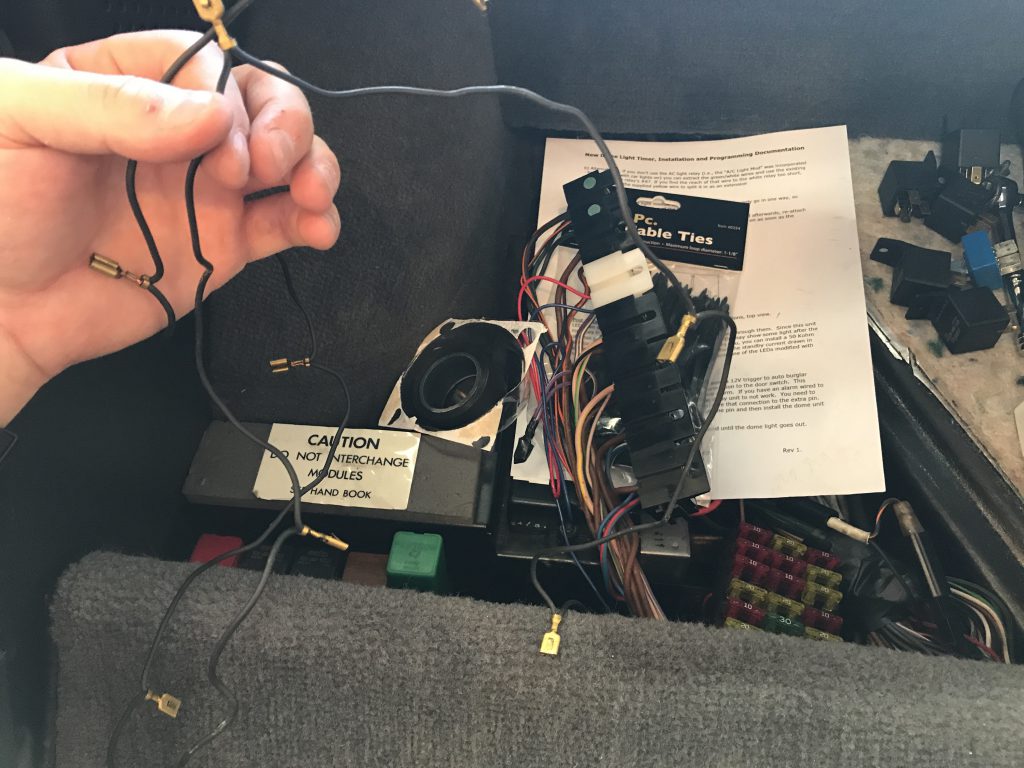
These pins are all crimped together in a daisy-chain series arrangement, and the double crimps seem to go bad over time. Dave McKeen (known as Bitsyncmaster and famous for his solid-state electrical replacements, which I run many of) makes a custom relay ground bus for exactly this situation, which I happily installed.
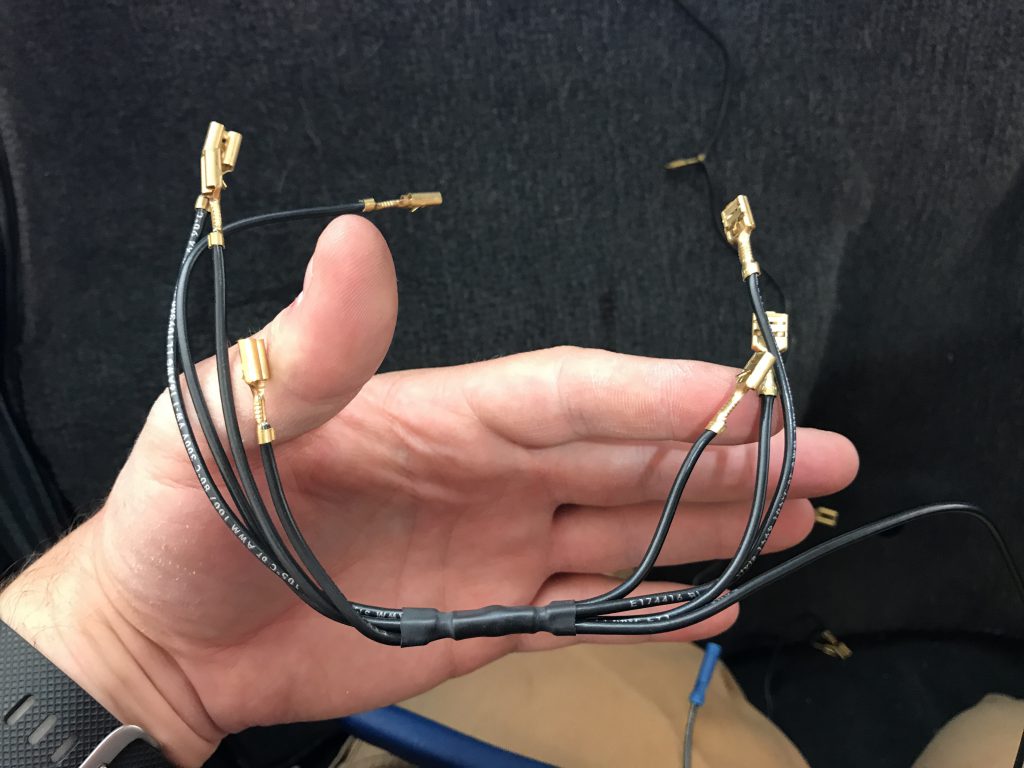
This much higher gauge and solidly connected bus (combined with a replacement dome light module, which had been fried by the bad connection) fixed the dome light issues.
Remember back when my fuel pump failed, and I decided my taillights were too dim? Well, I finally decided to do something about that. A long time ago I converted the car to 100% LED, both to reduce electrical draw and heat output and increase visibility. But LED technology has really progressed since then, and it was time for a refresh.
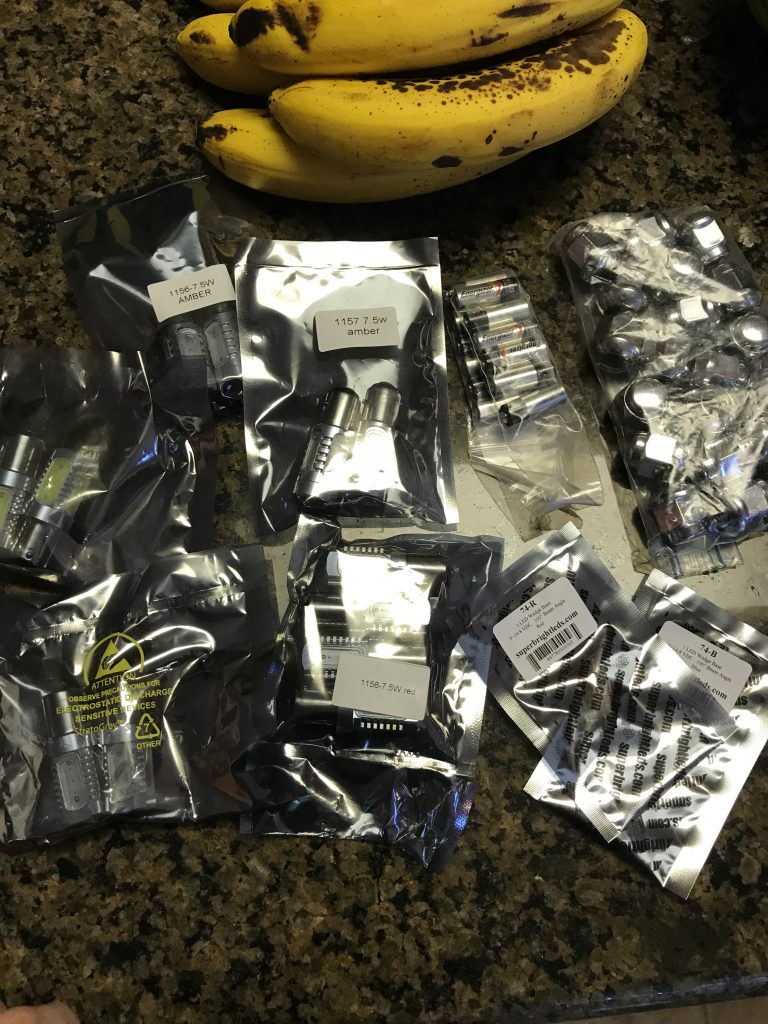
Enter a huge pile of so-called “Plasma” LEDs. These ultra-premium bulbs promise the highest possible light output and uniformity of any automotive LED on the market.
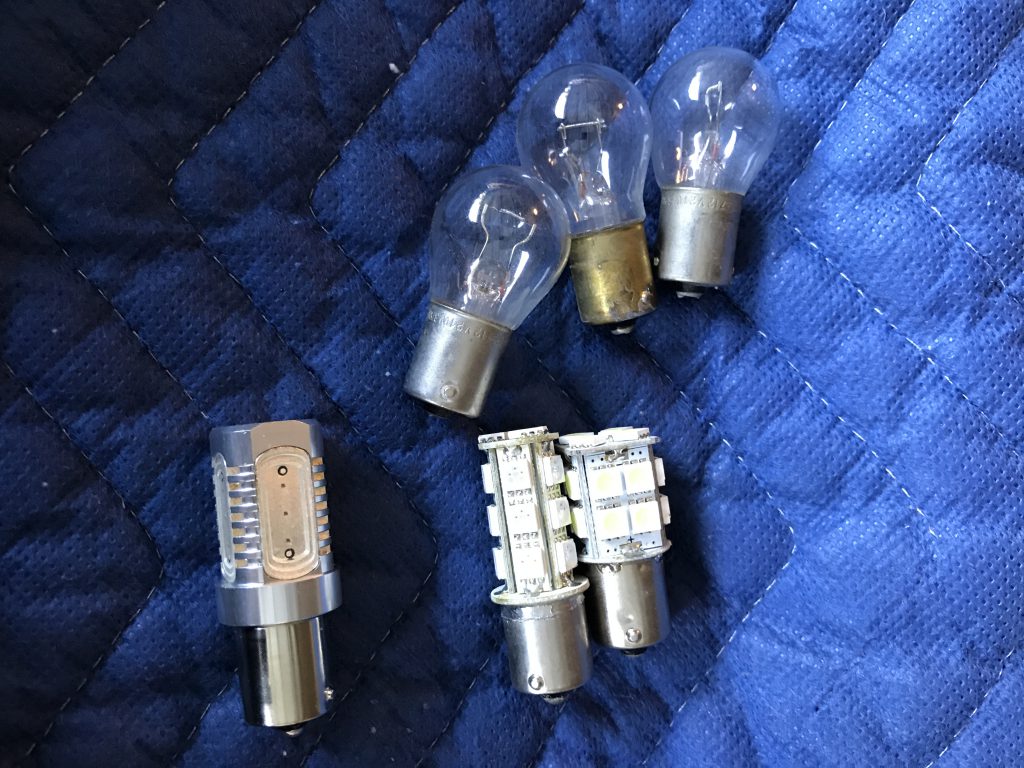
Here you can see a new Plasma bulb (lower left) next to the more traditional SMD based LED towers, and some of the original incandescent bulbs for good measure.
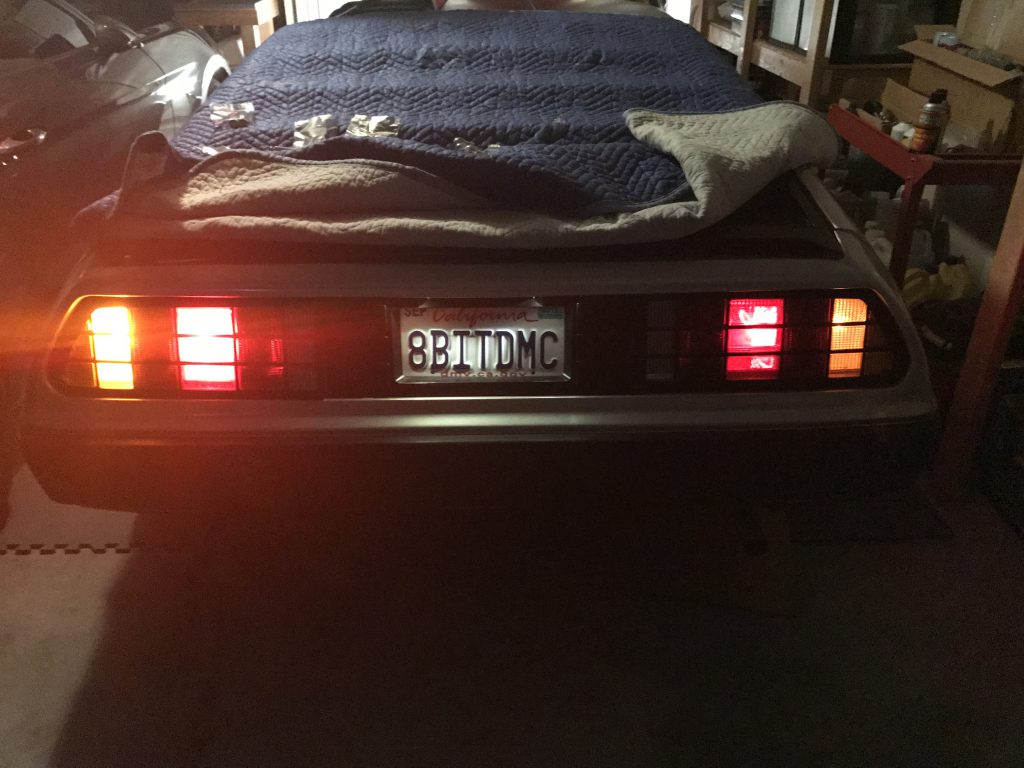
I have to say, once installed – I can’t argue their claims. They are at least twice as bright, and quite difficult to capture with a camera as they overwhelm the sensor and cause the whole scene to be dimmed down. Here’s the best I could do. The Plasma bulbs are installed in the left hand cluster only.
Of course, no DeLorean project is complete without a little drama. Back when I did the first LED conversion, I upgrade the flasher module to an LED compatible one – these things rely on resistance, and with the reduced load of LEDs, a traditional module won’t be able to blink them.

Well, guess what. It didn’t work with the new bulbs! Why can’t anything ever be simple… and, of course, since it had been working previously I tore half the car apart trying to track down this gremlin before checking into something that was supposed to be properly set up.
Changing it out for this module fixed the issue, and only took 30 seconds. Putting the whole rest of the car back together took the better part of a day.

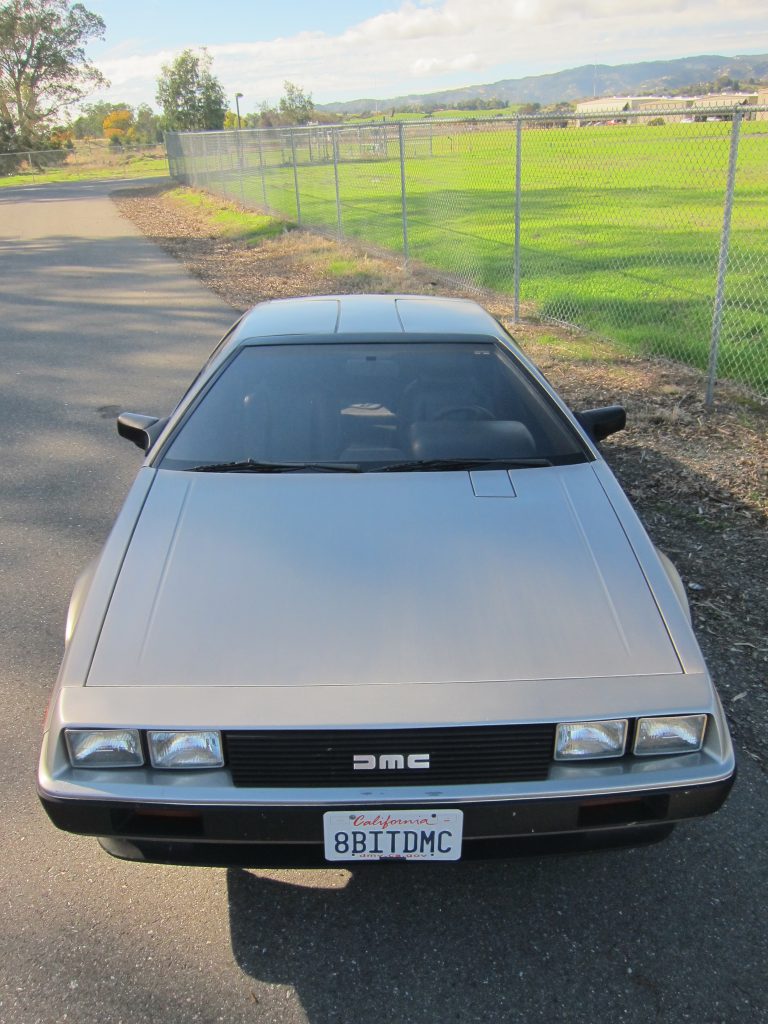
With the LED situation figured out, I moved on to something I’d been meaning to do for quite some time. Now that the stainless was looking so good, I thought it might be time to install my bumper letter inserts.
Again, drama struck – I tried about 10 different kinds of mounting tape and transfer adhesives before I finally found one that was thin enough to keep the letters from sticking out, but thick enough to compensate for the slight curve in the plastic bumper.
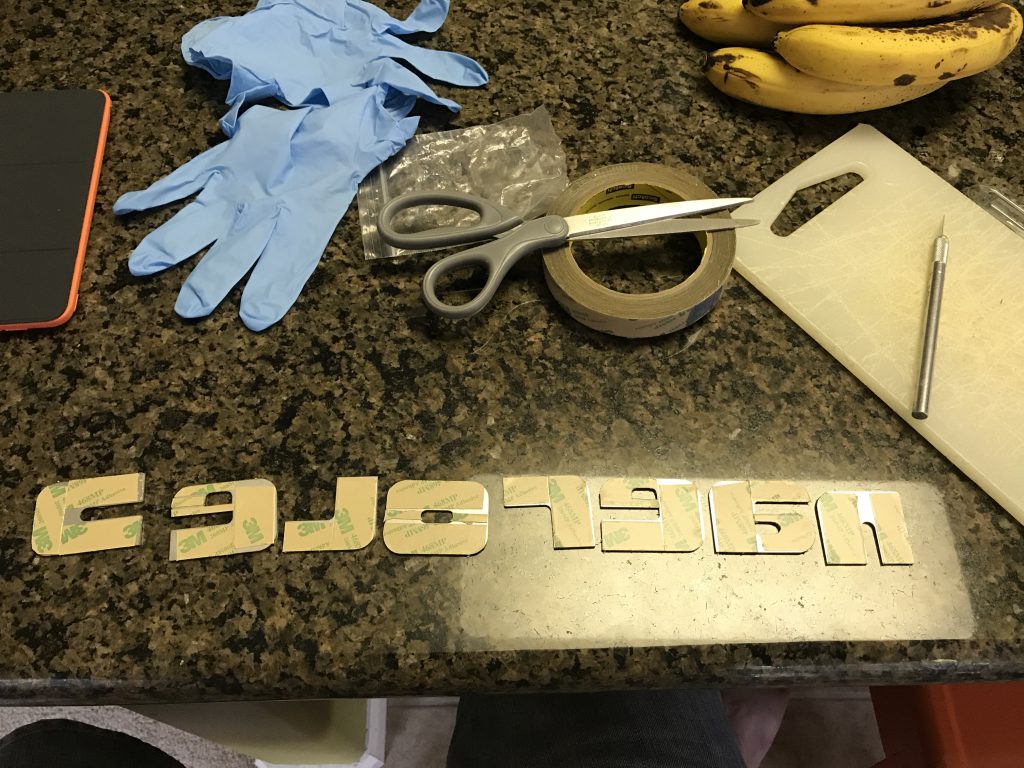
Finally, though… Success. And it looks so good. I wish I had done it a long time ago – these letters have been sitting in my parts box for at least 4 years.

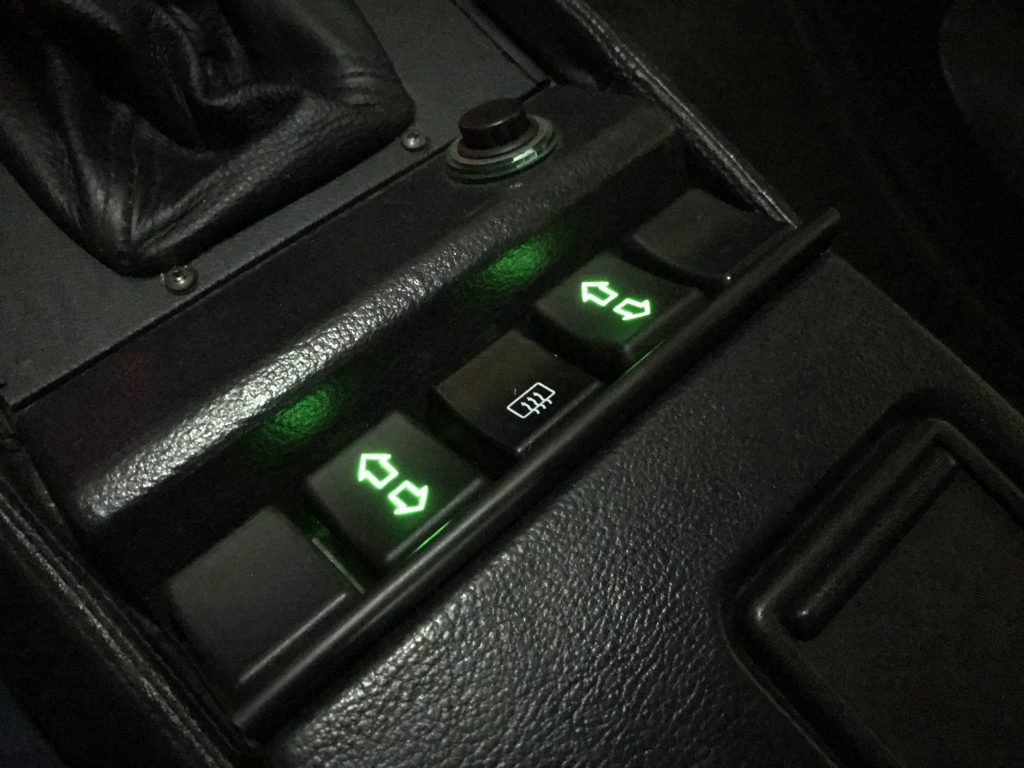
Finally, I was motivated to deal with something that had been bothering me for a long time – the alignment and overall condition of my center console switches. I bought a brand new rear defroster switch from DMC Europe as well as the upgrade LED-illuminated window switches from DMC Houston and installed them in the so-called “Mattaligner” from PJ Grady. This alignment frame provides a stiff surface for the switches to mount to, as opposed to the flimsy cardboard of the center console – and lets them sit straight and without constantly popping out. Combined with the much improved feel of the new switches, this goes a long way towards making the interior feel solid and modern.
And that’s it! All caught up for the last couple of years. I will try to write more often from now on rather than having these long posts. They get a little flavorless when the info is so old.