So about a year ago, Clint, David and I removed my motor to do some preventative maintenance and a full re-seal. At the time, we completely rebuilt my transmission, installed a new clutch and hydraulics, and replaced virtually every seal on the motor. Most of those jobs went great. Some of them, particularly the re-seal… not so much. The drips have been bothering me so we decided to tackle the job again.
Armed with much more information about the leaky and temperamental nature of the PRV as well as a bunch of new parts and better materials, we tore in a second time.
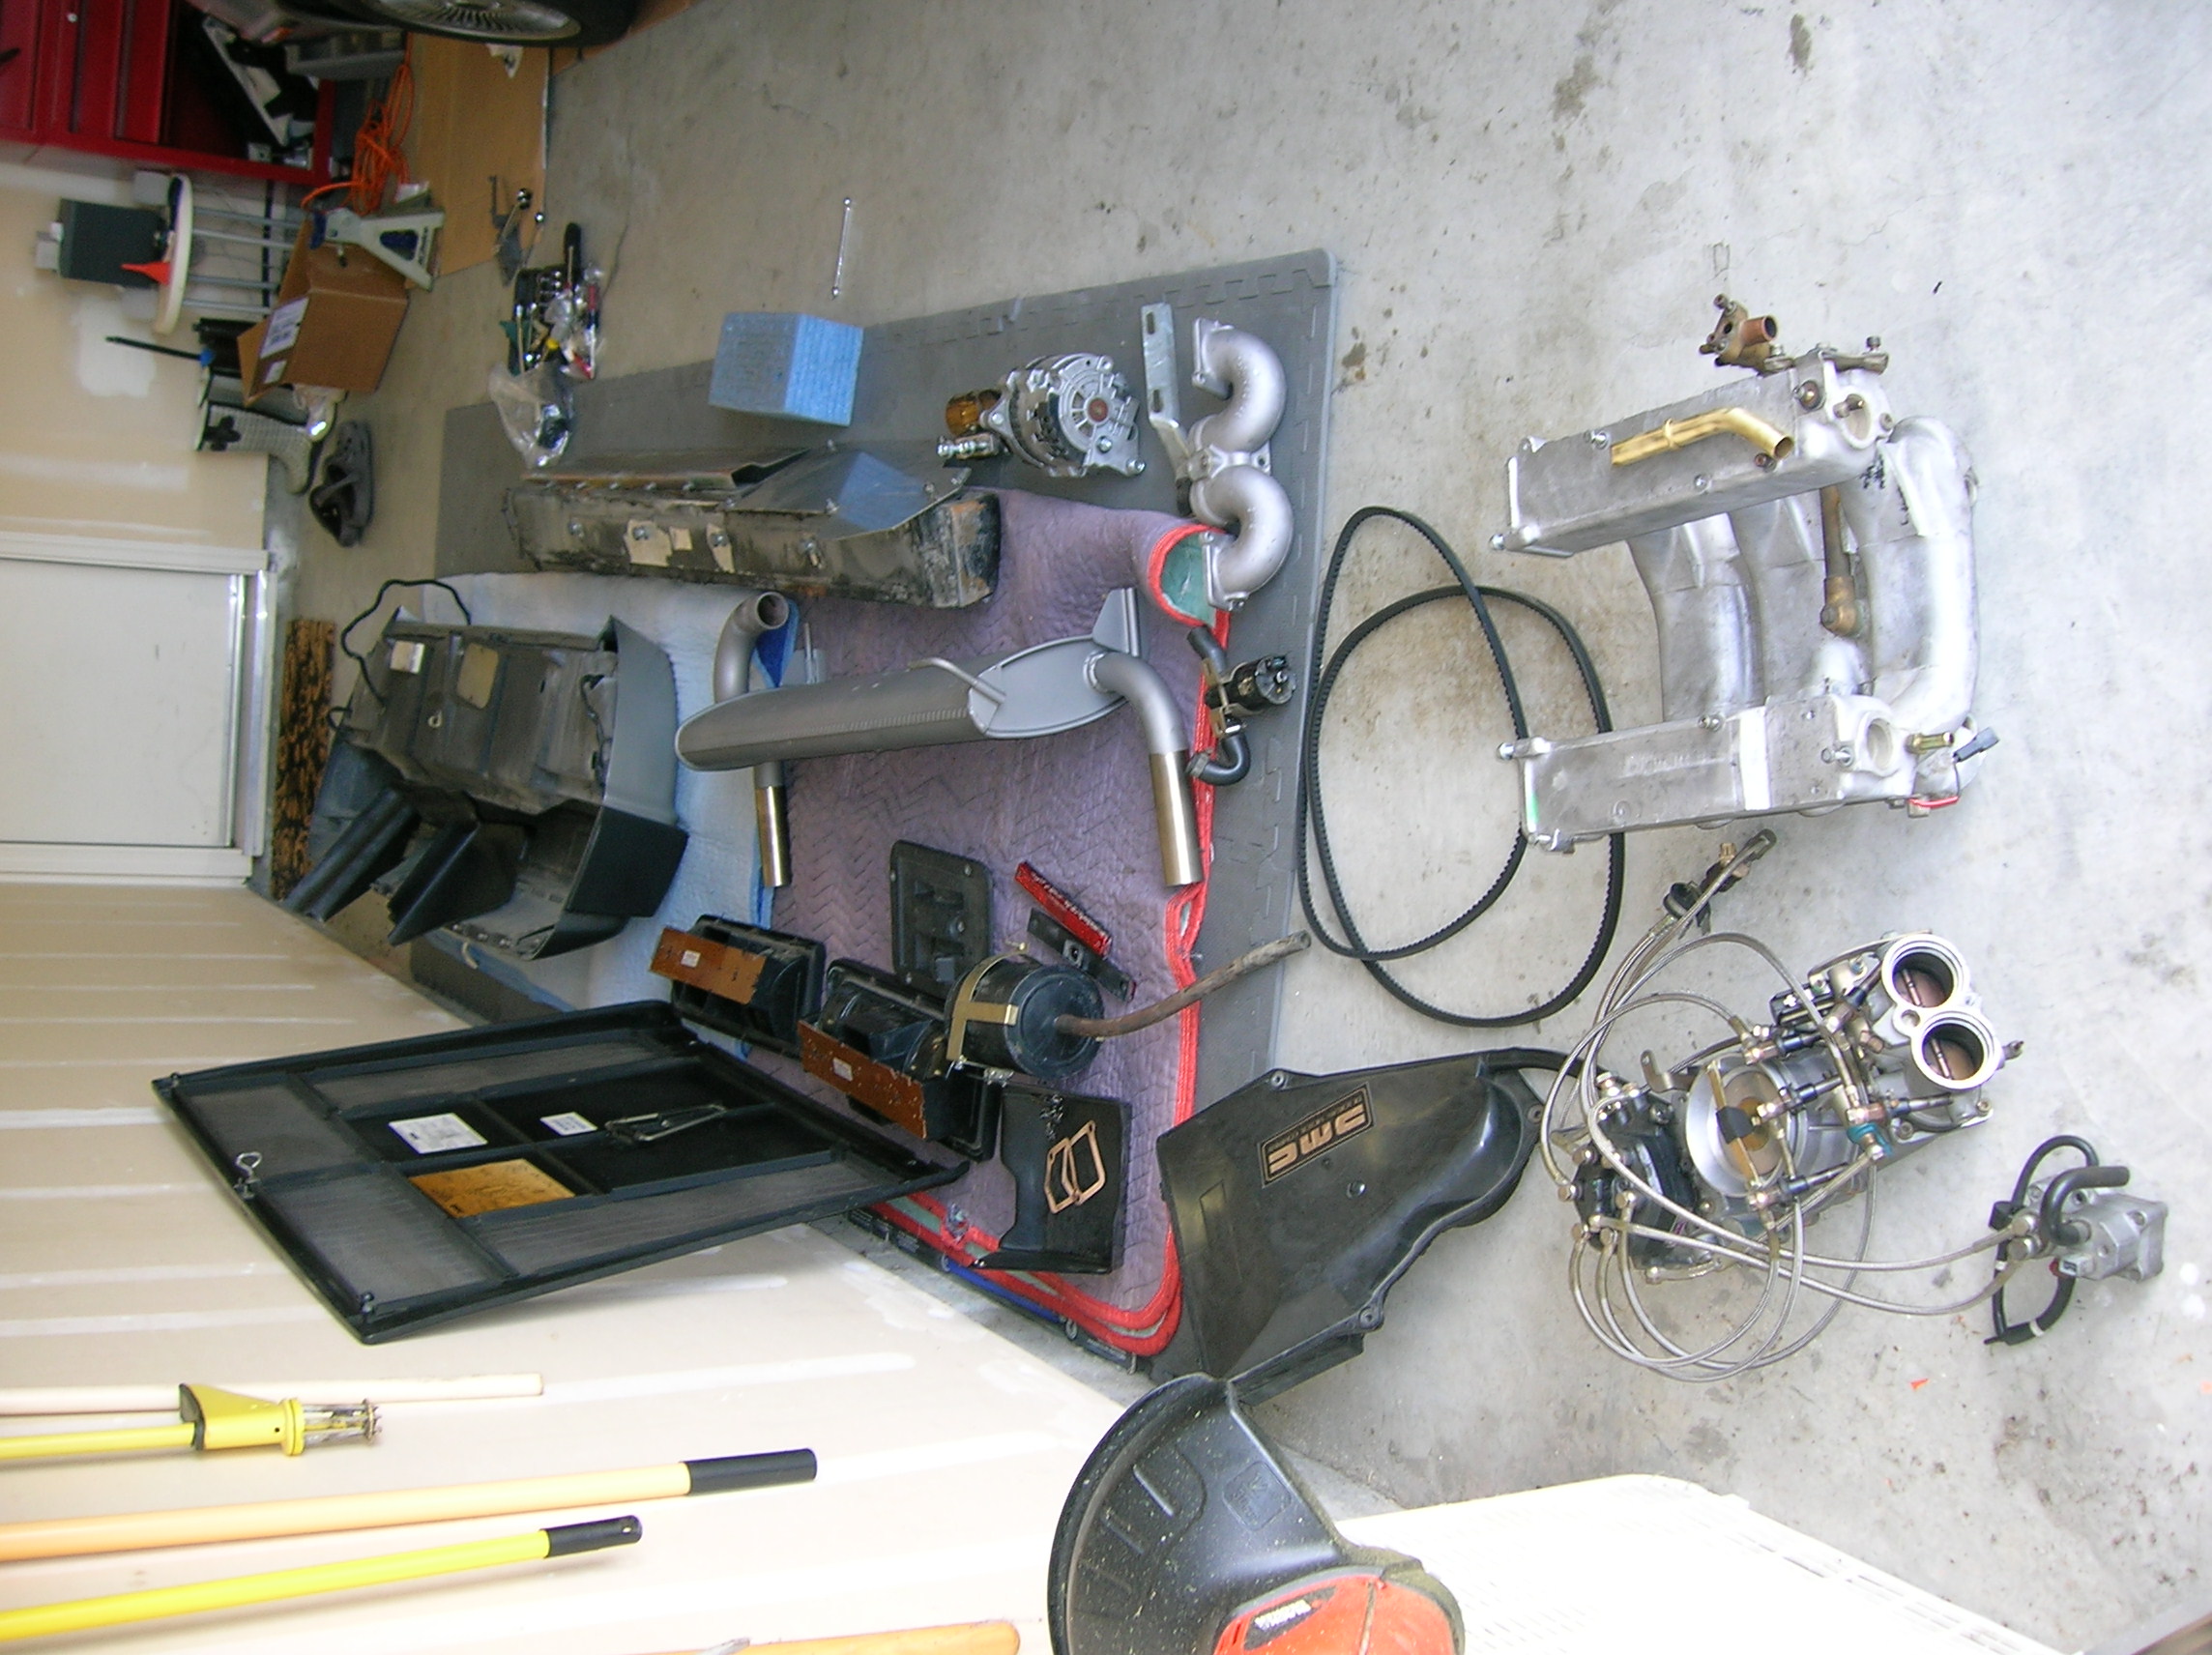
The carnage on the side of the garage as I prepare the day before. I removed the lower and upper engine covers, rear fascia, impact absorber, heat shields, muffler, alternator, intake manifold, fuel injection manifold, and some other odds and ends.
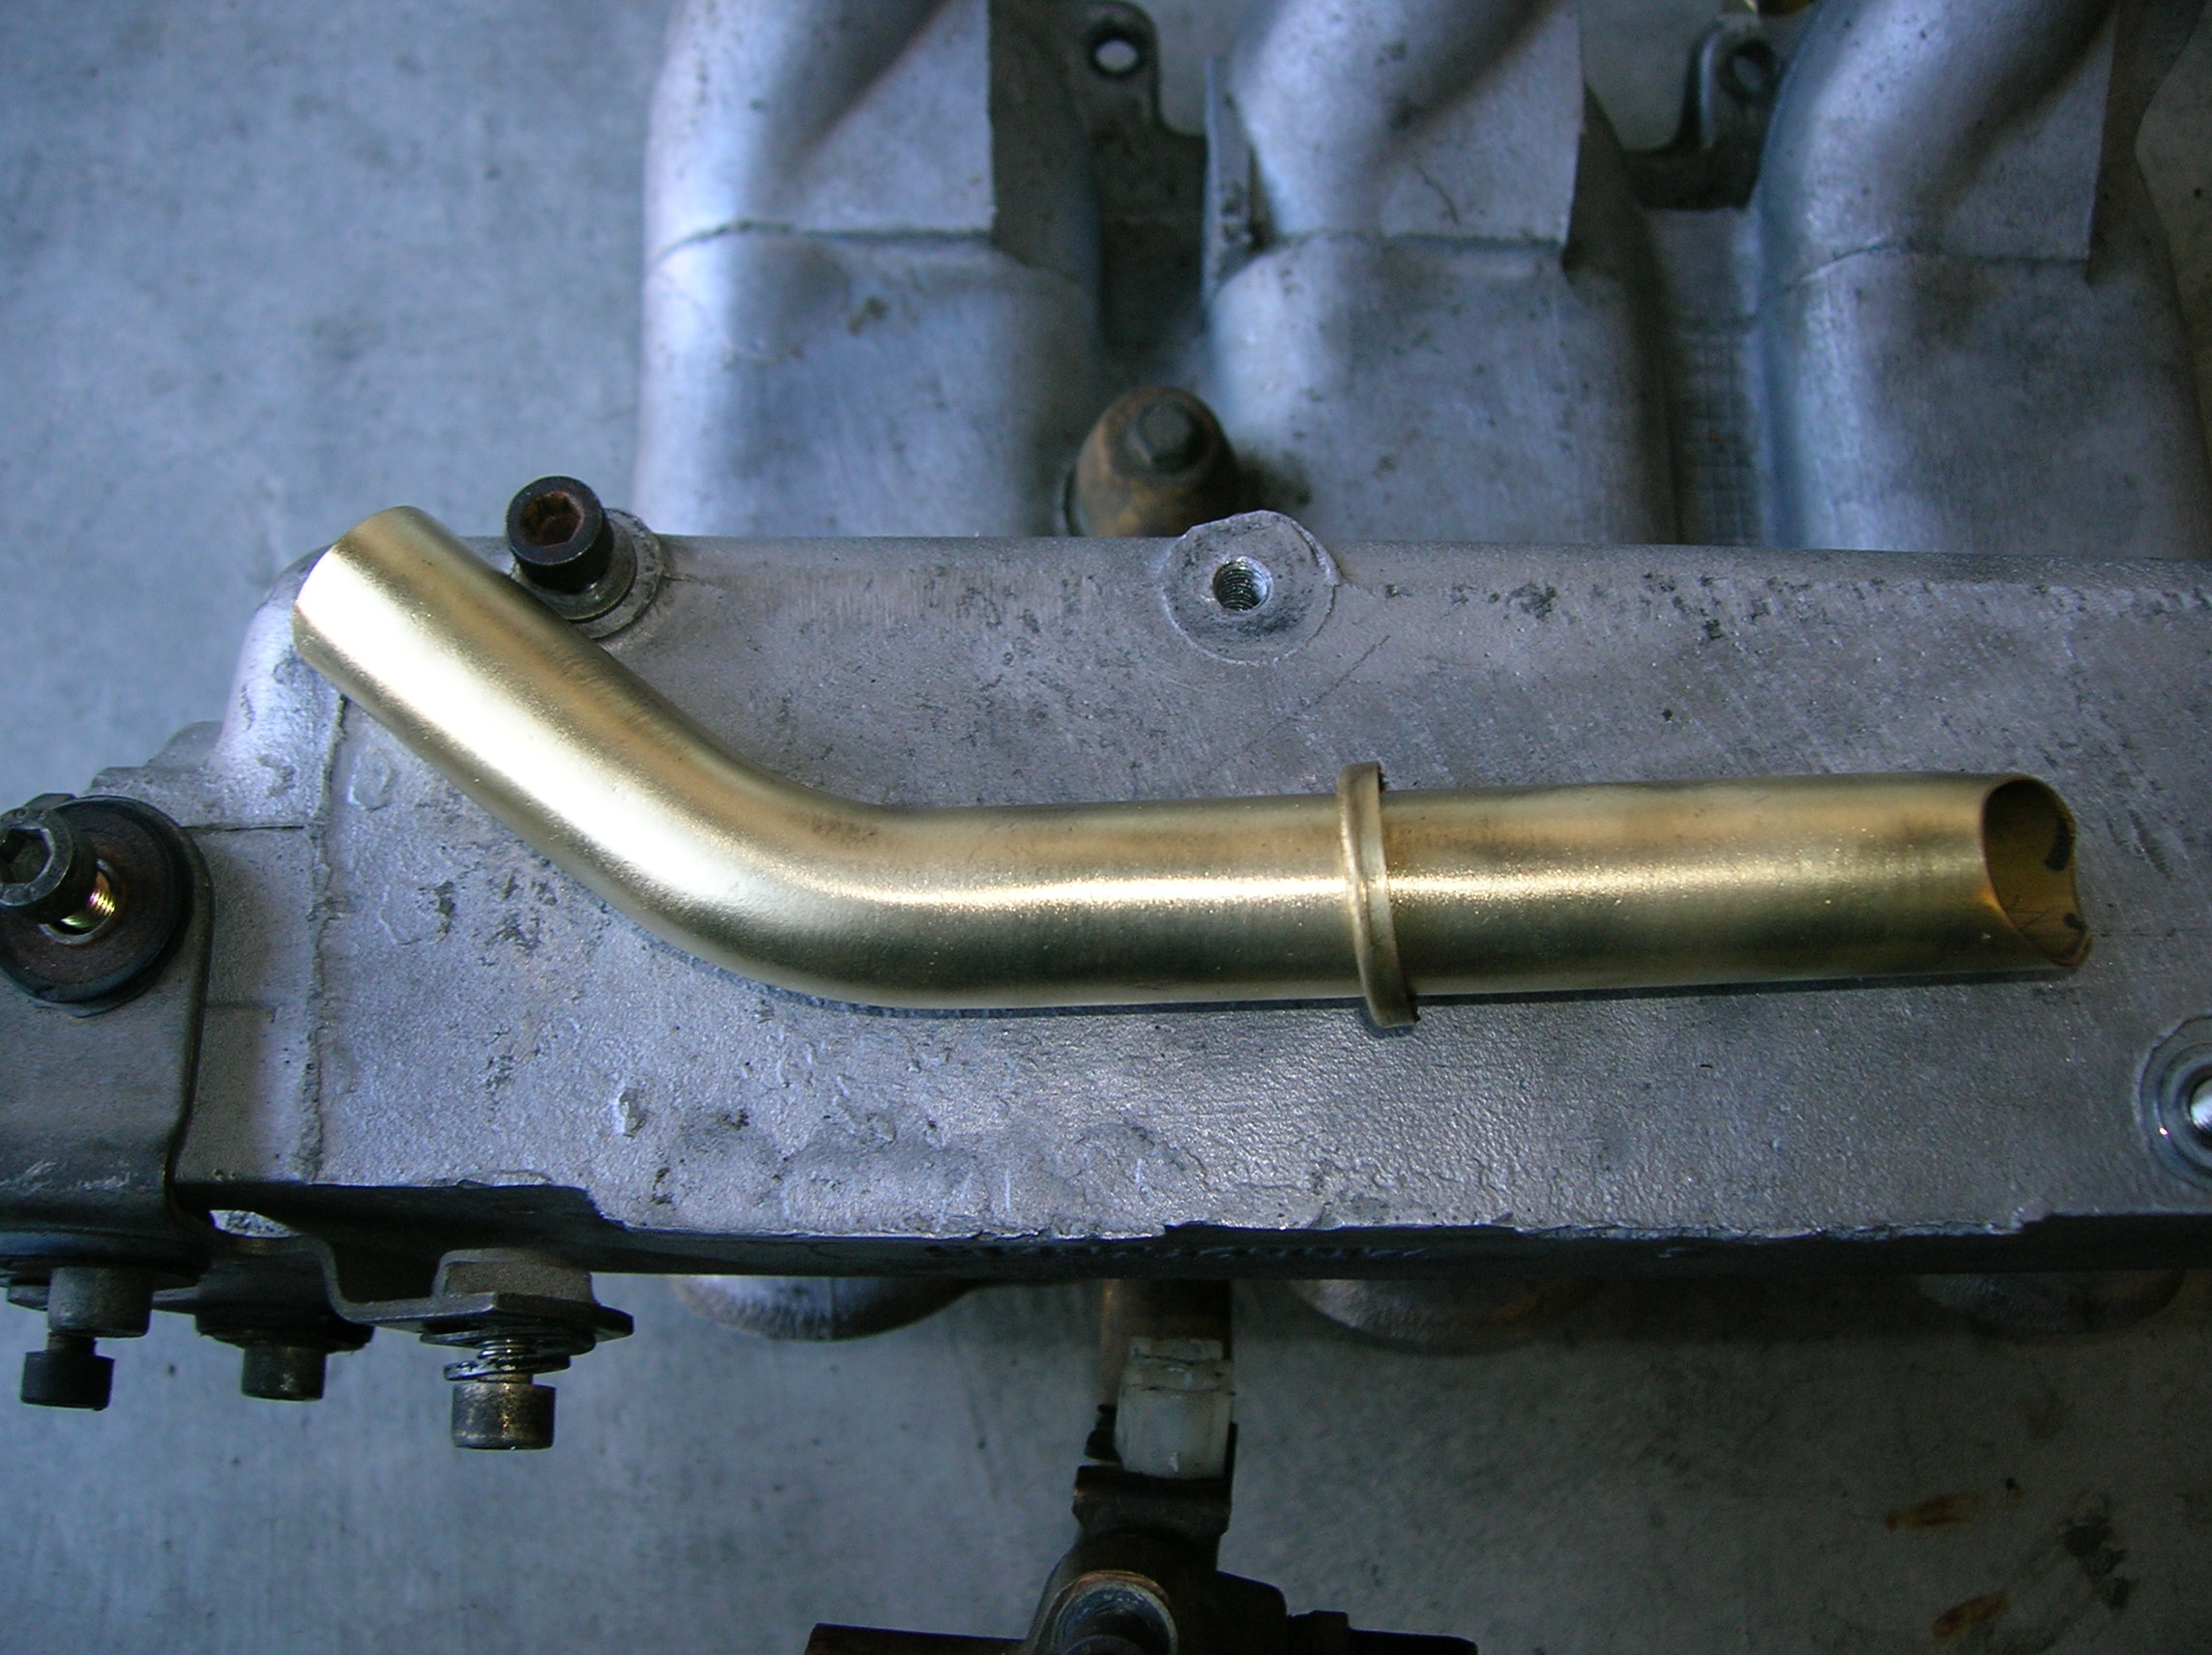
Because I had bought a bench grinder for this job (to clean all the threads of bolts going into new seals) I decided to shine up the idle air pipe. Didn’t take a ‘before’ shot, but it was a dark, burned brass color. You don’t even see this part when it’s installed, but what the hell.
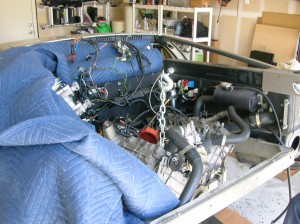
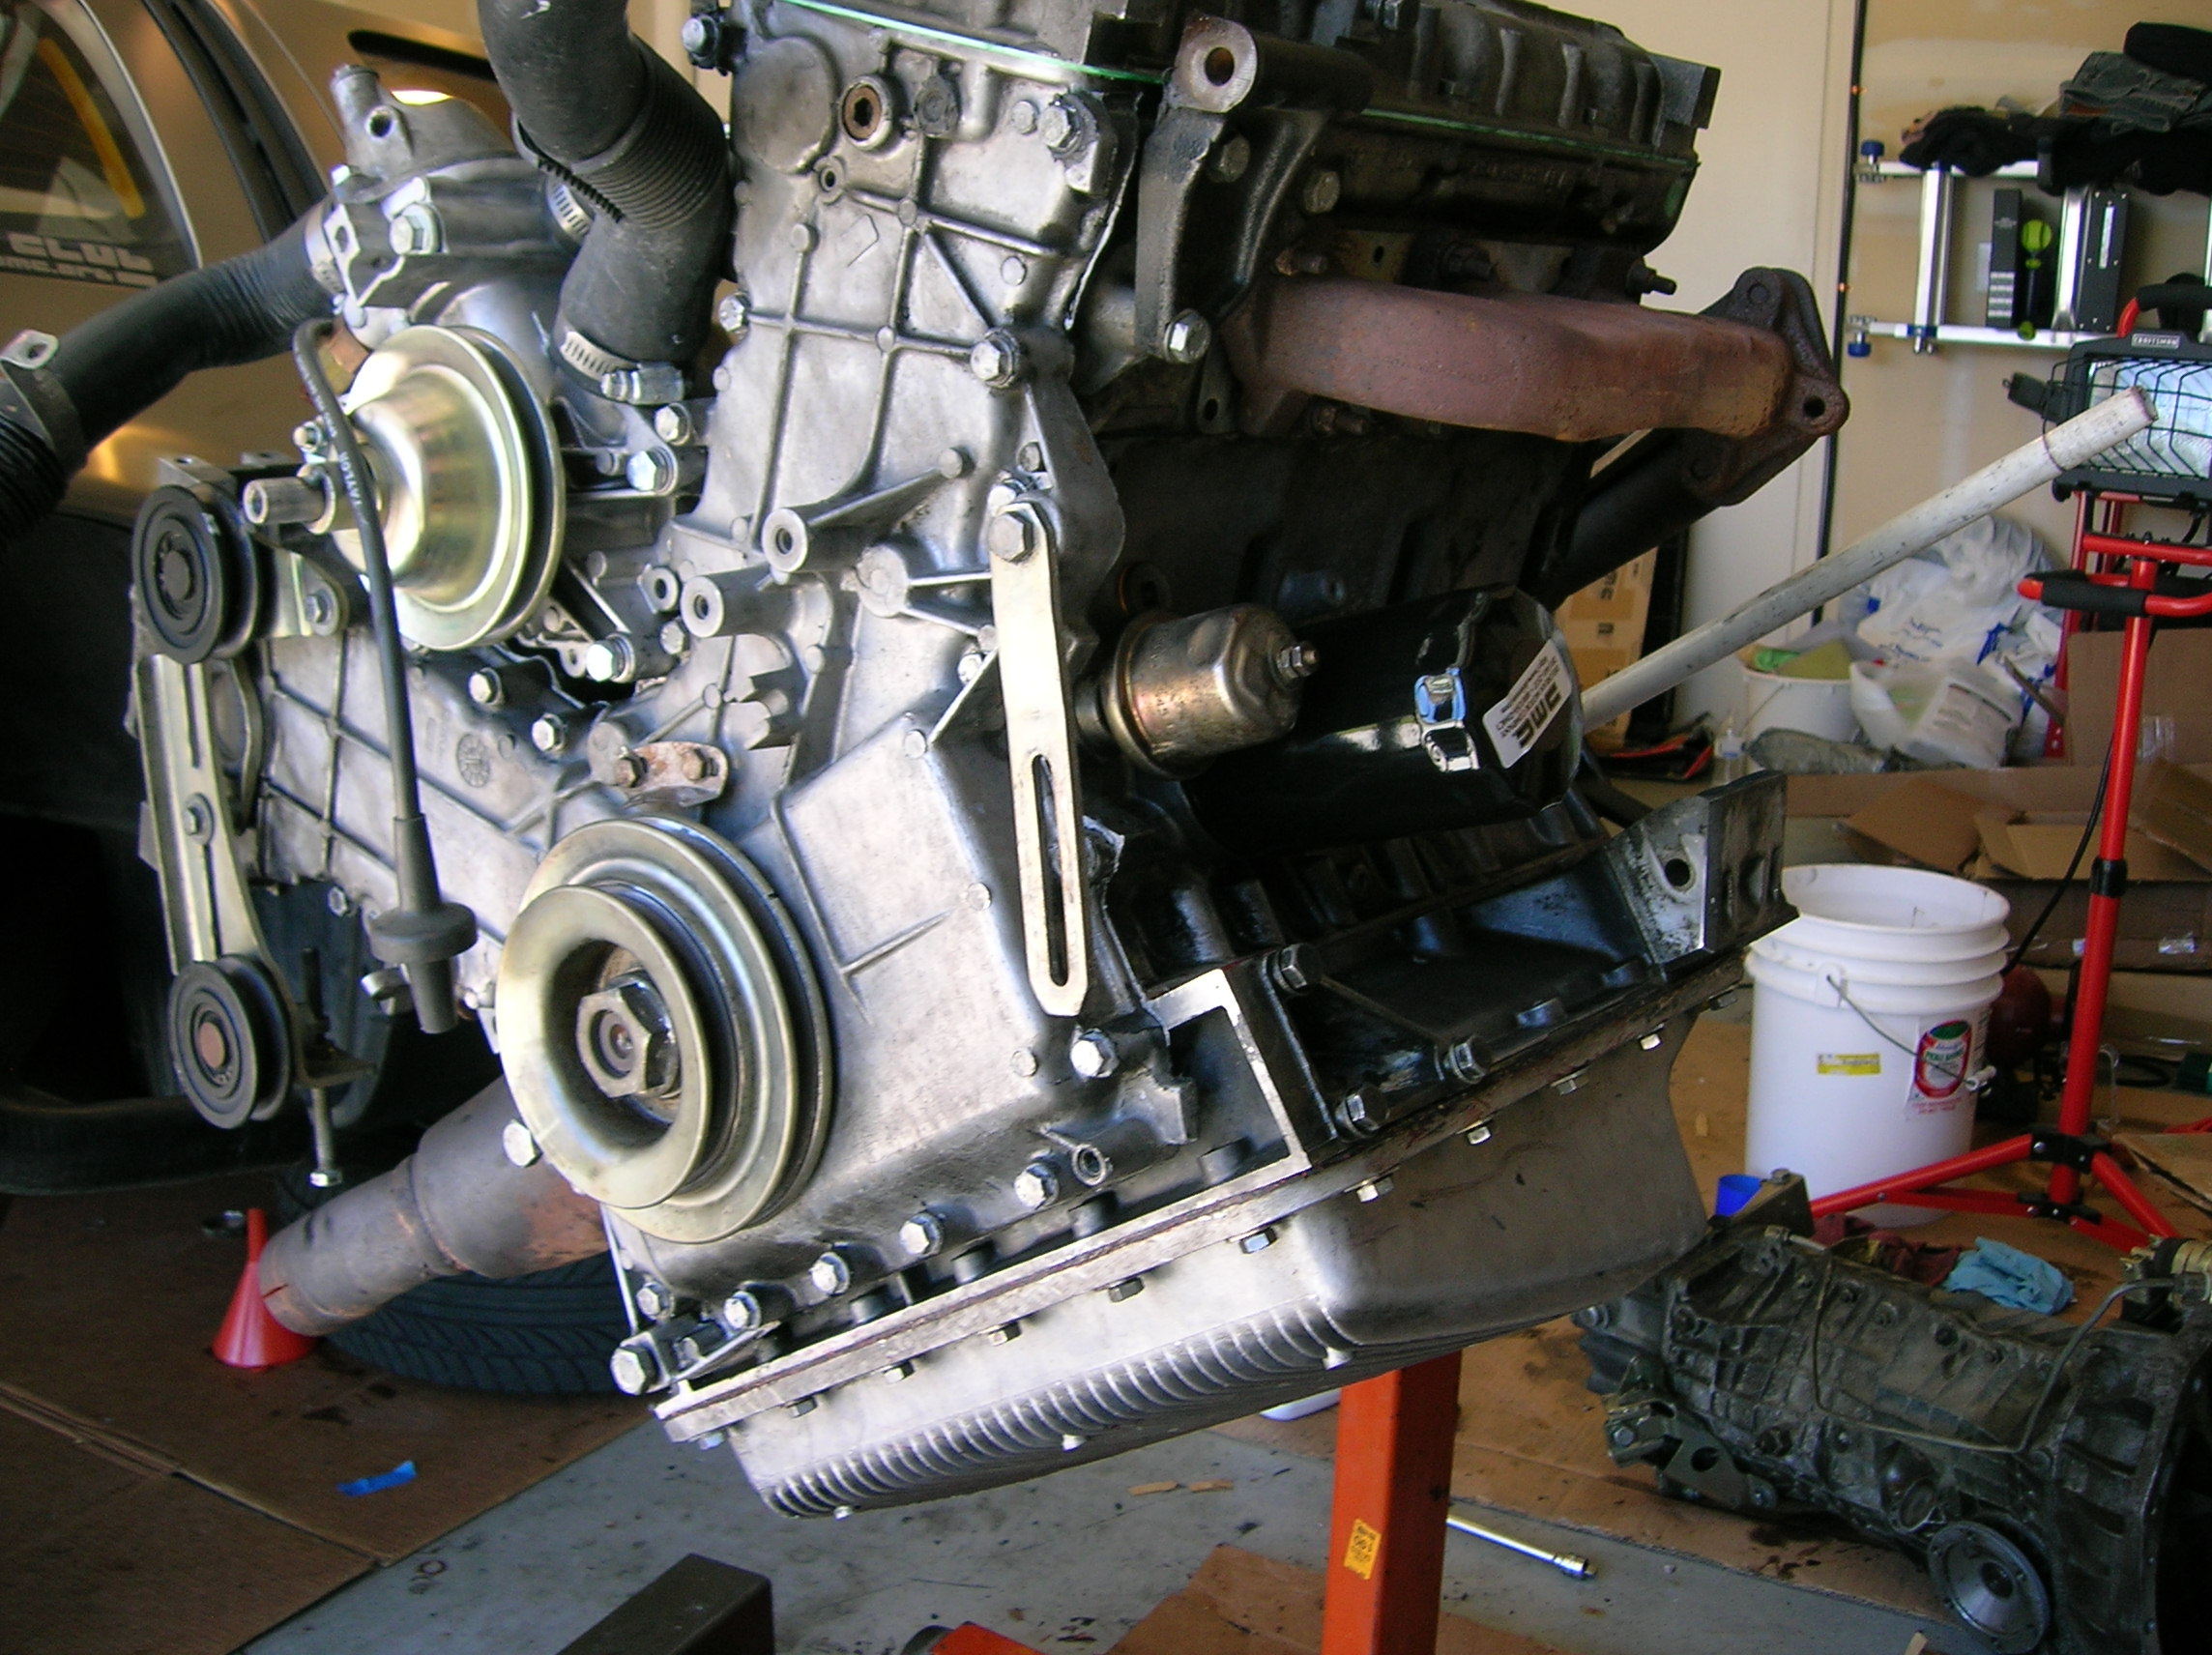
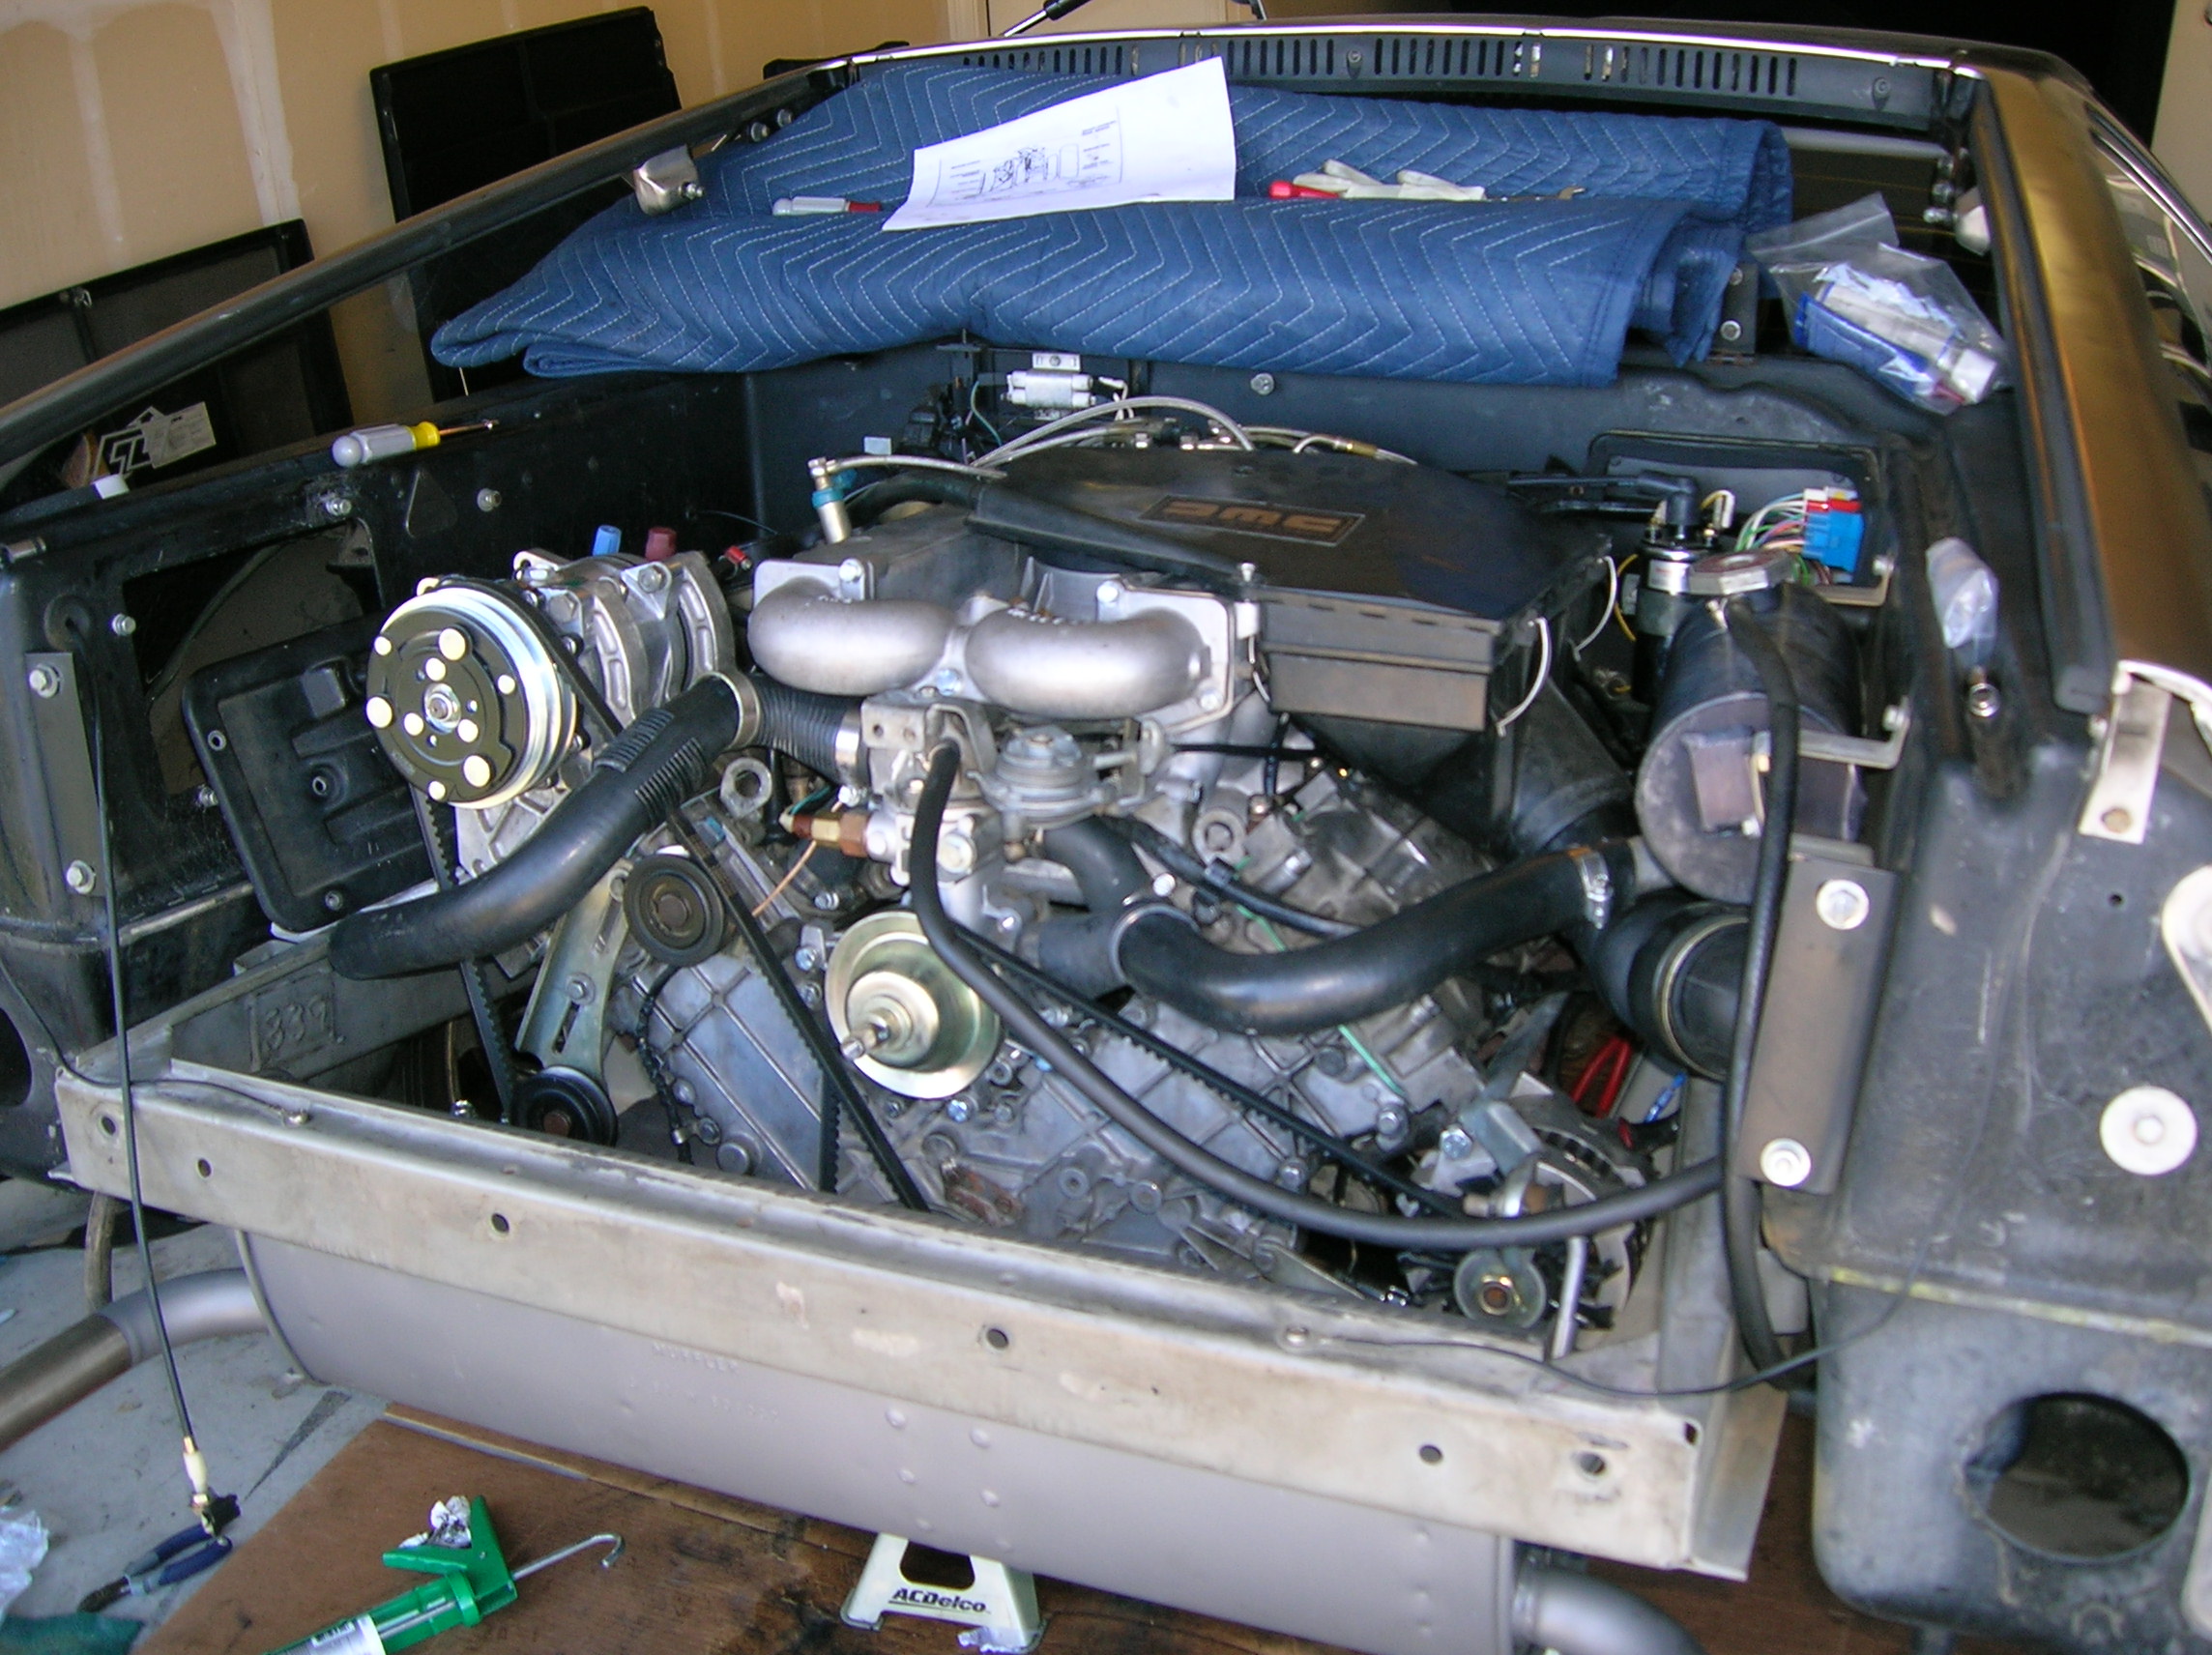
With the top of the motor removed, we unhooked all the coolant hoses, removed the A/C compressor (leaning against the blankets in the upper left) and disconnected all the electrical harnesses. Hooking the crane up…
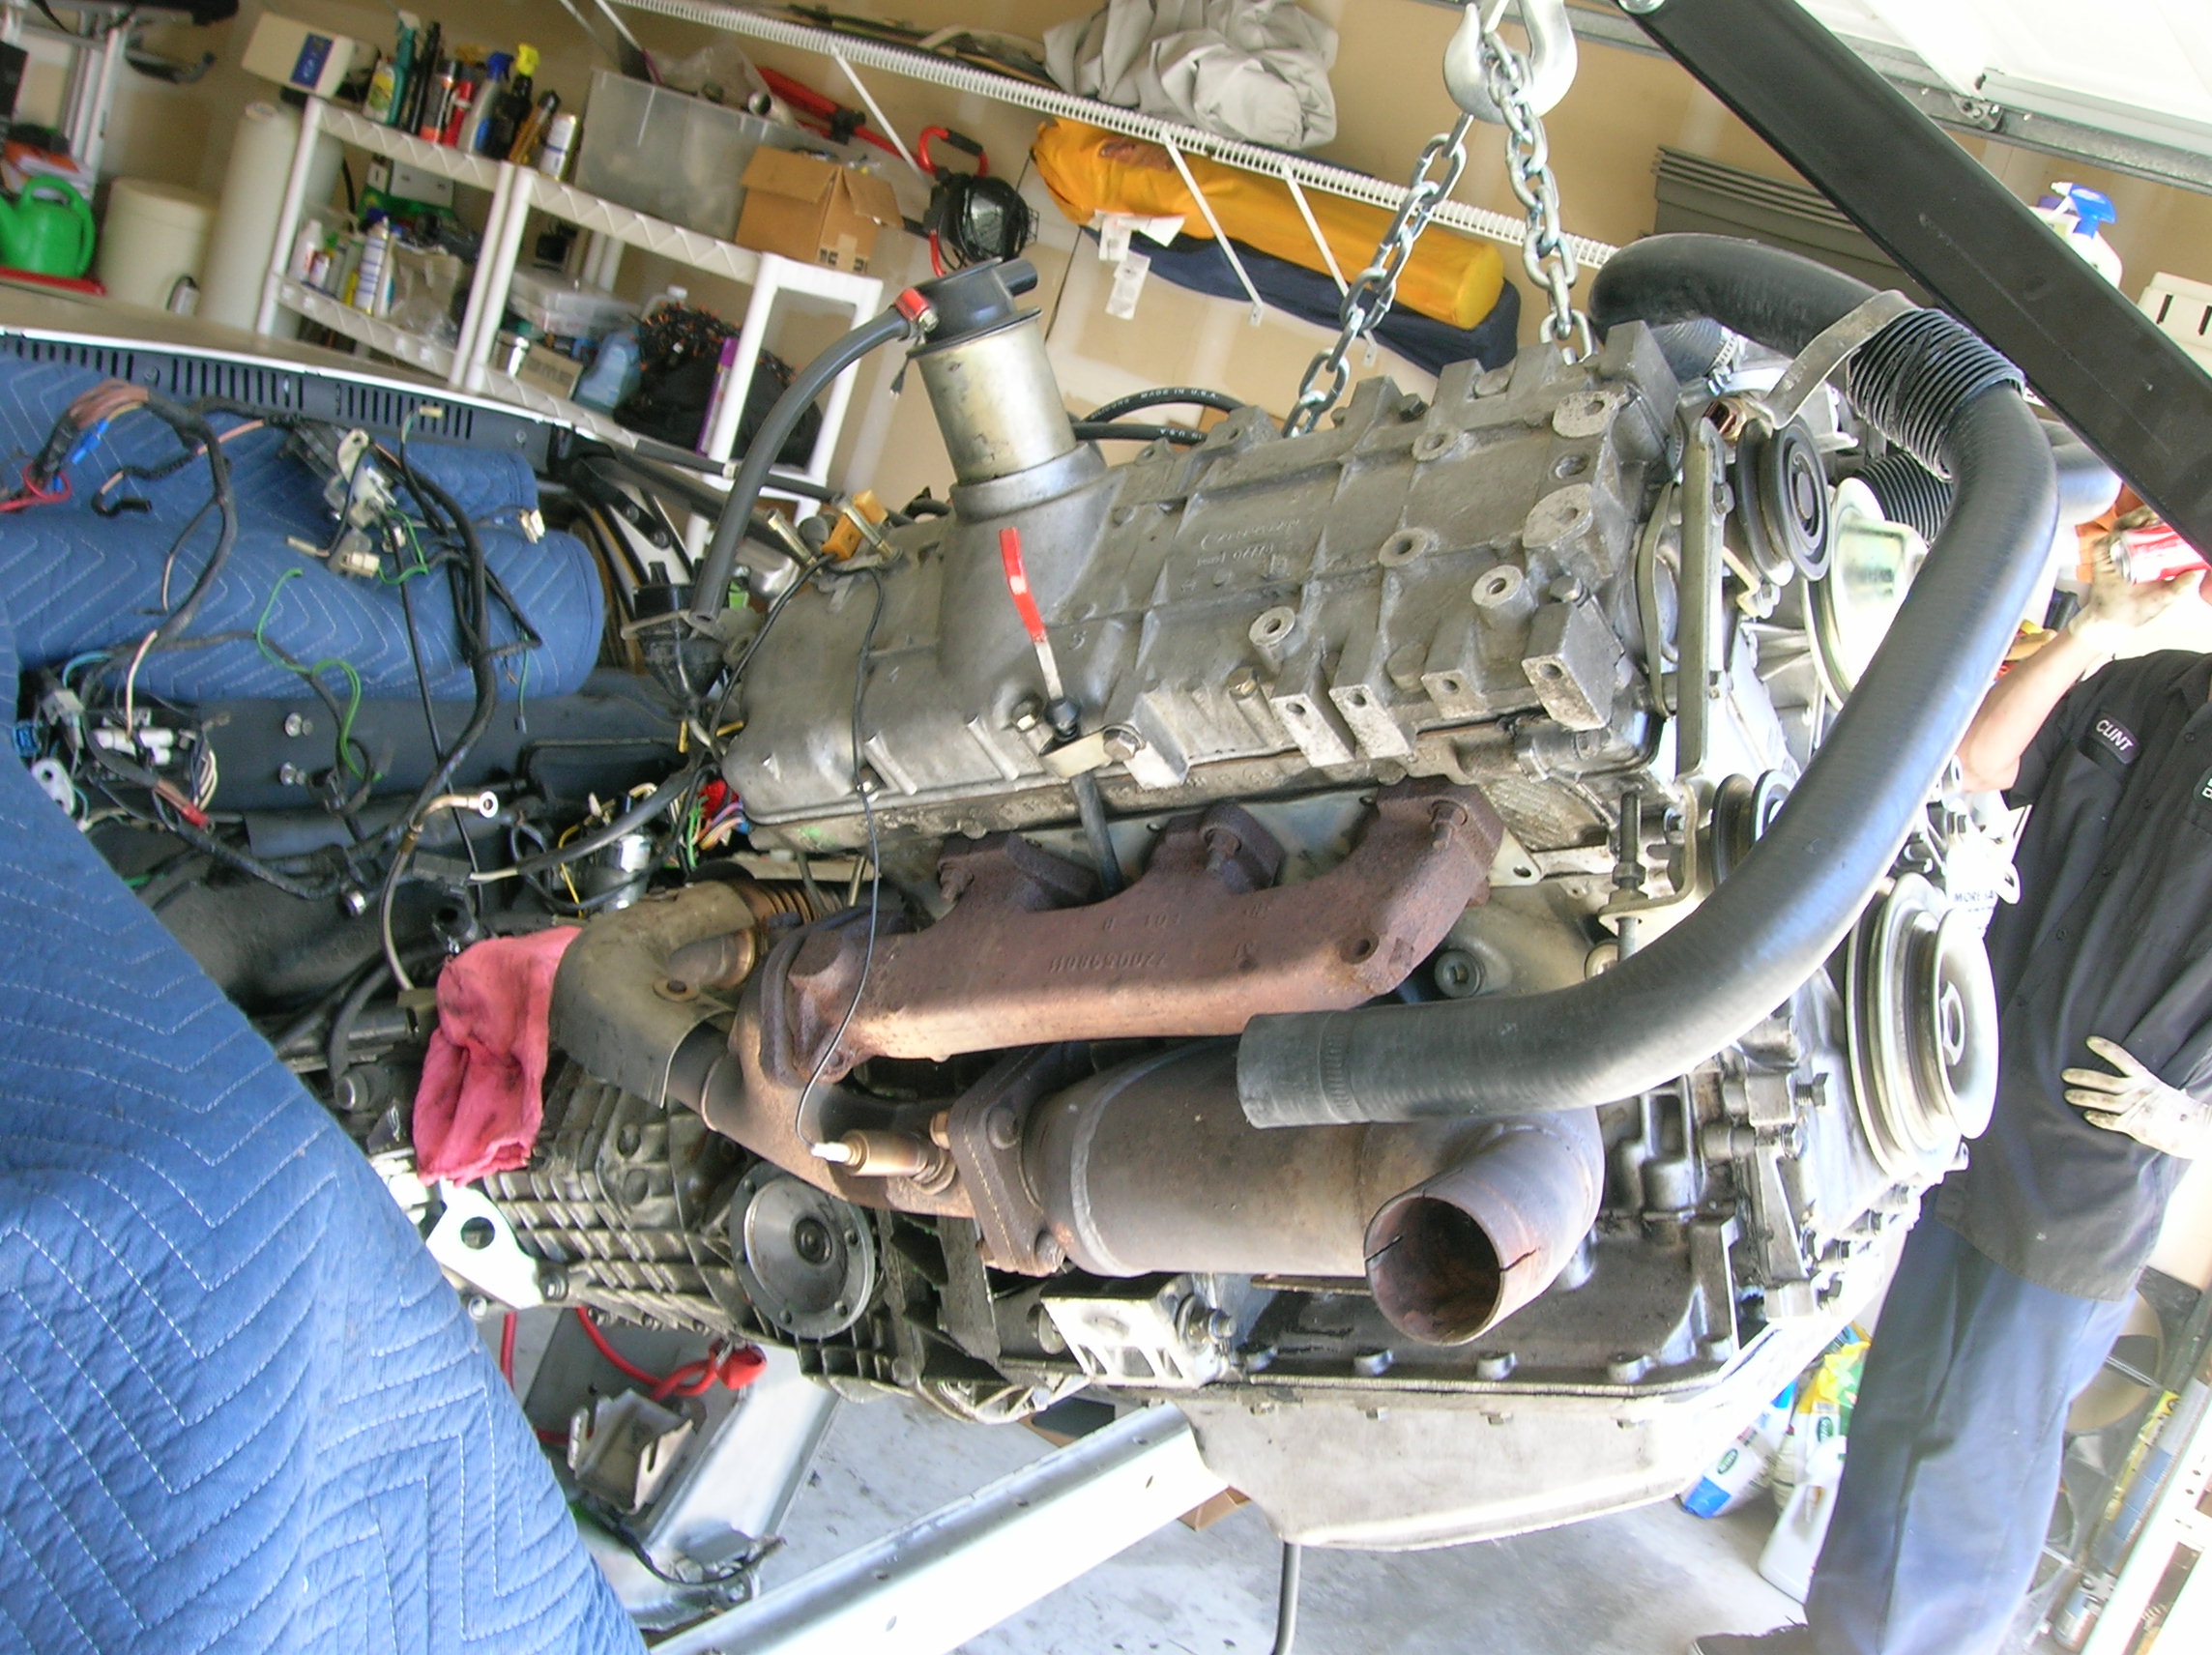
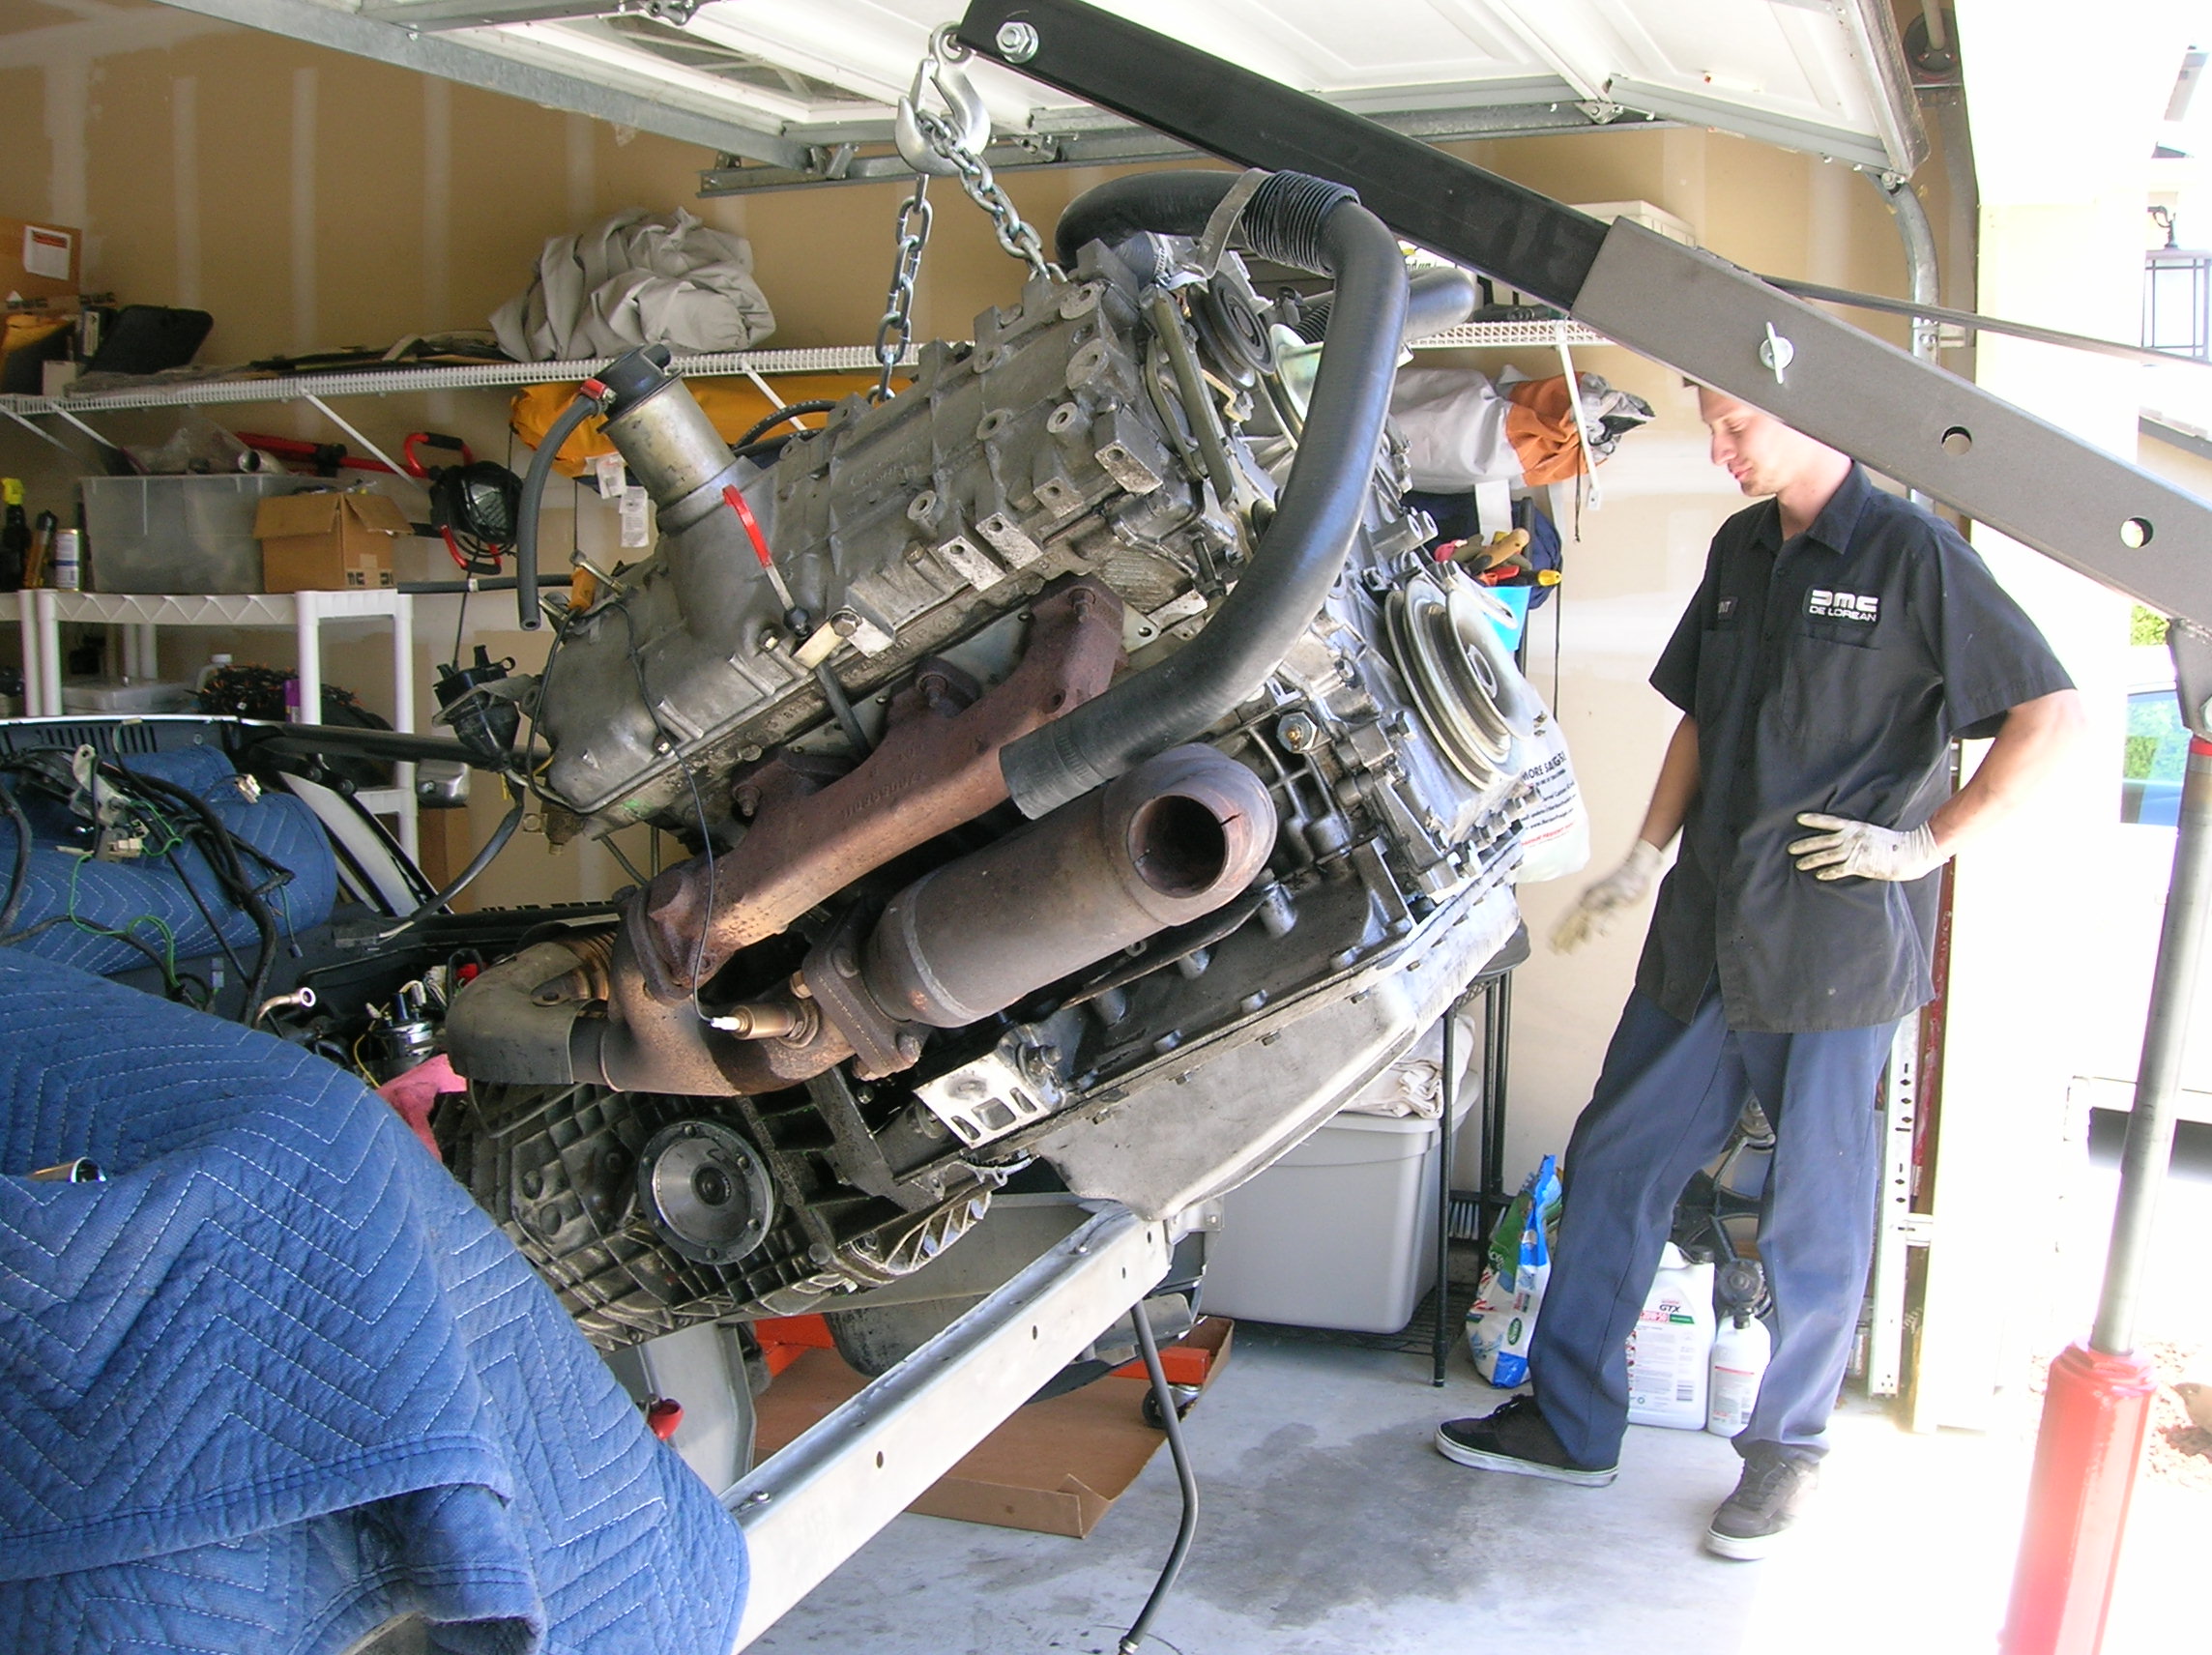
Up and out! We are getting good at this… a little too good.
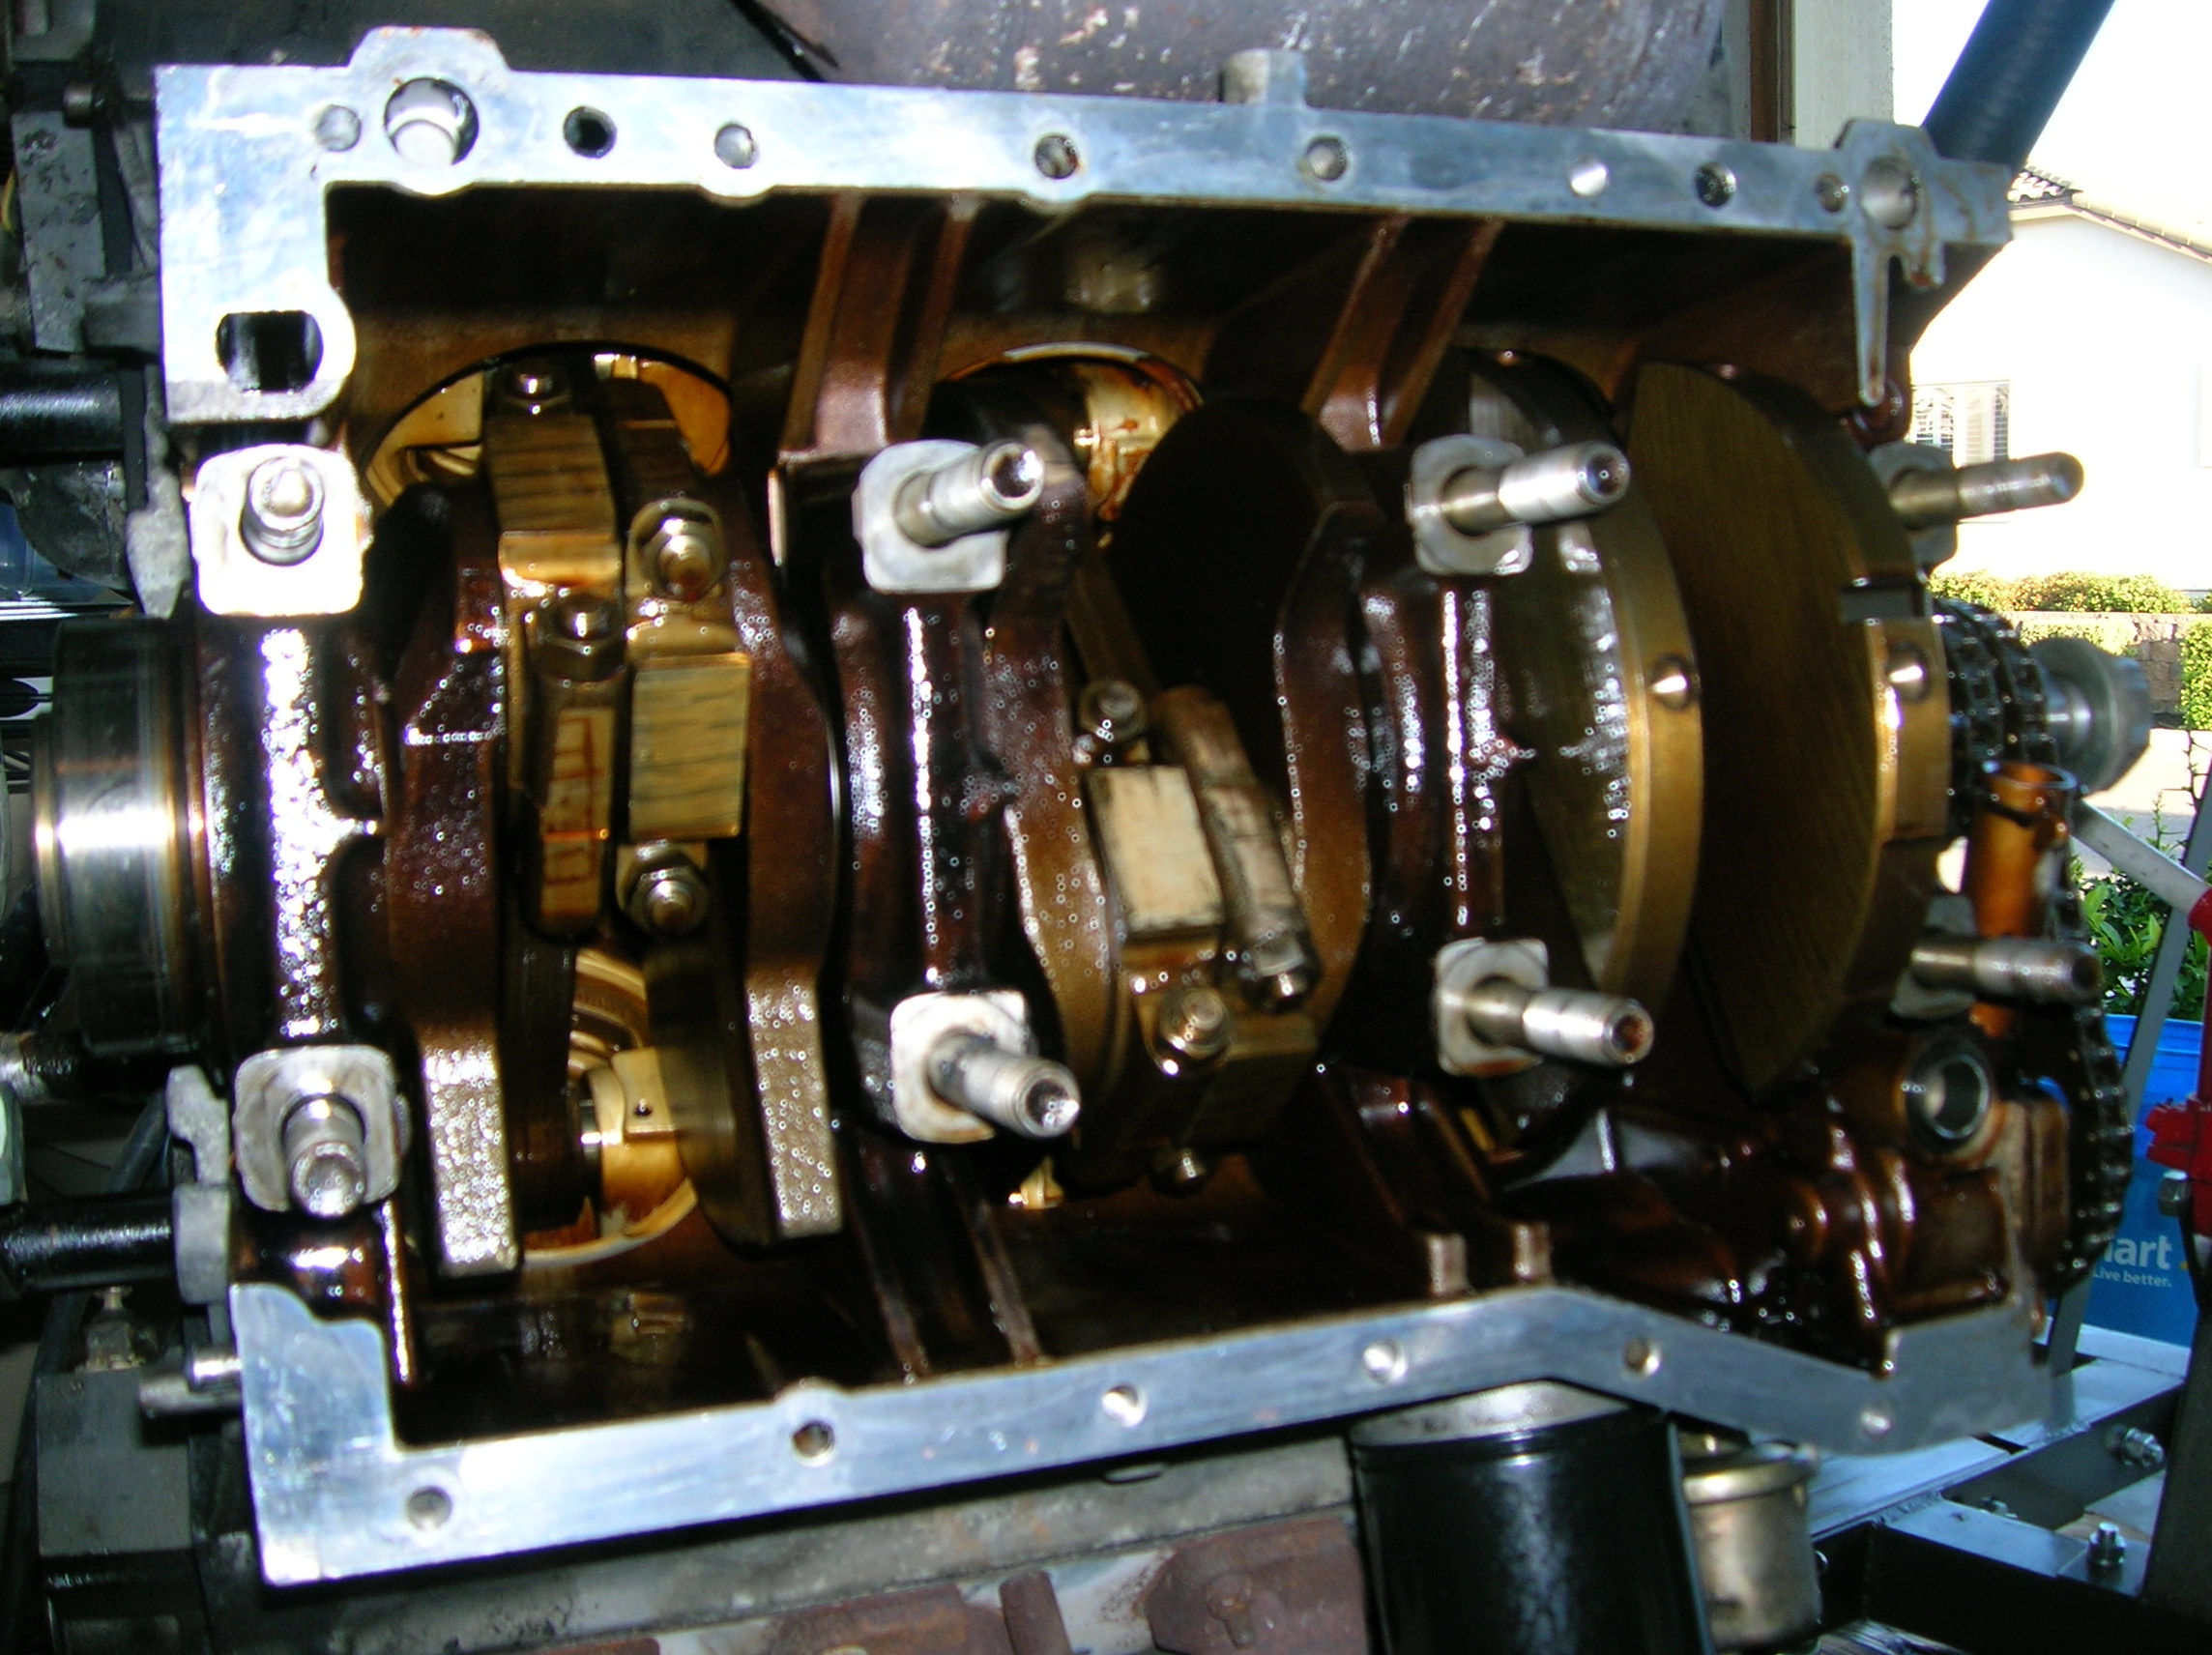

One of the seal surfaces that wasn’t quite right was the metal to metal joint between the lower girdle and the block. So we transferred the motor to the stand, removed the pan and girdle and tried again. This time we cleaned all the sealing surfaces with a fancy 3M abrasive bristle brush on a die grinder. Sometimes having the right tool for a job makes all the difference – last time we went at the old seals with razor blades and chisels and it took hours. This bristle disk made very short work out of a much better cleanup job.
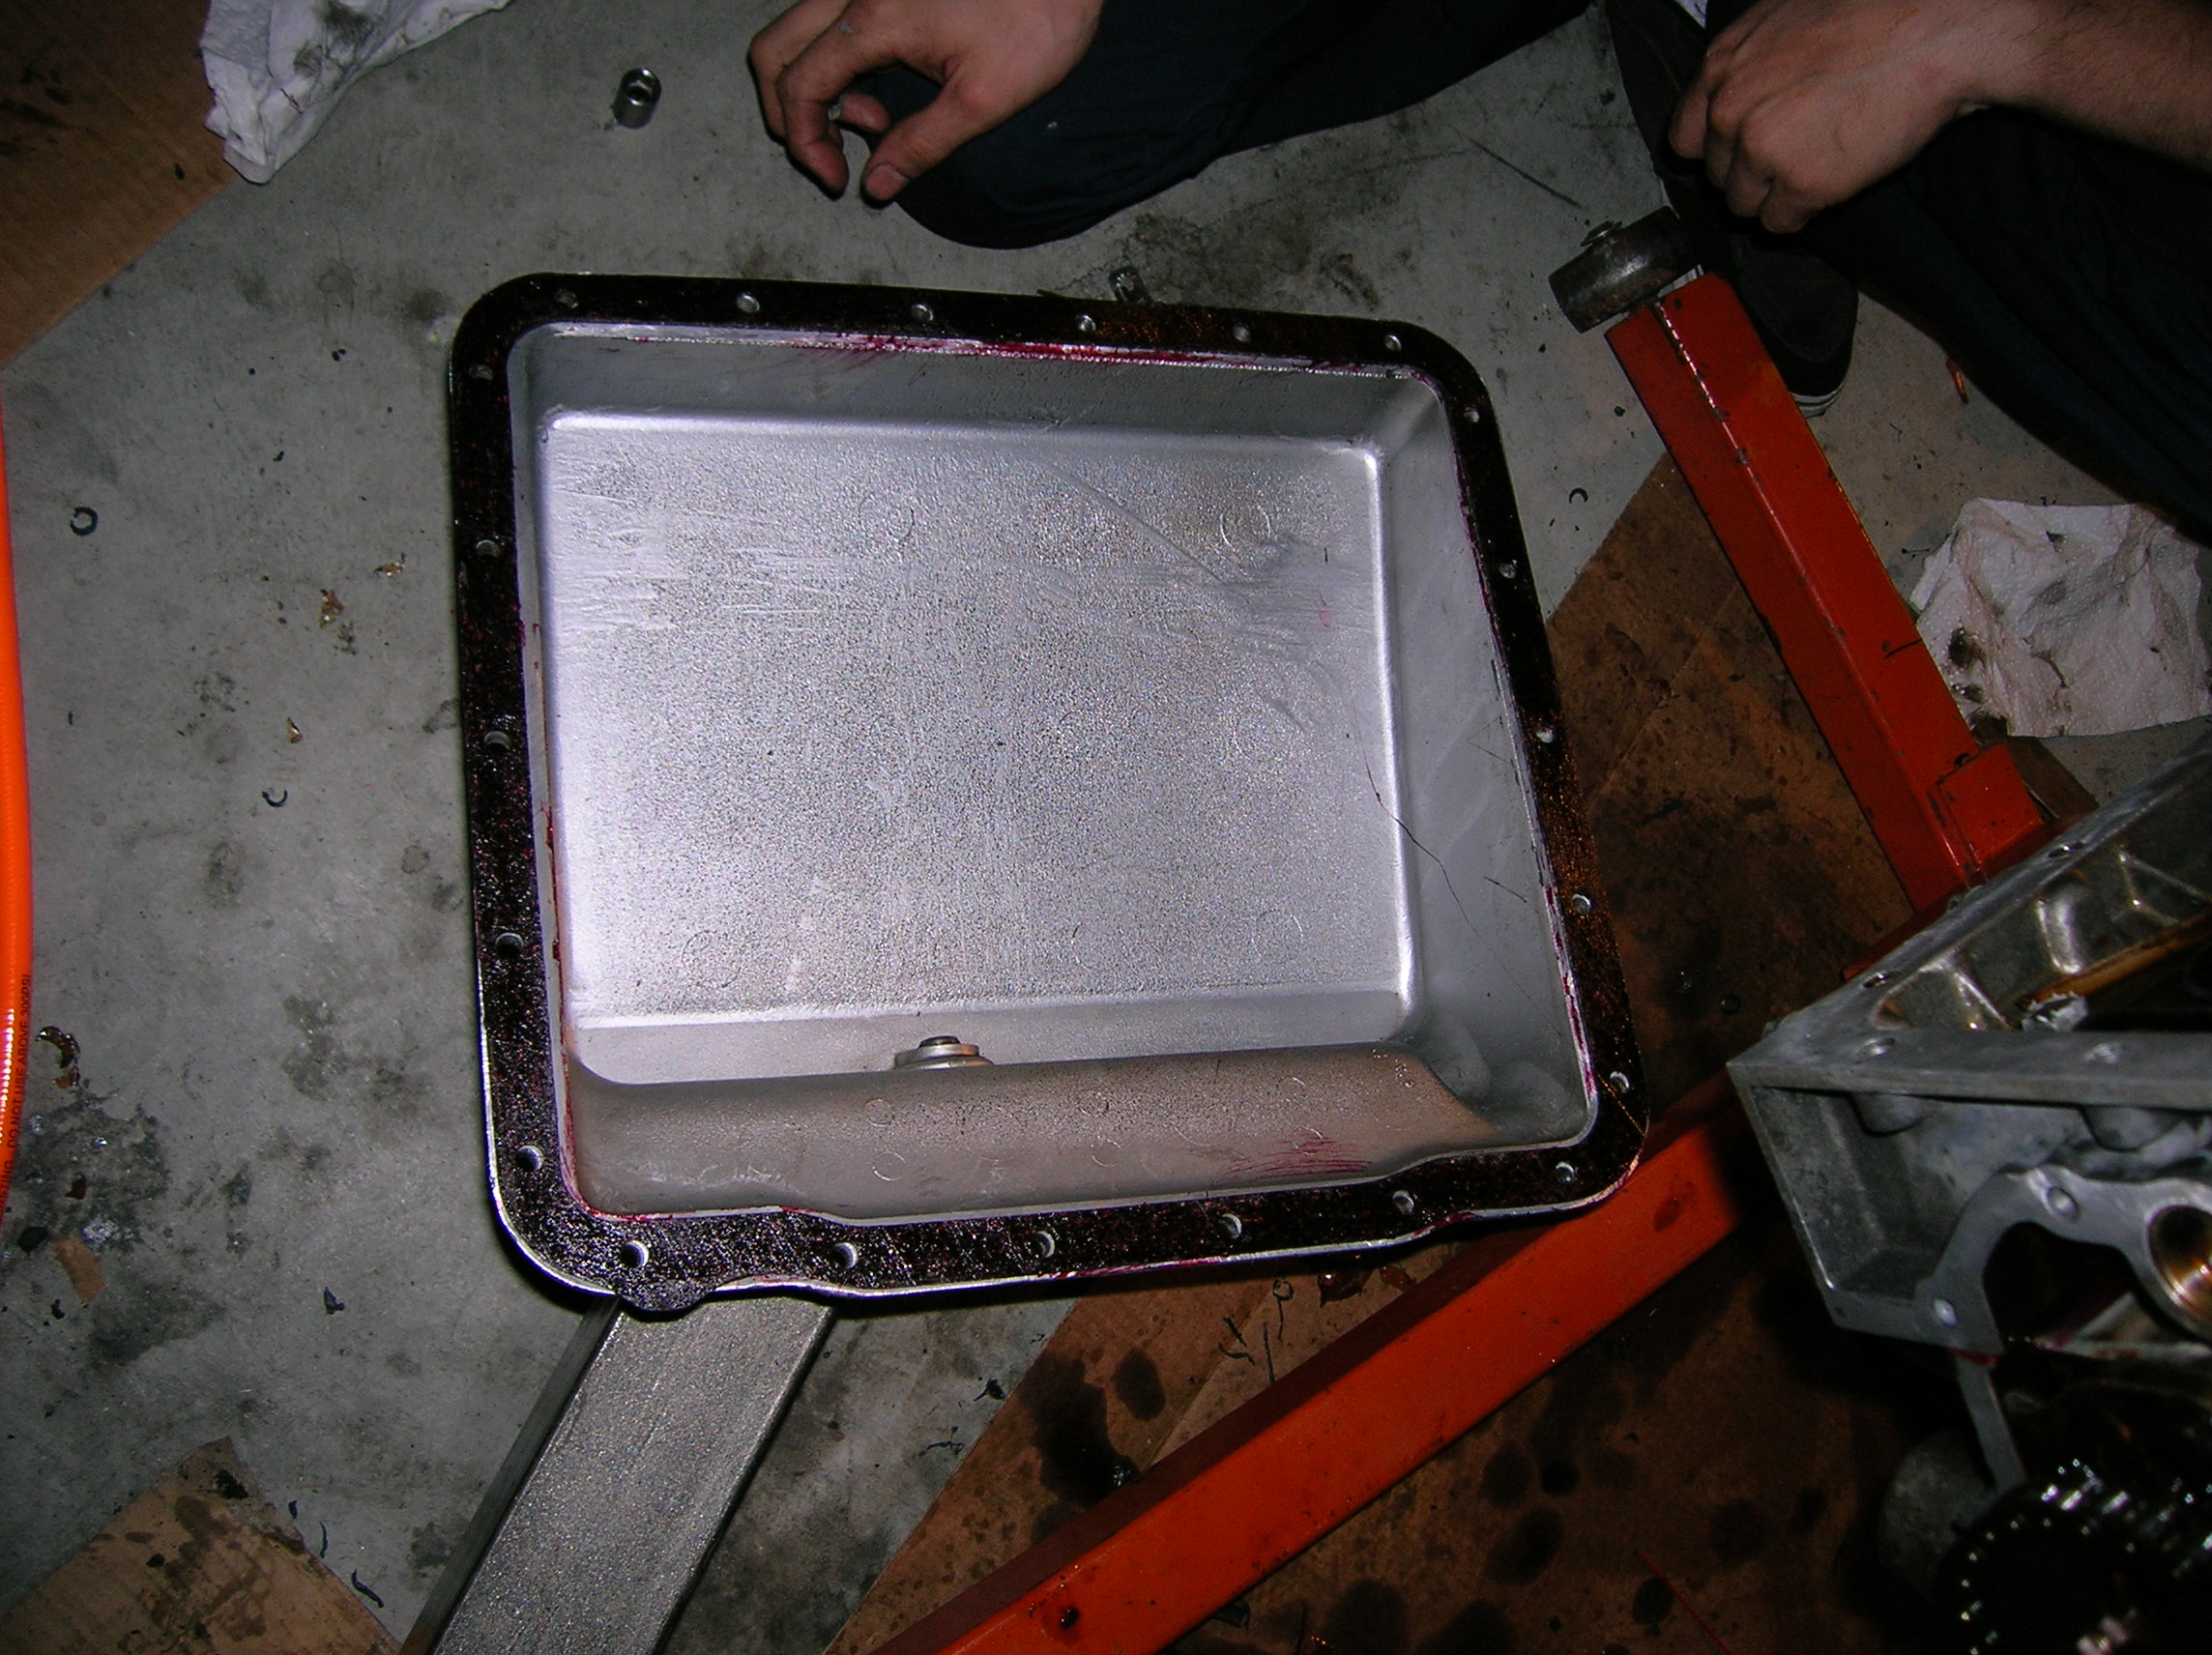
Here’s the oil pan. This actually was not leaking last time, so it’s a shame we had to remove it and try again. My research turned up that we should use an OEM gasket instead of the Right Stuff sealant we had used the last time, so here it is. The sealant from last time was holding on so well that we had to run out and buy a blowtorch to burn it off. Foreshadowing? Perhaps…
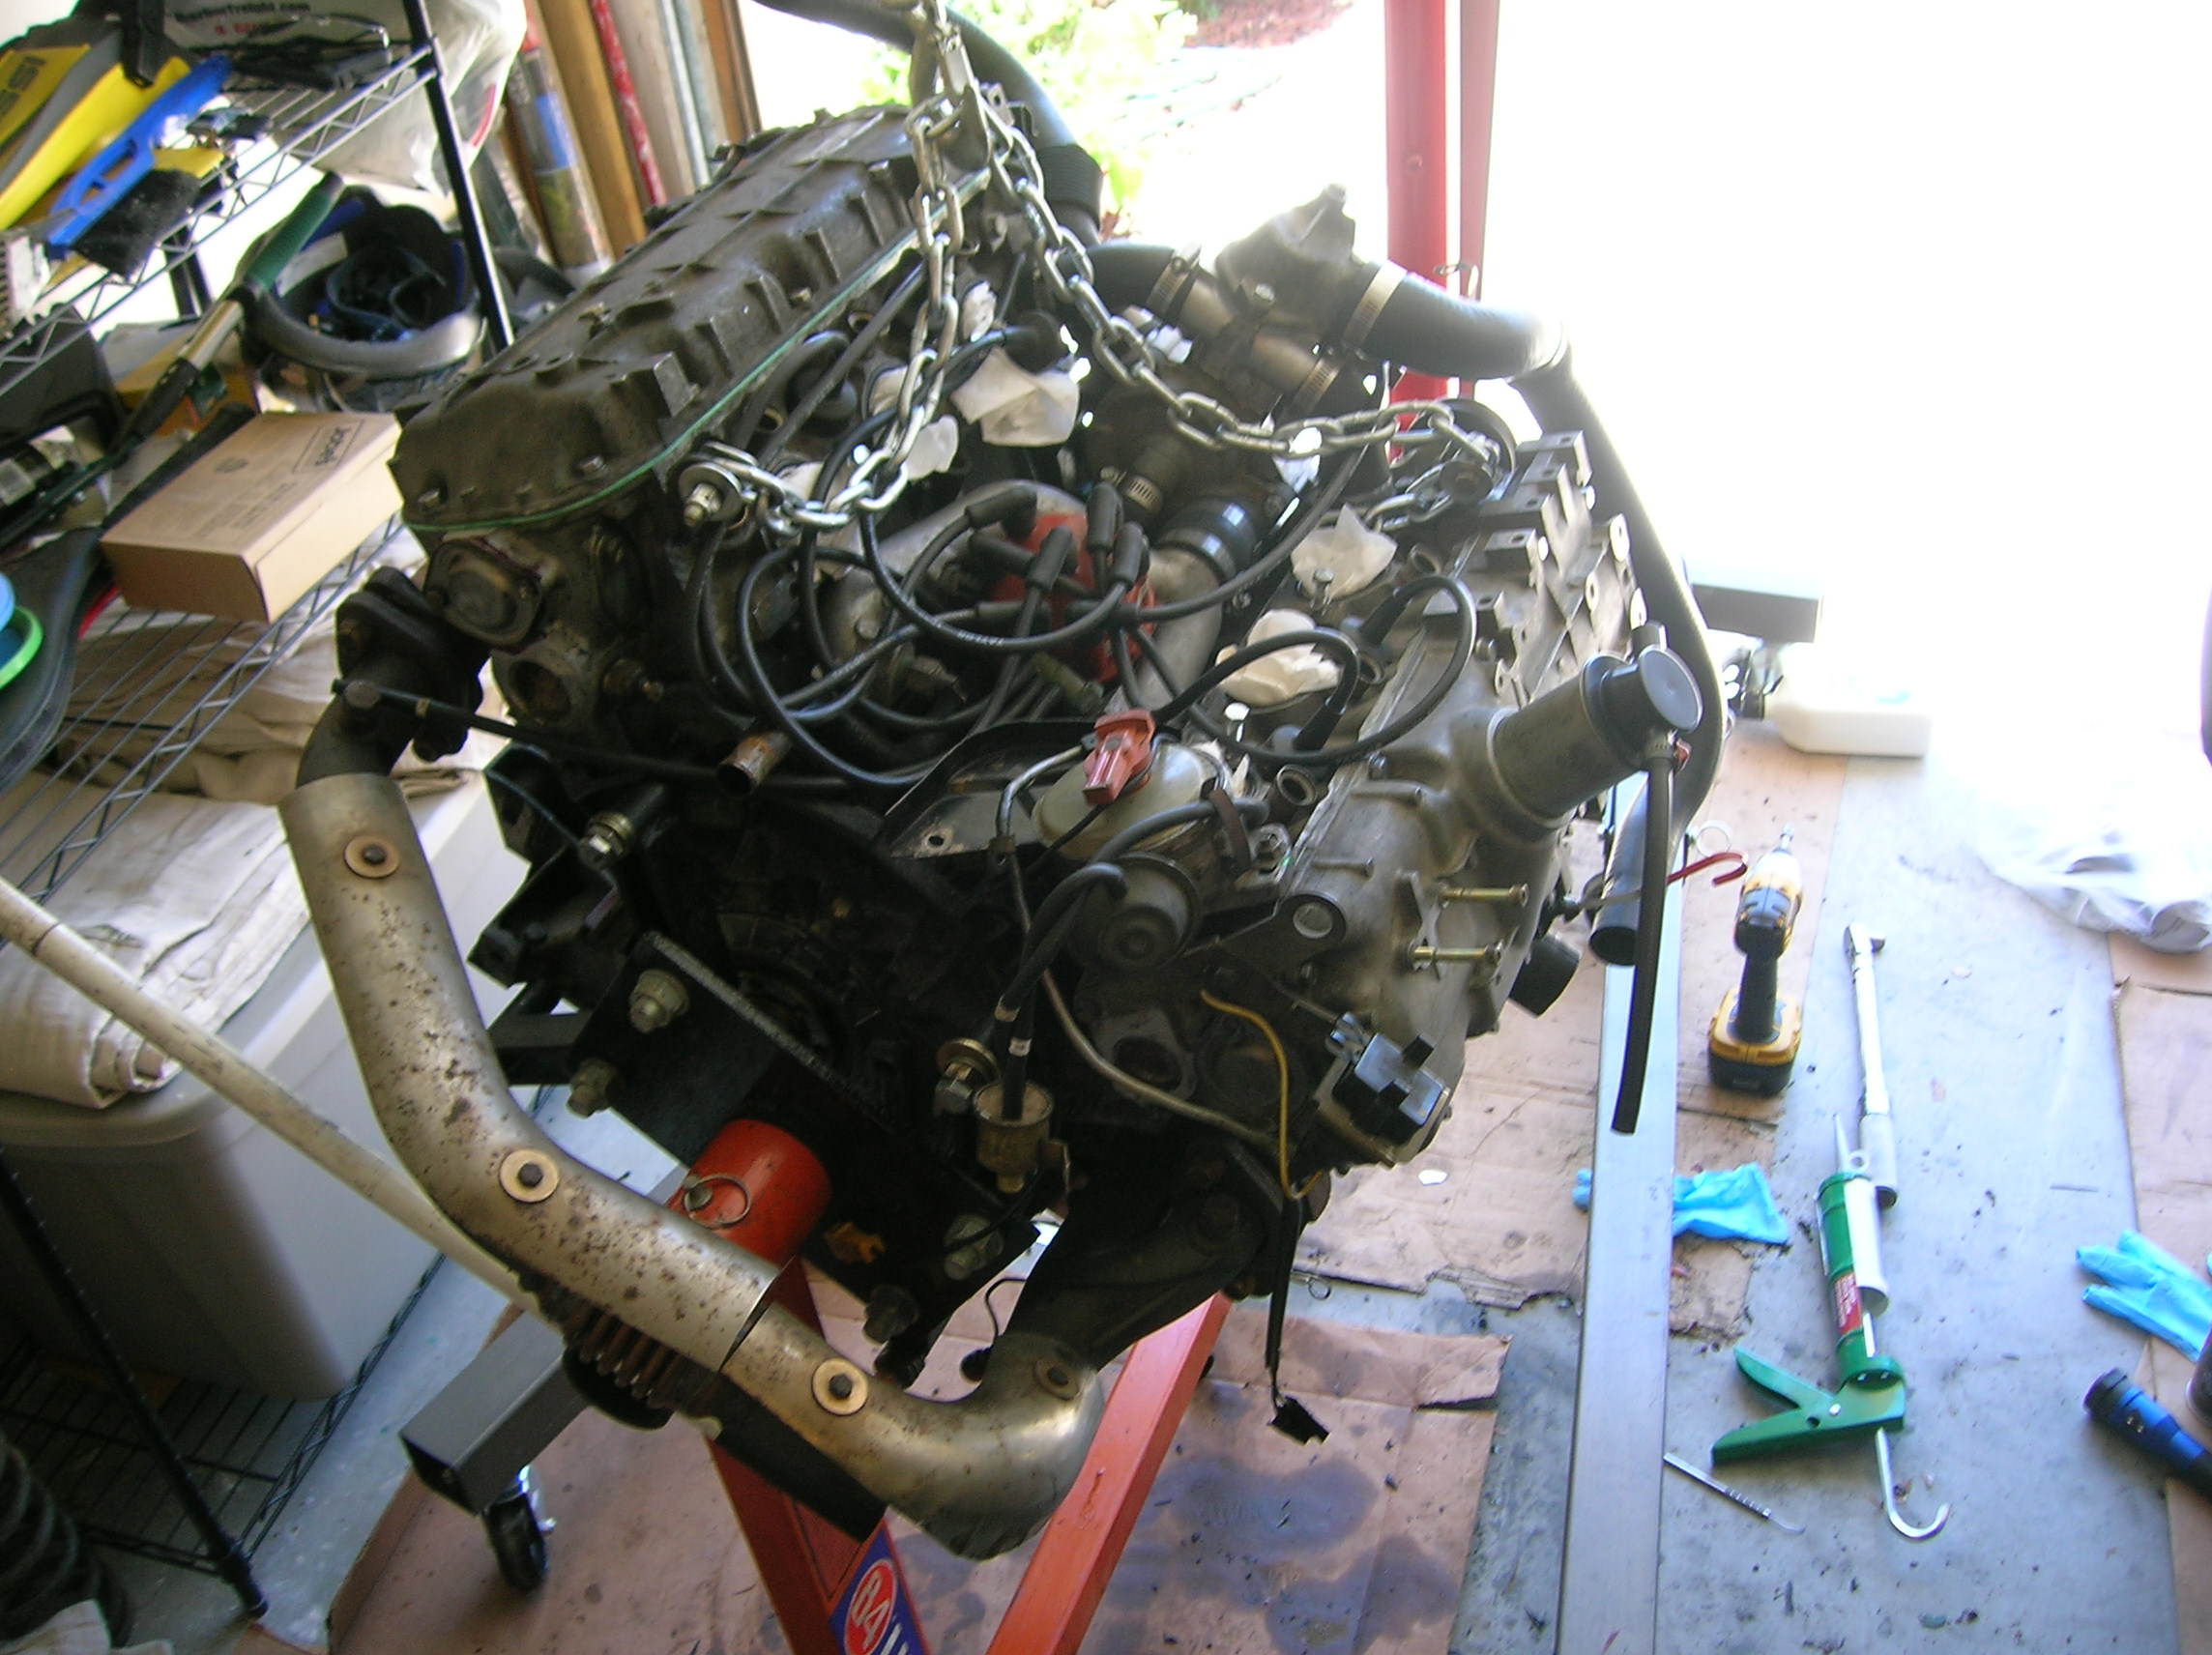
Front and back of the motor, all reassembled and testing for overall tightness. We also re-did the timing cover and valve cover gaskets, but didn’t take any photos of that this time. The trick with the timing cover is to use a lot of Right Stuff sealant as well as sealing the threads of all the bolts, as many of them don’t go into blind holes.
As we were torquing down the oil pan bolts, however, Clint noticed that the gasket seemed to be deforming excessively. It was crushing and spreading and oozing out of the seam. It didn’t look good, but without a better alternative (and since we were told it would be fine), we moved on.
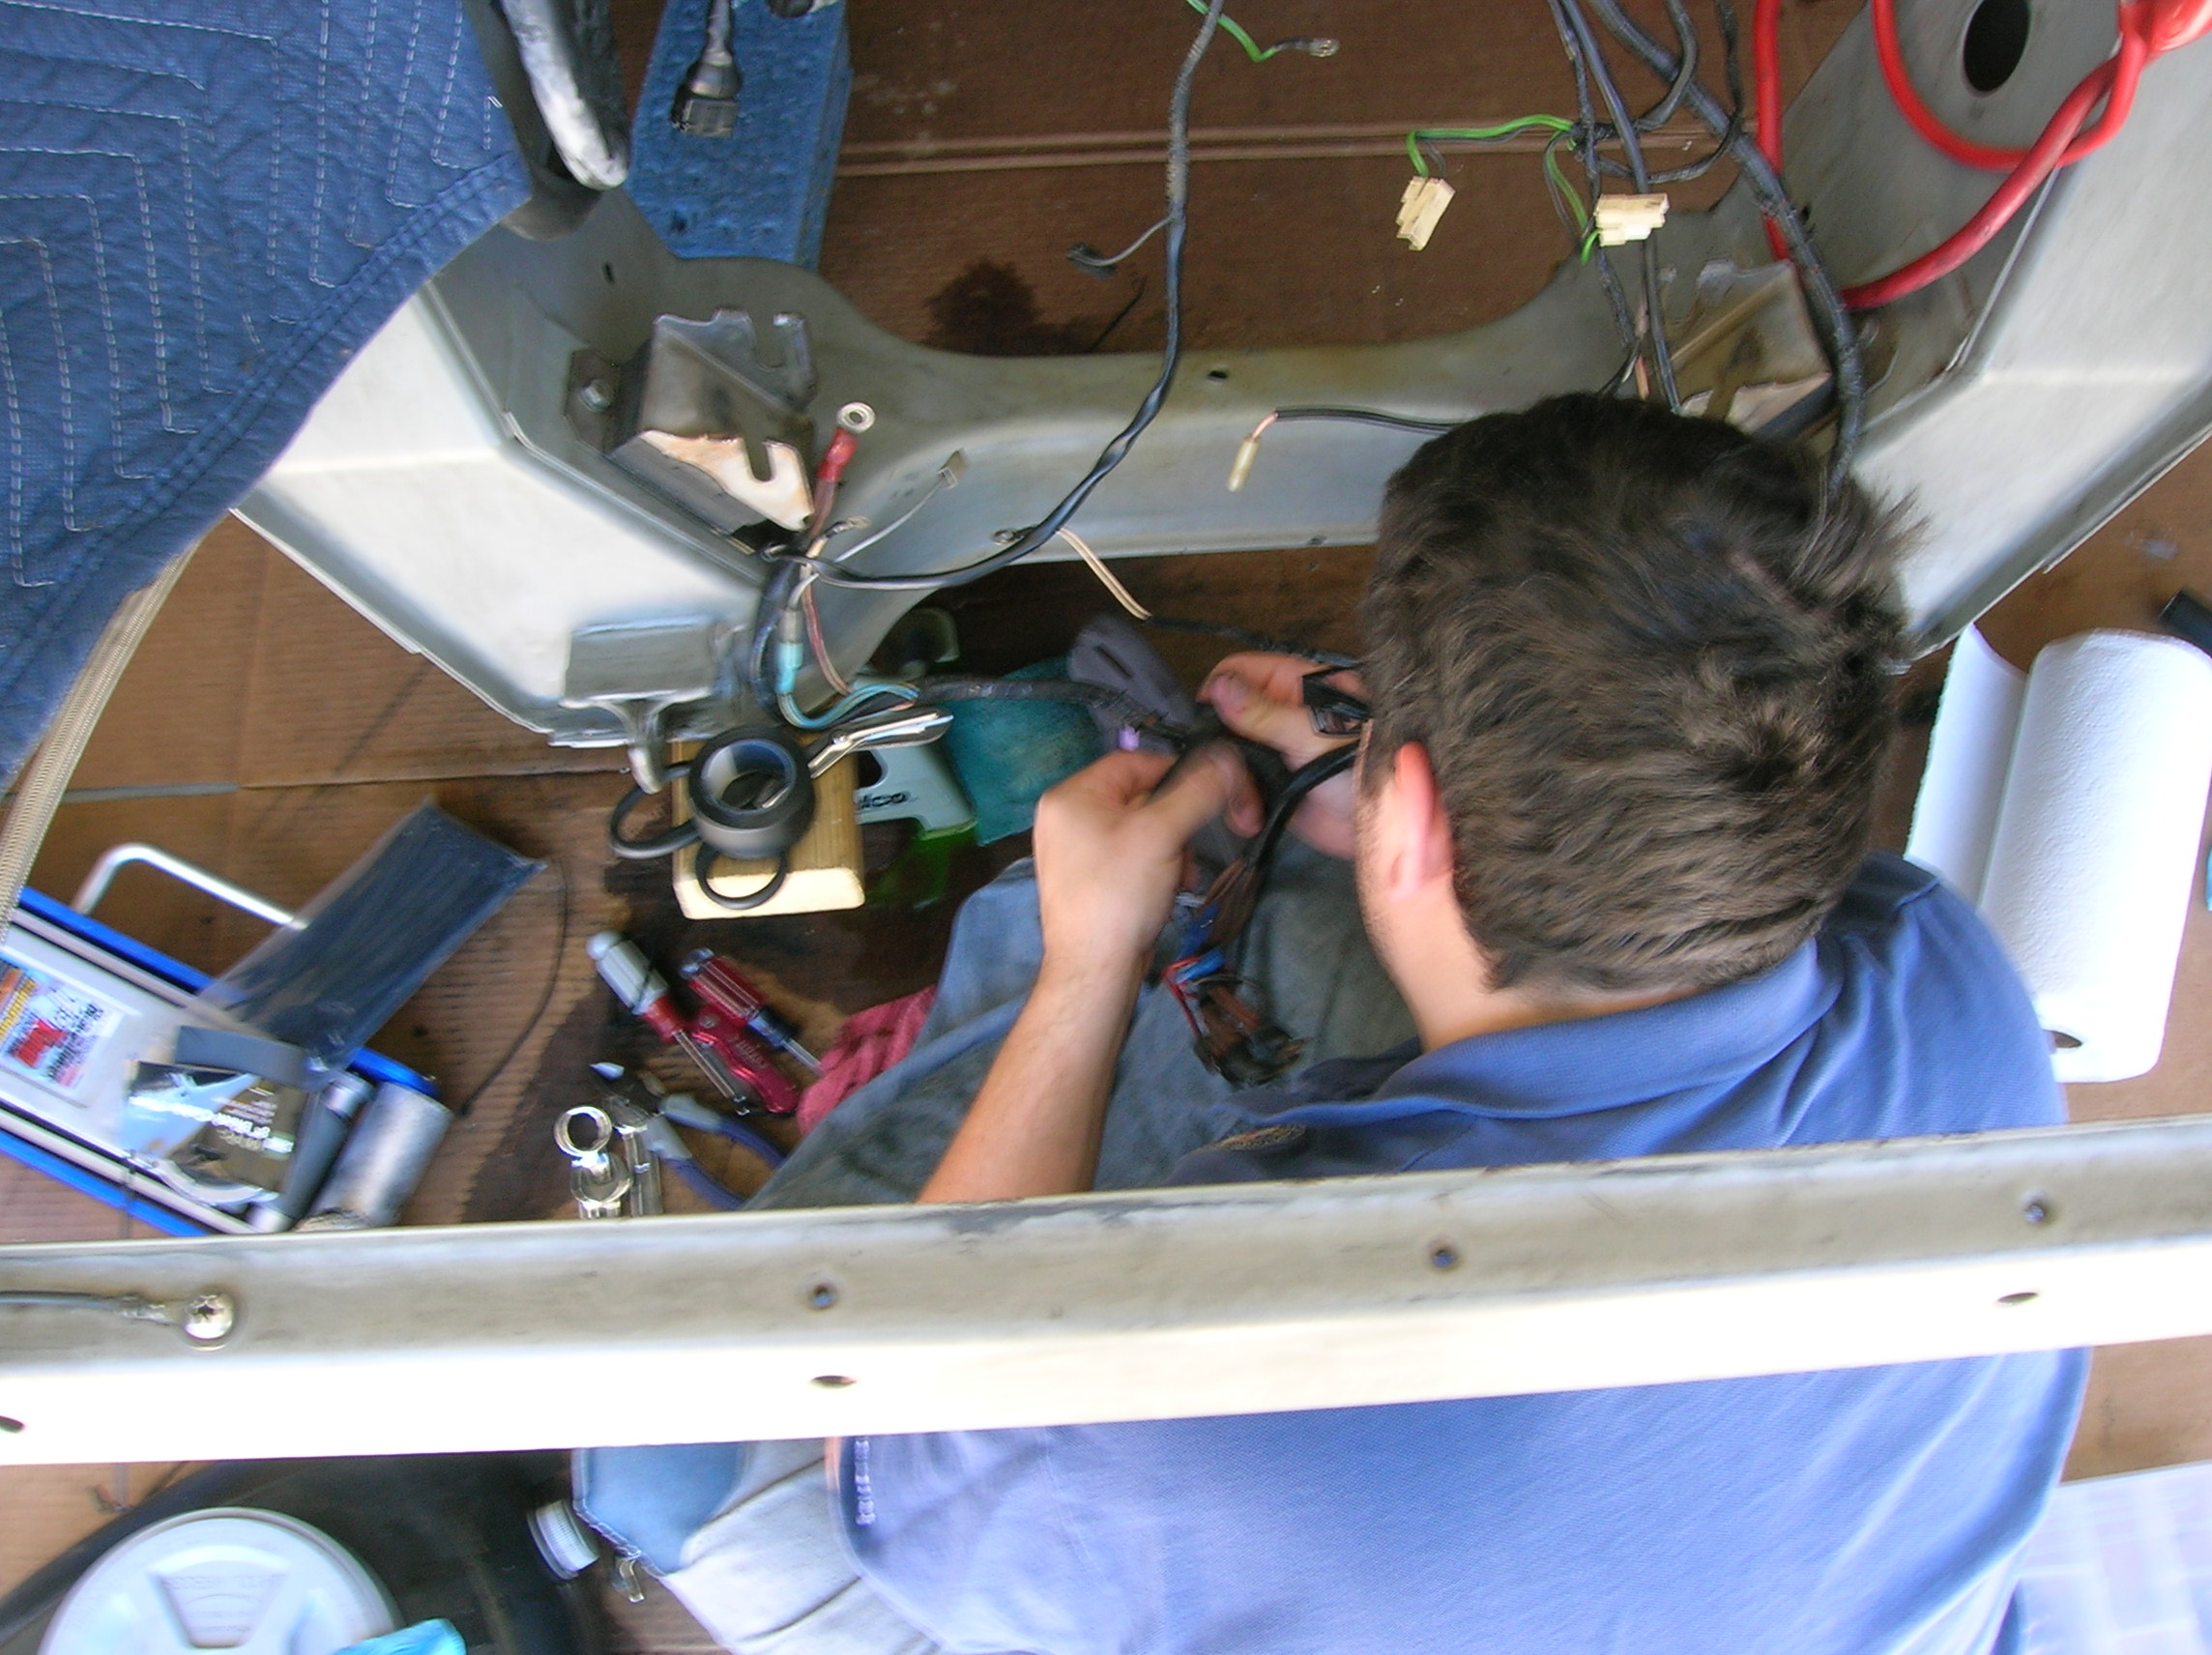
Here’s me, re-wrapping some bits of the engine harness with new harness tape. Over the years some of the old wrap had frayed, ripped, and burned on the exhaust. Check out that nice clean engine cradle!
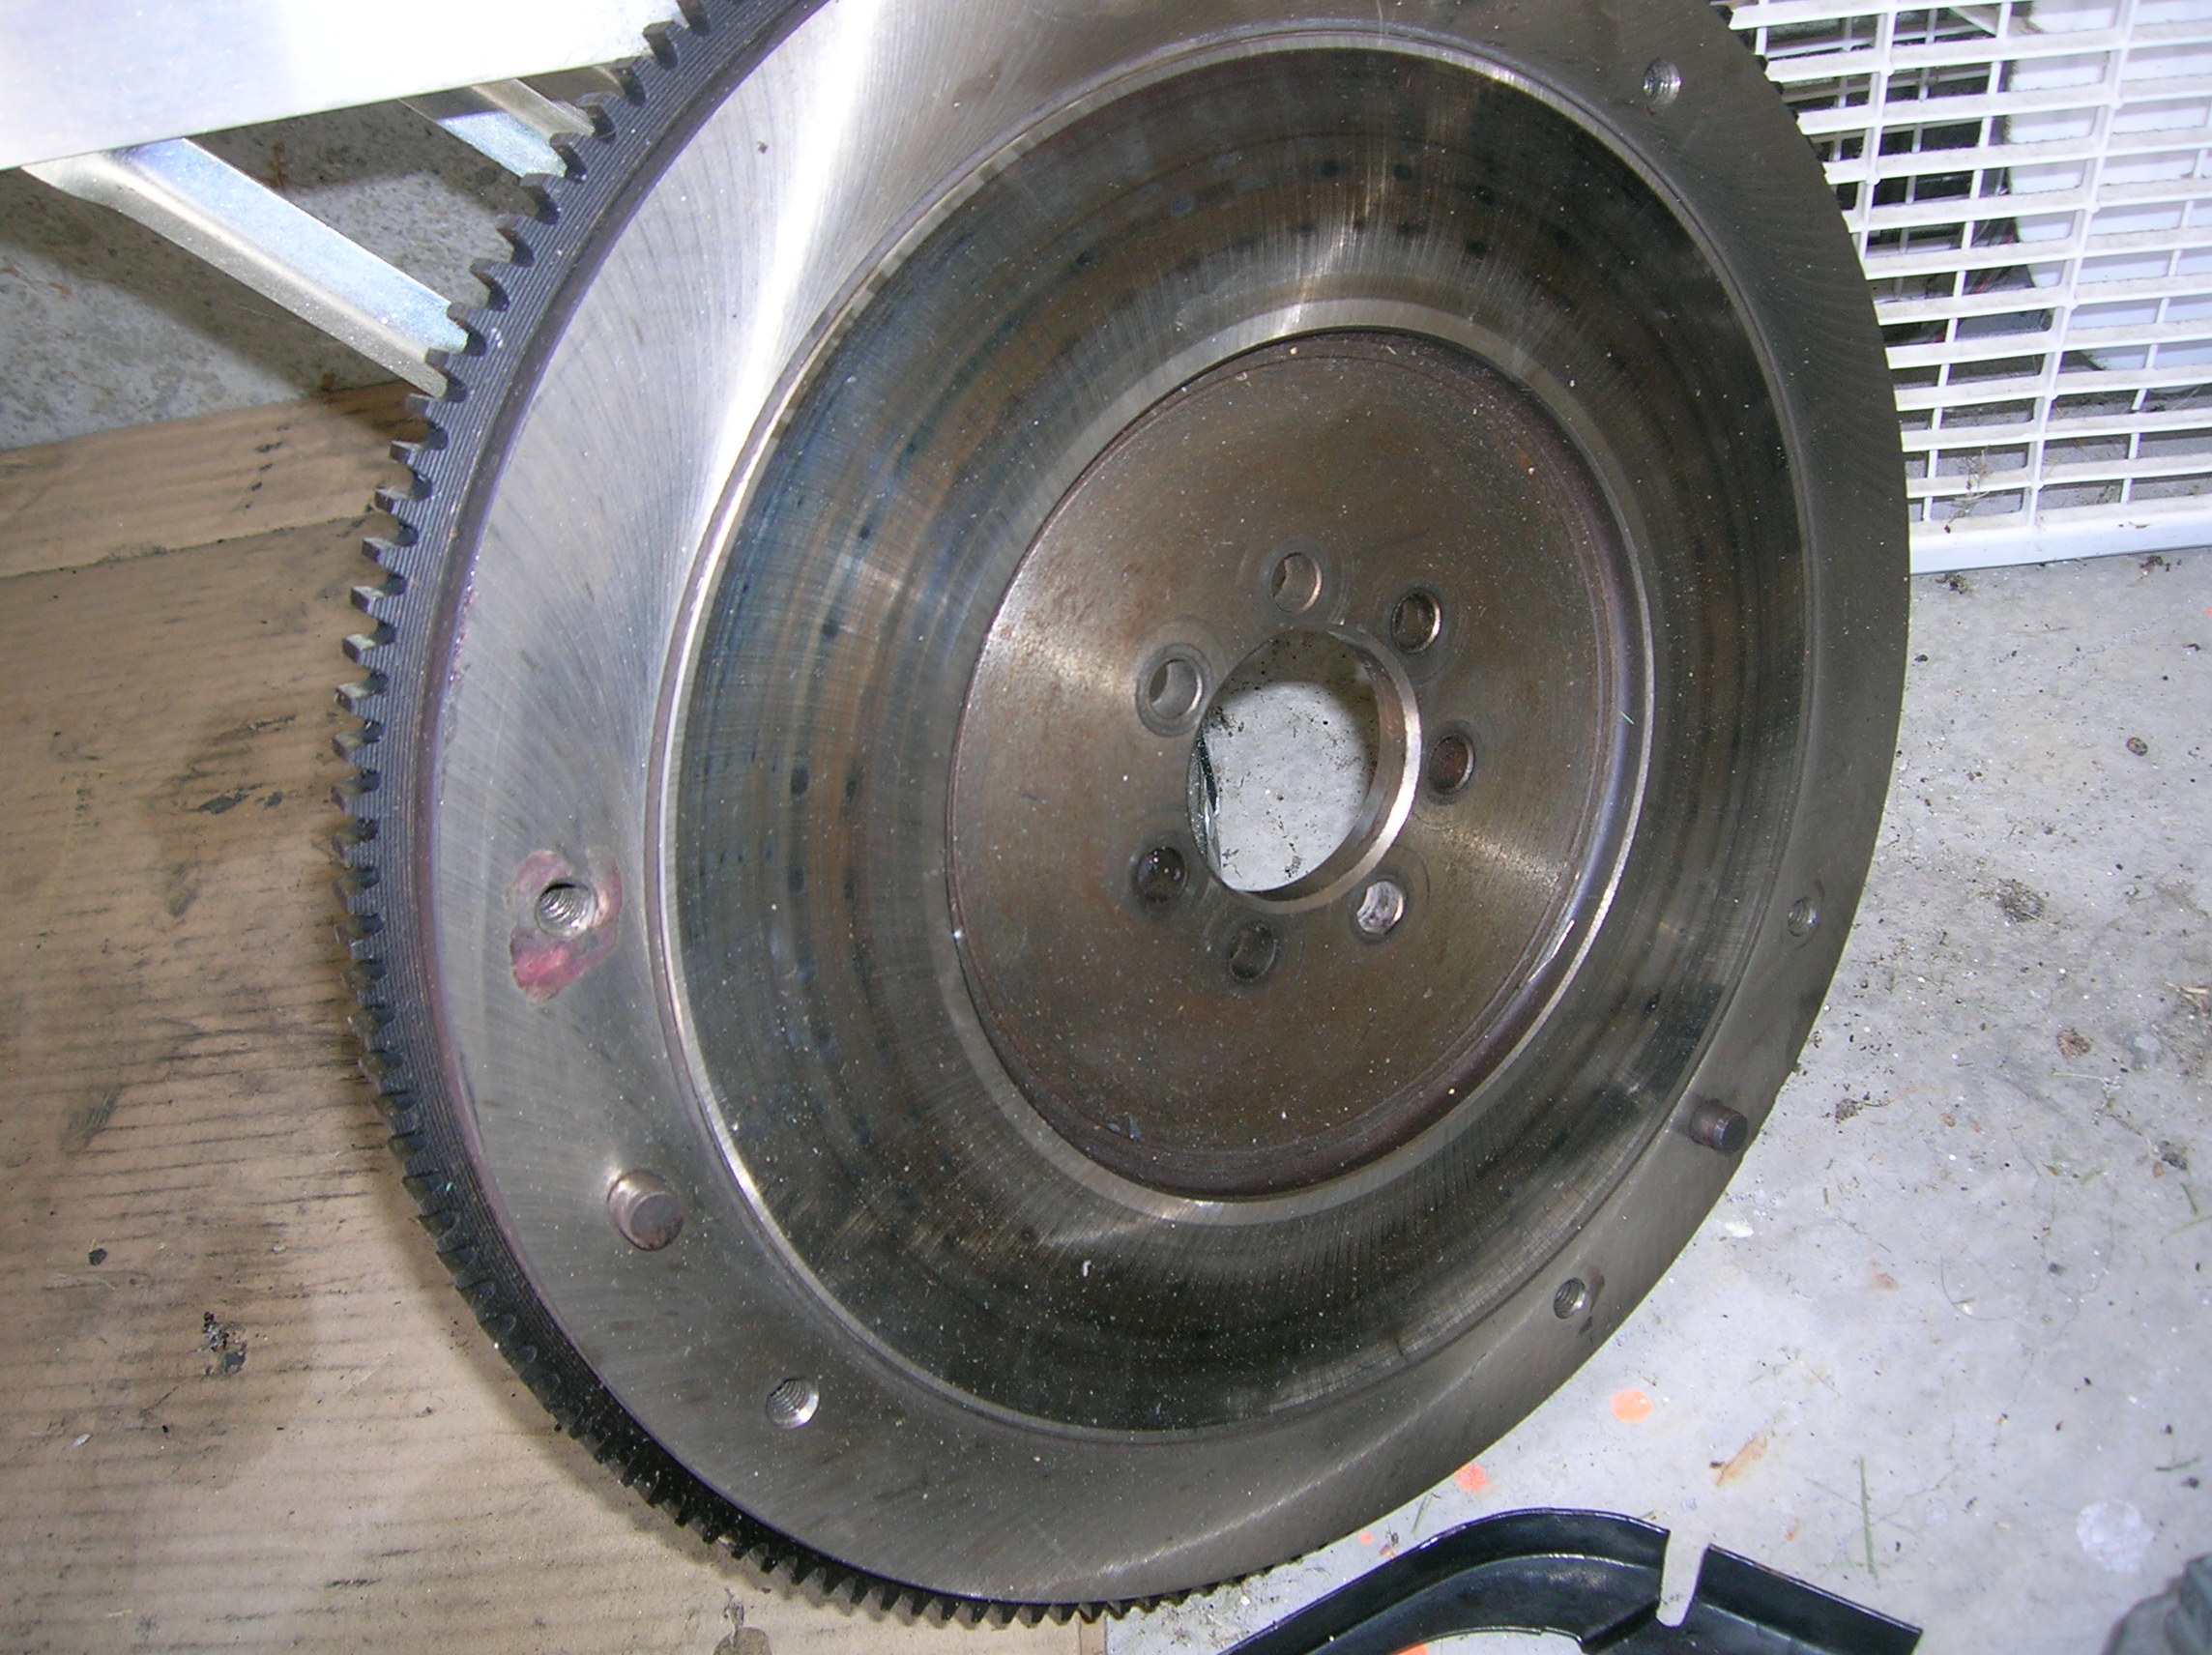
Flywheel, still in great shape. It’s only got about 4000 miles on it so it better be.
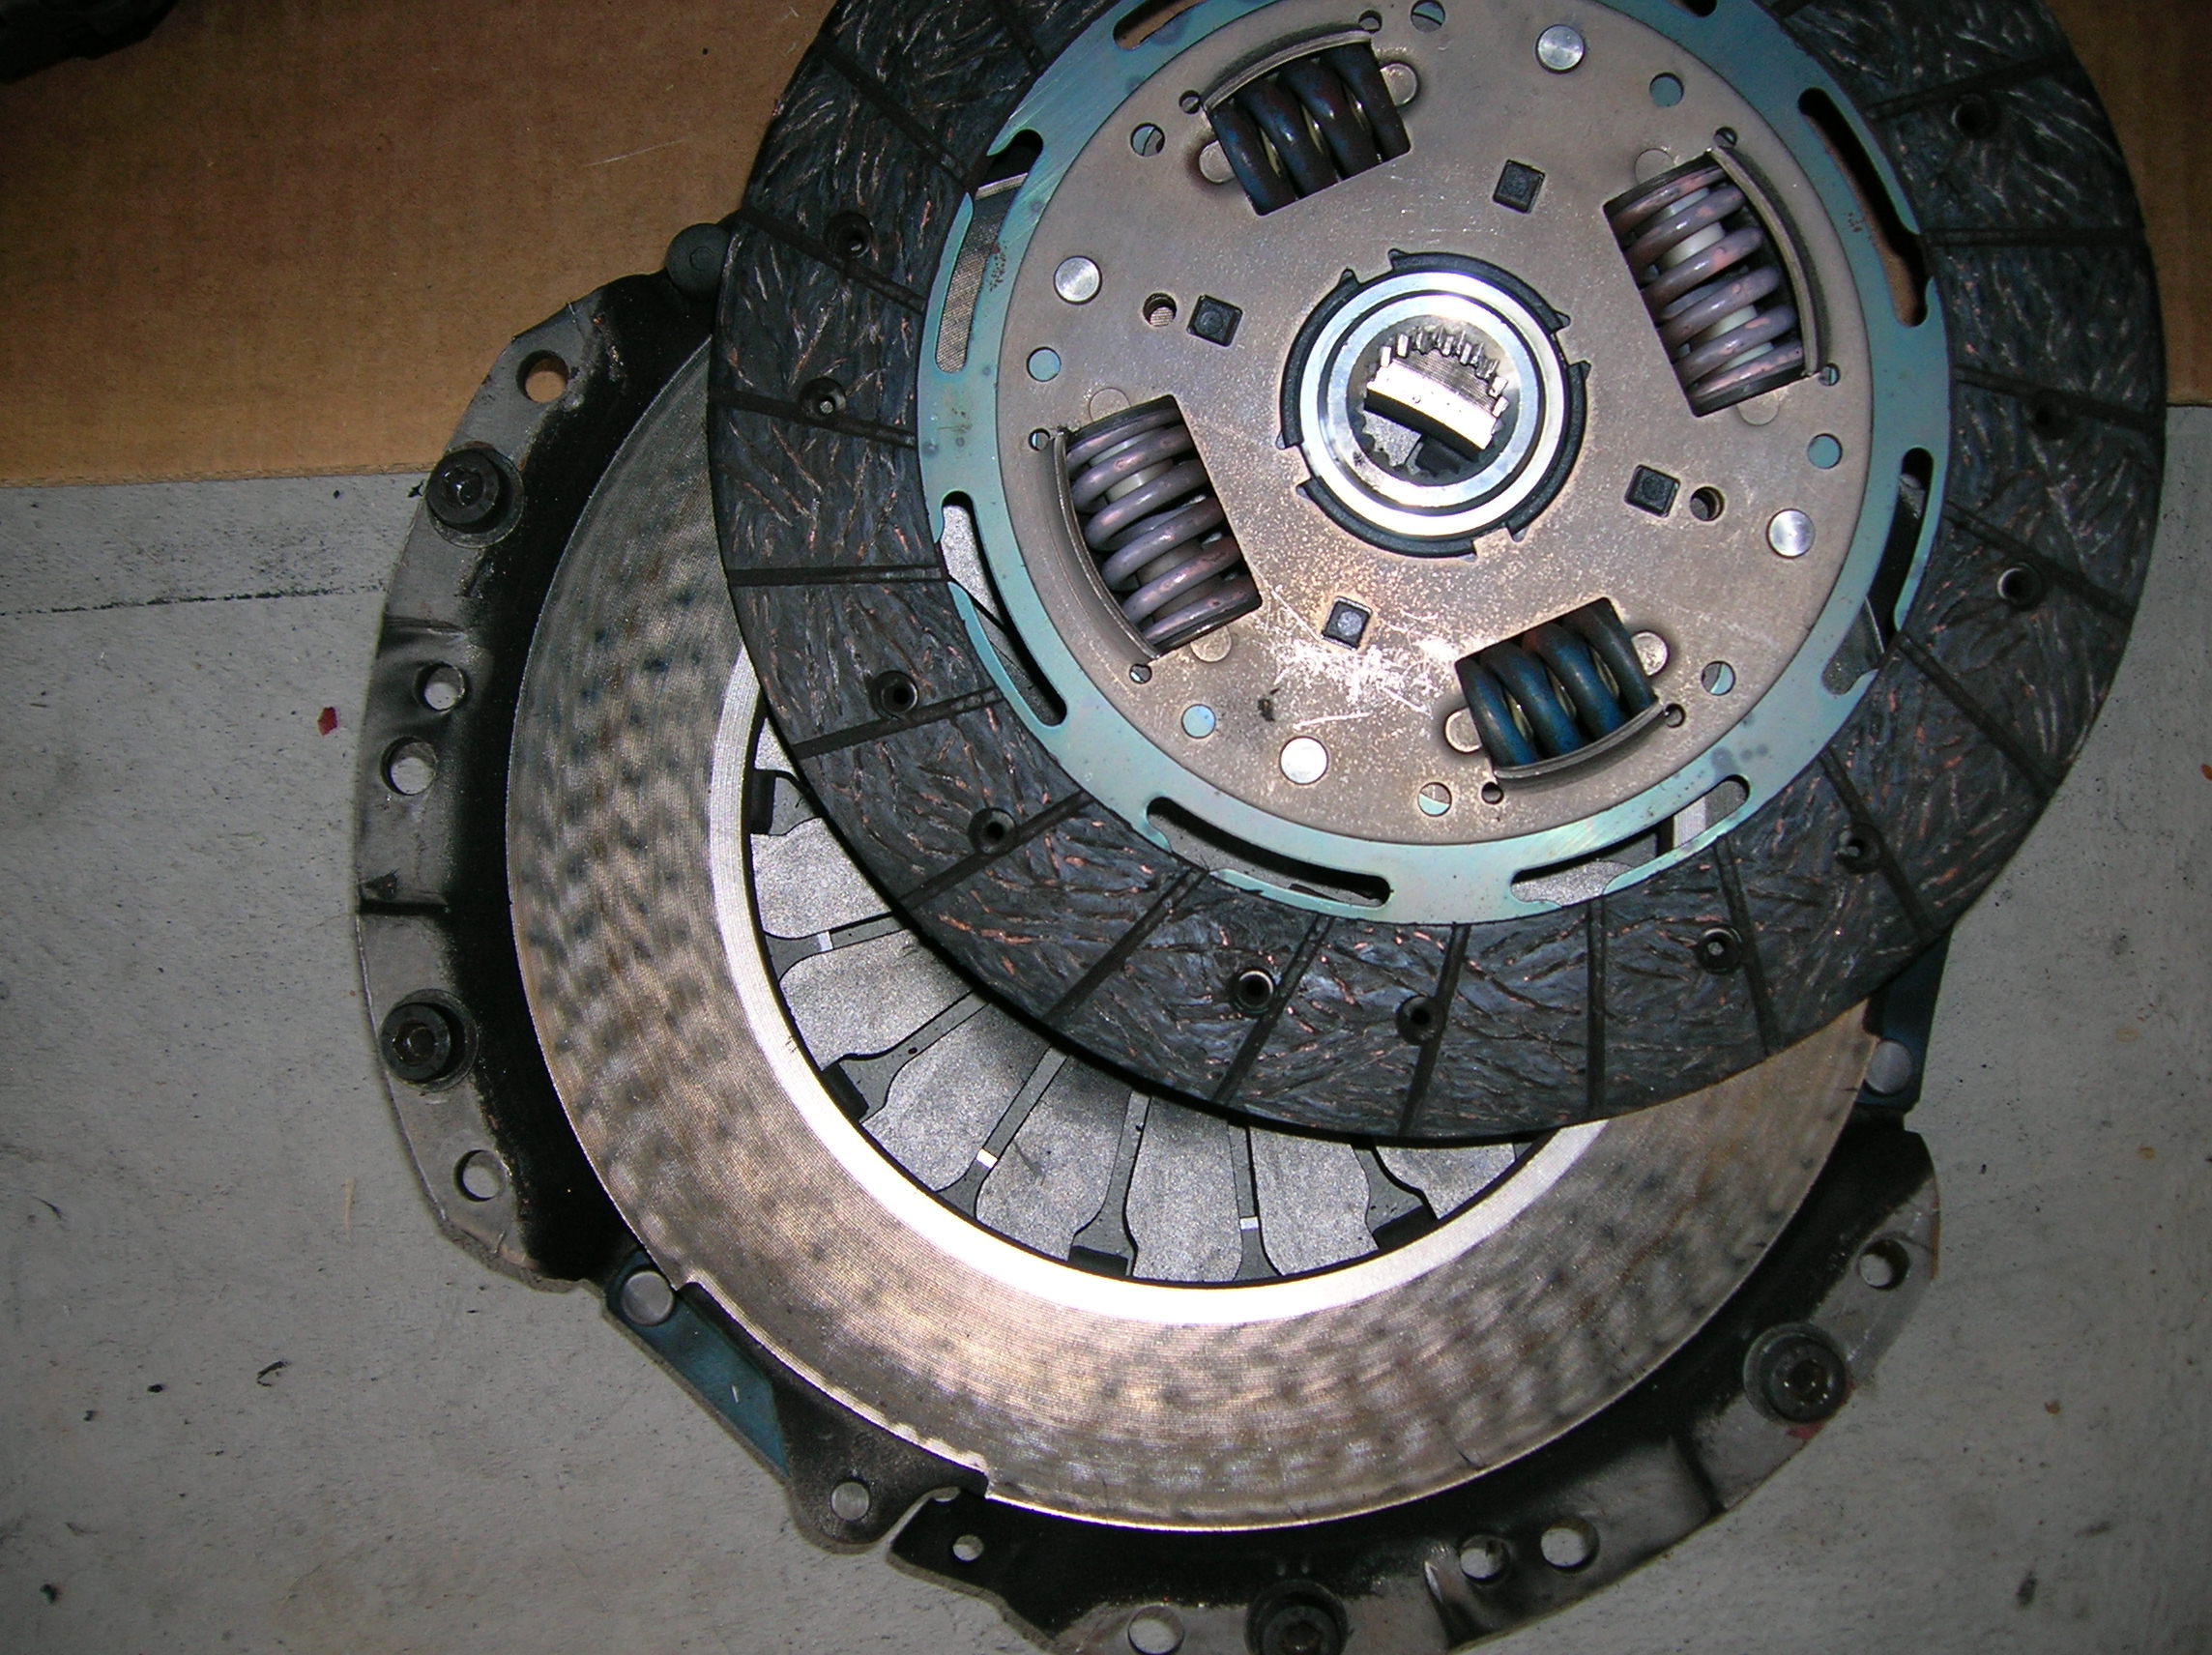
Clutch, same as the flywheel. I had a scary experience on the Pacific Coast drive with the clutch beginning to slip, but that appears to have been down to a mis-adjusted clevis rod into the master cylinder. No obvious damage to the clutch as a result, so that’s good.
Motor reassembled and reinstalled, just about ready for a test.
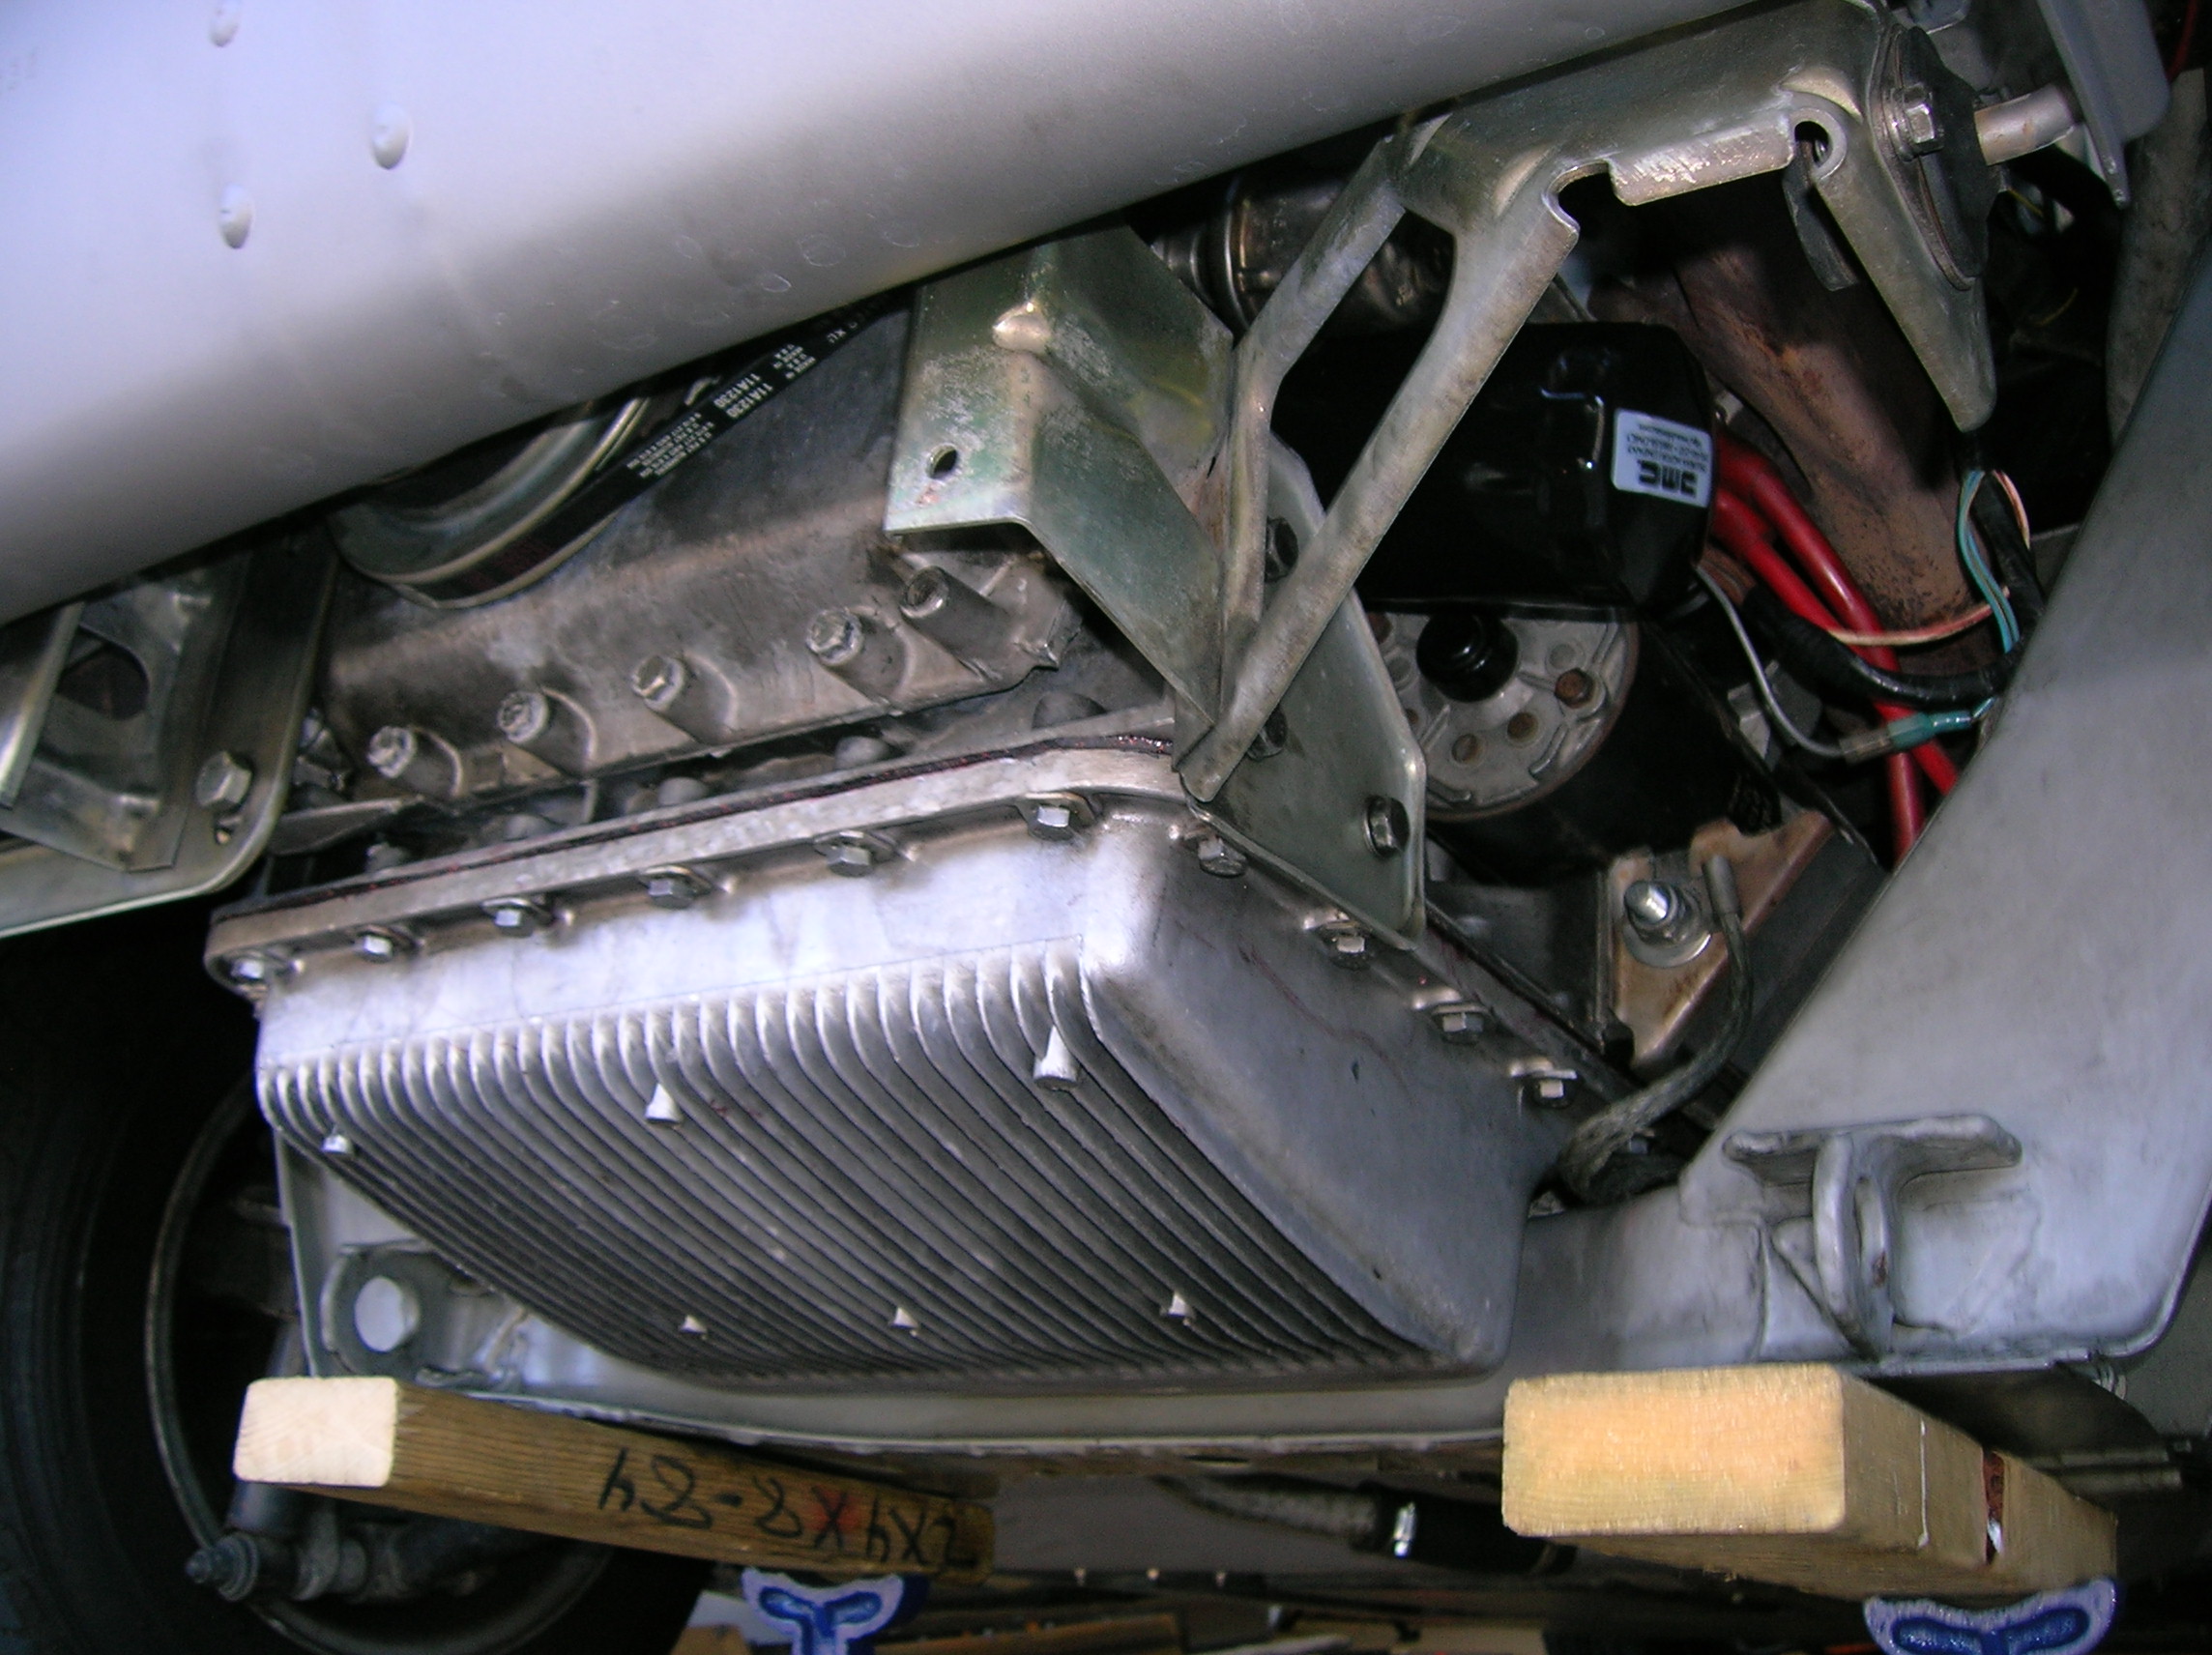
The oil pan… which would ultimately be the undoing of this whole task. After we went out for a short drive to make sure the clutch and shifter were all properly aligned, it became obvious that oil was absolutely pouring out around the bolts here. Apparently all my research had resulted in a miscommunication – I had purchased an “OEM Style” gasket made of cork. This is why it was deforming – we couldn’t even apply the correct torque to these bolts. What a mess. It turns out the recommended gasket was an “OEM Spec” one made of a hard fiber material. And costs more than 5 times as much.
We also noticed that the camshaft closing plate gaskets in the back of the heads were leaking – right onto the exhaust manifolds. Stinky white smoke everywhere; not something I was used to. That was easy to fix, a quick bead of Right Stuff on the plate made short work of it. The oil pan, however… will have to be a job for another day. In the meantime, the car is parked….