One of the most head-scratching designs in the DeLorean is the fuel delivery system. The pump is submerged in the fuel tank, inside a rubber boot. There is a complicated pre-filter, pickup hose and baffle system to get fuel from the bottom of the tank into the pump and a separate level sending unit for the fuel gauge. There are a lot of disadvantages to this design, namely:
- Inaccurate fuel gauge readings that change wildly under acceleration, braking, lateral forces, and on hills
- When the tank is low, the bottomless baffle design can fail to deliver fuel when the vehicle is on an incline
- When the tank is hot (frequent around here), the pickup hose can collapse and fail to deliver fuel. A bonus of this is that the pump will heat up and can prematurely fail
- Rubber components (specifically the boot and boot cover) are incompatible with modern ethanol fuels. The rubber breaks down, falls to bits inside the tank, dissolves and turns to varnish, and can gum up the very sensitive K-Jetronic CIS.
- Teflon fuel hoses tend to degrade over time, possibly leading to leaks
Kind of a mouthful, and a lot of weak spots all in one rather important system. On the plus side, the revolutionary molded fuel tank is virtually indestructible and continues to be an excellent quality item.
Anyway, DMC Houston stepped in with a kit designed to address all these shortcomings in a single shot. They adapted a modern day pump and float system to fit the DeLorean. There is speculation that it’s a GM sourced part, which I don’t really know for sure but it sounds reasonable. This kit replaces the teflon fuel hoses with ethanol compatible rubber and the large and heavy pump with a more modern design. The entire baffle and pickup system is replaced wholesale. The level sender is gone as well, in favor of an electronically controlled unit integrated into the pump.
But, before the new pump can go in, the old equipment must be removed and the tank *thoroughly* cleaned. This is so important that DMC will not warranty the new pump/sender unit unless the tank has been completely sanitized prior to installation.

Enter Tyvek man! Because of the nature of this job, I decided to pick up some protective gear. I’m not wearing it all in this shot, but I had a full body Tyvek suit, shoulder length PVC gloves, a respirator, goggles and a headlamp. Gasoline and acetone (for cleaning the tank) are both pretty nasty.
So let’s get started. Here’s how you access the fuel pump, via this access panel under the spare tire.
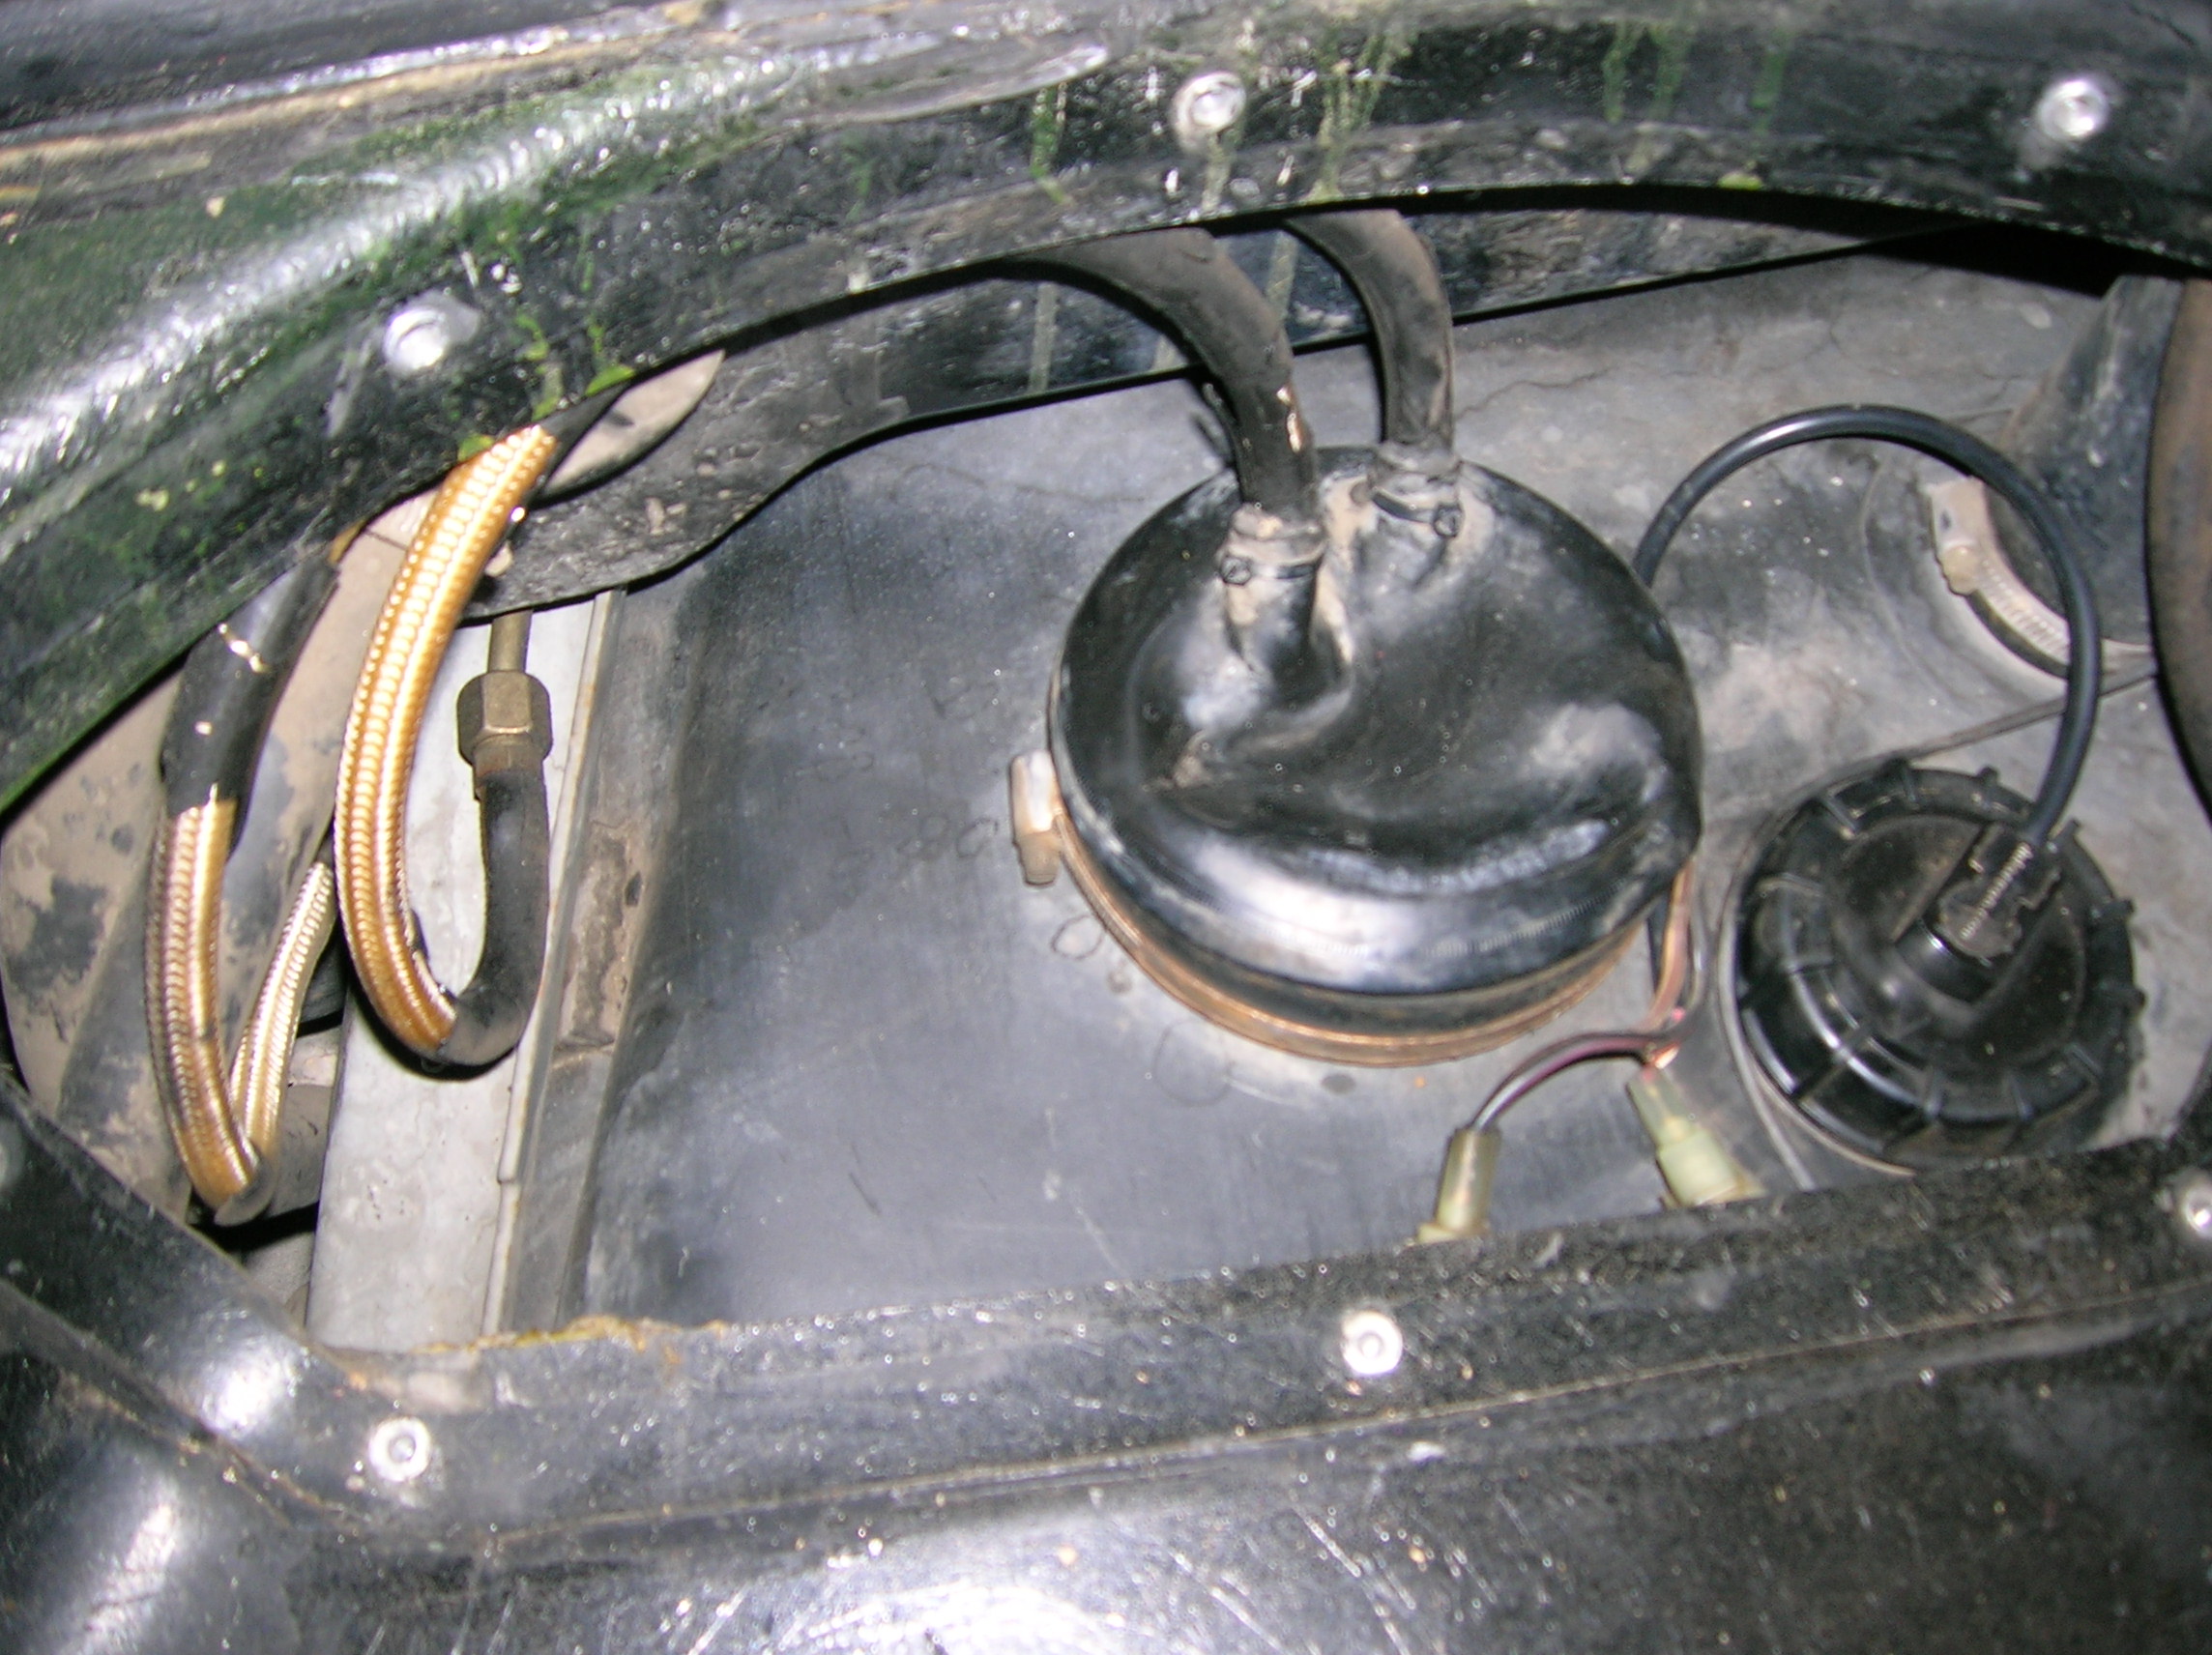
Access panel removed. You can see the degrading fuel hoses at the left (the white things that look like they should probably have rubber on them, but don’t) as well as the fuel pump (large black circle at center) and the level sender (smaller black circular unit). The cover over the fuel pump that the hoses come out of will frequently pop off during re-fueling, causing gas to spray everywhere. This happened twice on the PCH drive, and besides being stinky is unsafe and an environmental disaster.

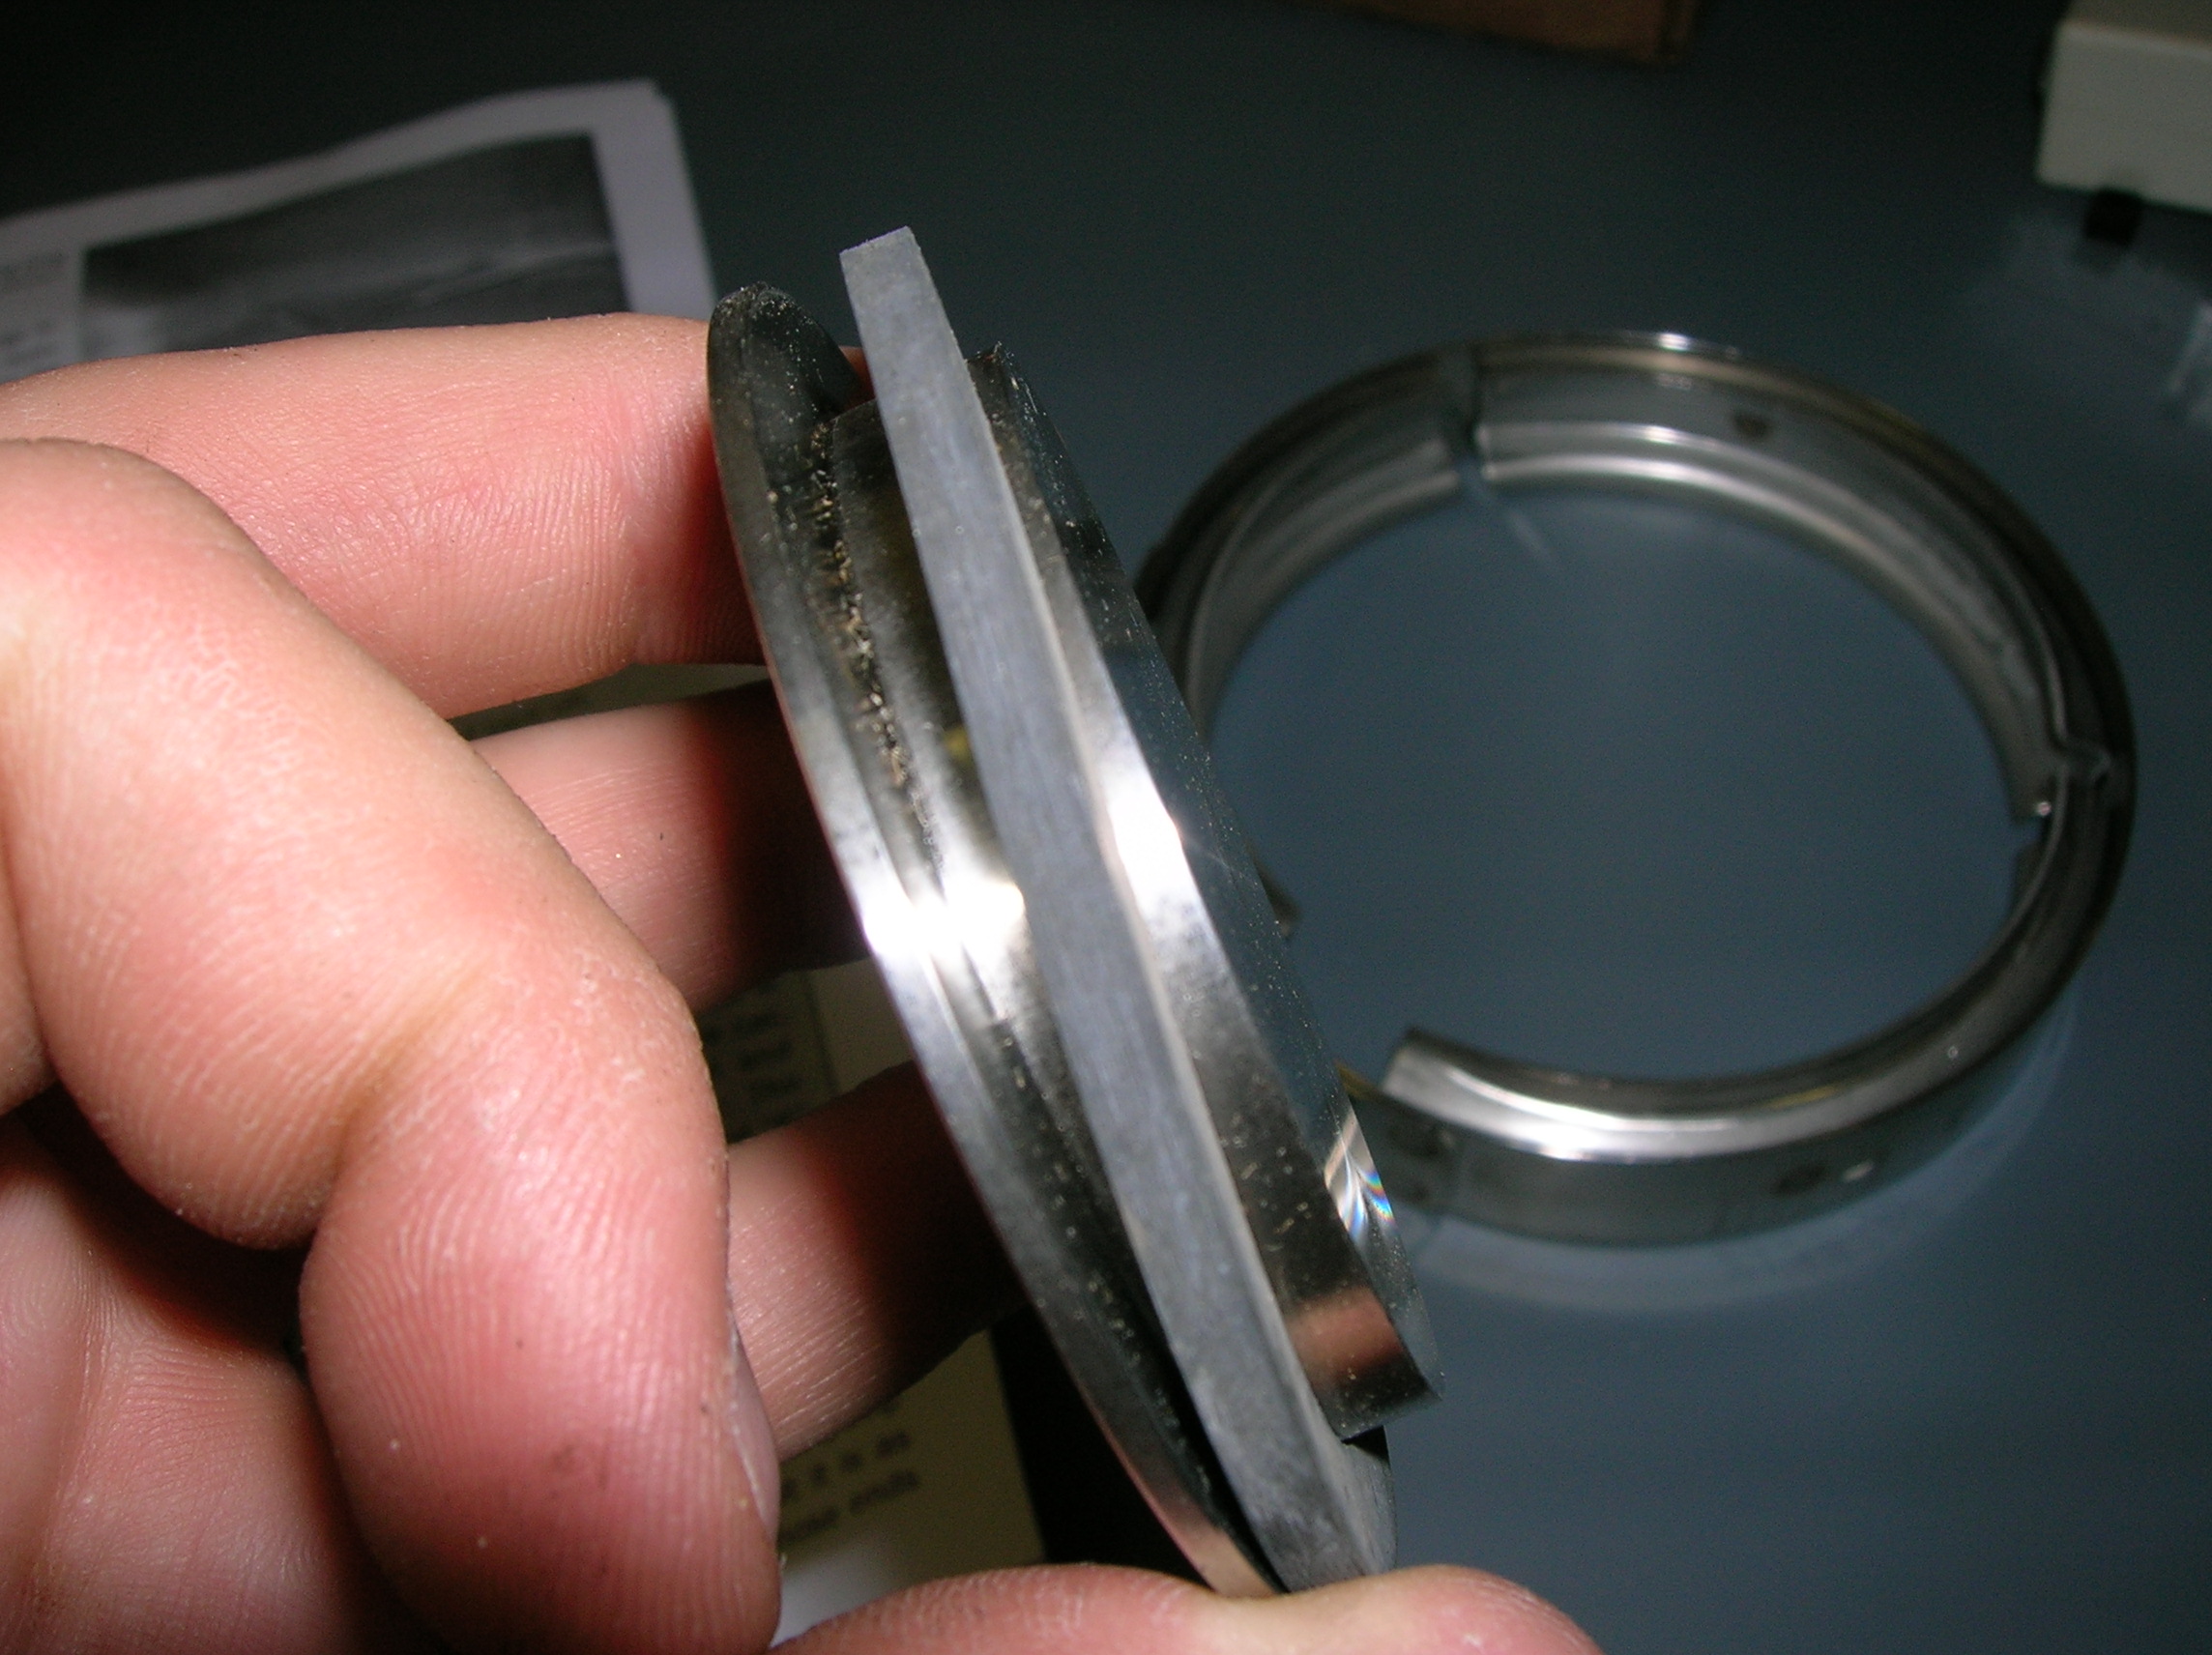
Here’s the old level sender removed. This still has a core value, so I will hold off on smashing it to pieces….

First step is to cut the old fuel lines off. Because the barbed fittings on the hard lines are usually seized in place, this kit is designed to press new lines over the fittings rather than disconnecting them. If you crank too hard on those fittings you risk damaging the hard fuel lines, and replacing those is one of the VERY few jobs that would require you to remove the body from the frame of the car. Not good.
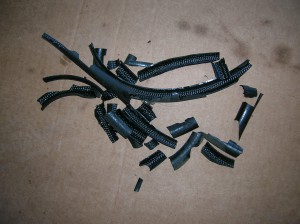
Here is all the rubber that just broke off in shards from the outside of the old fuel lines.
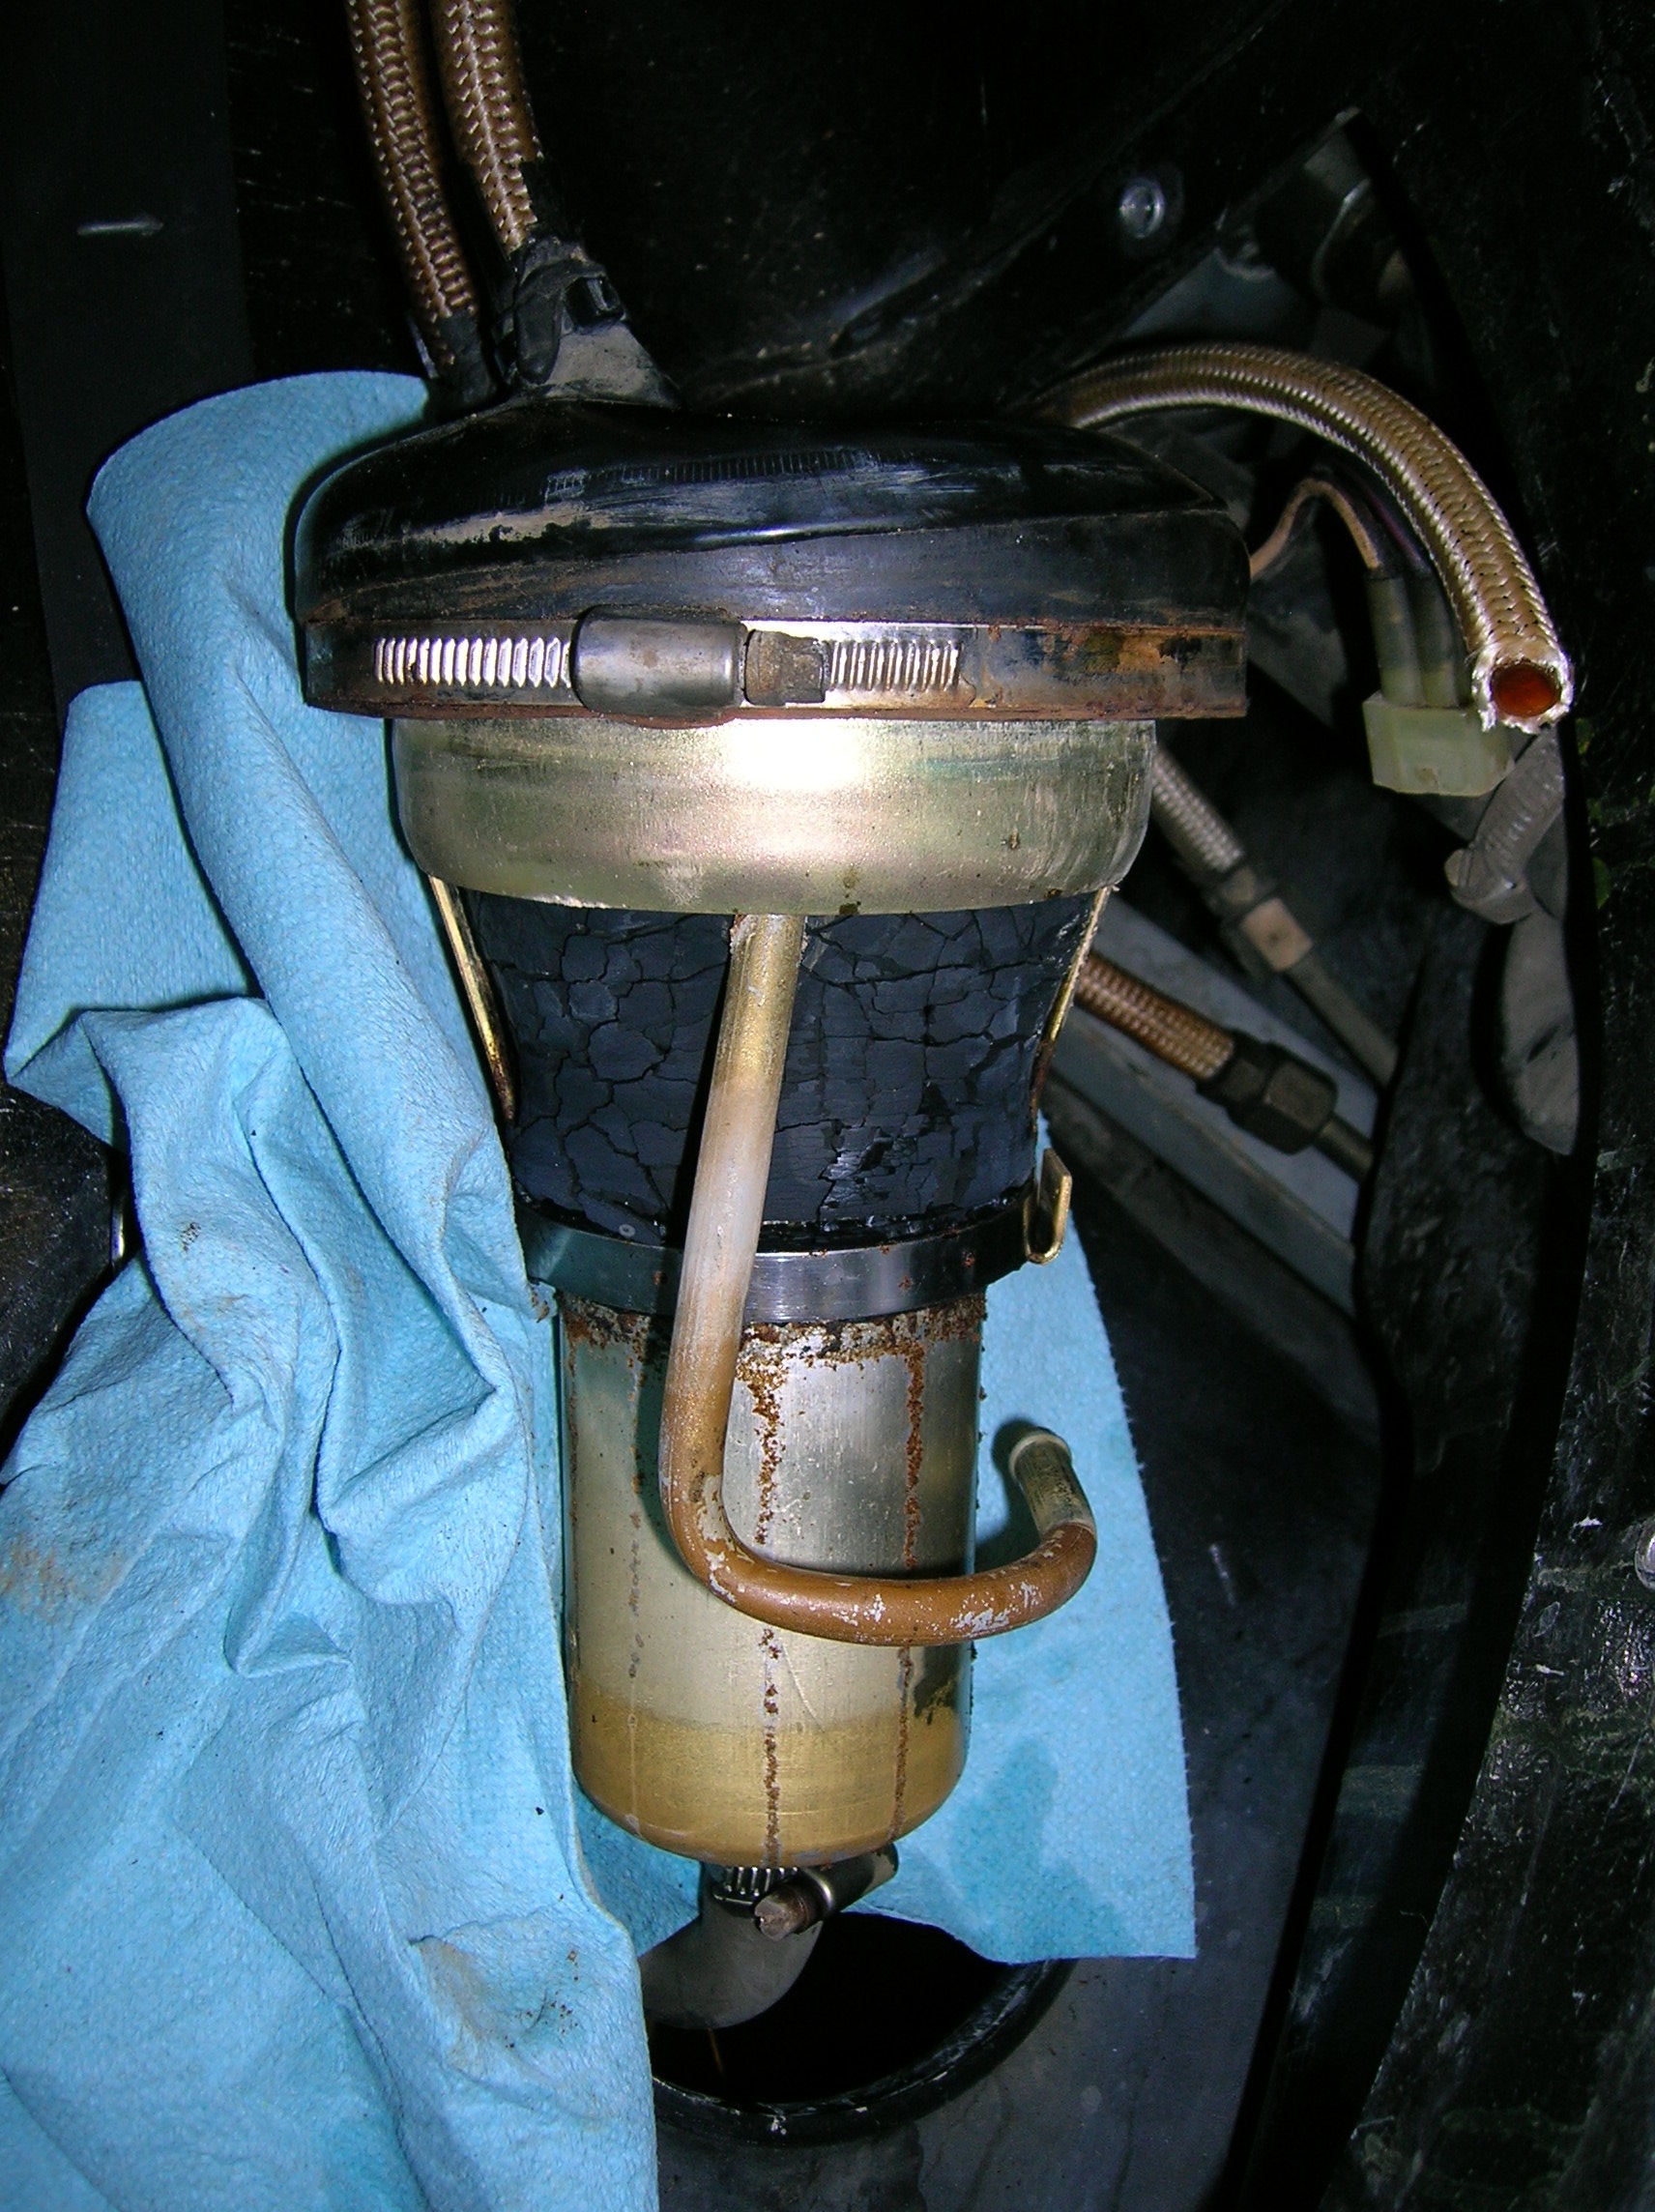
Here’s the old pump assembly in the boot. You can see the rubber boot is cracking and absolutely turning to dust. The hard line in front is the fuel return line that puts unused fuel back in the tank.
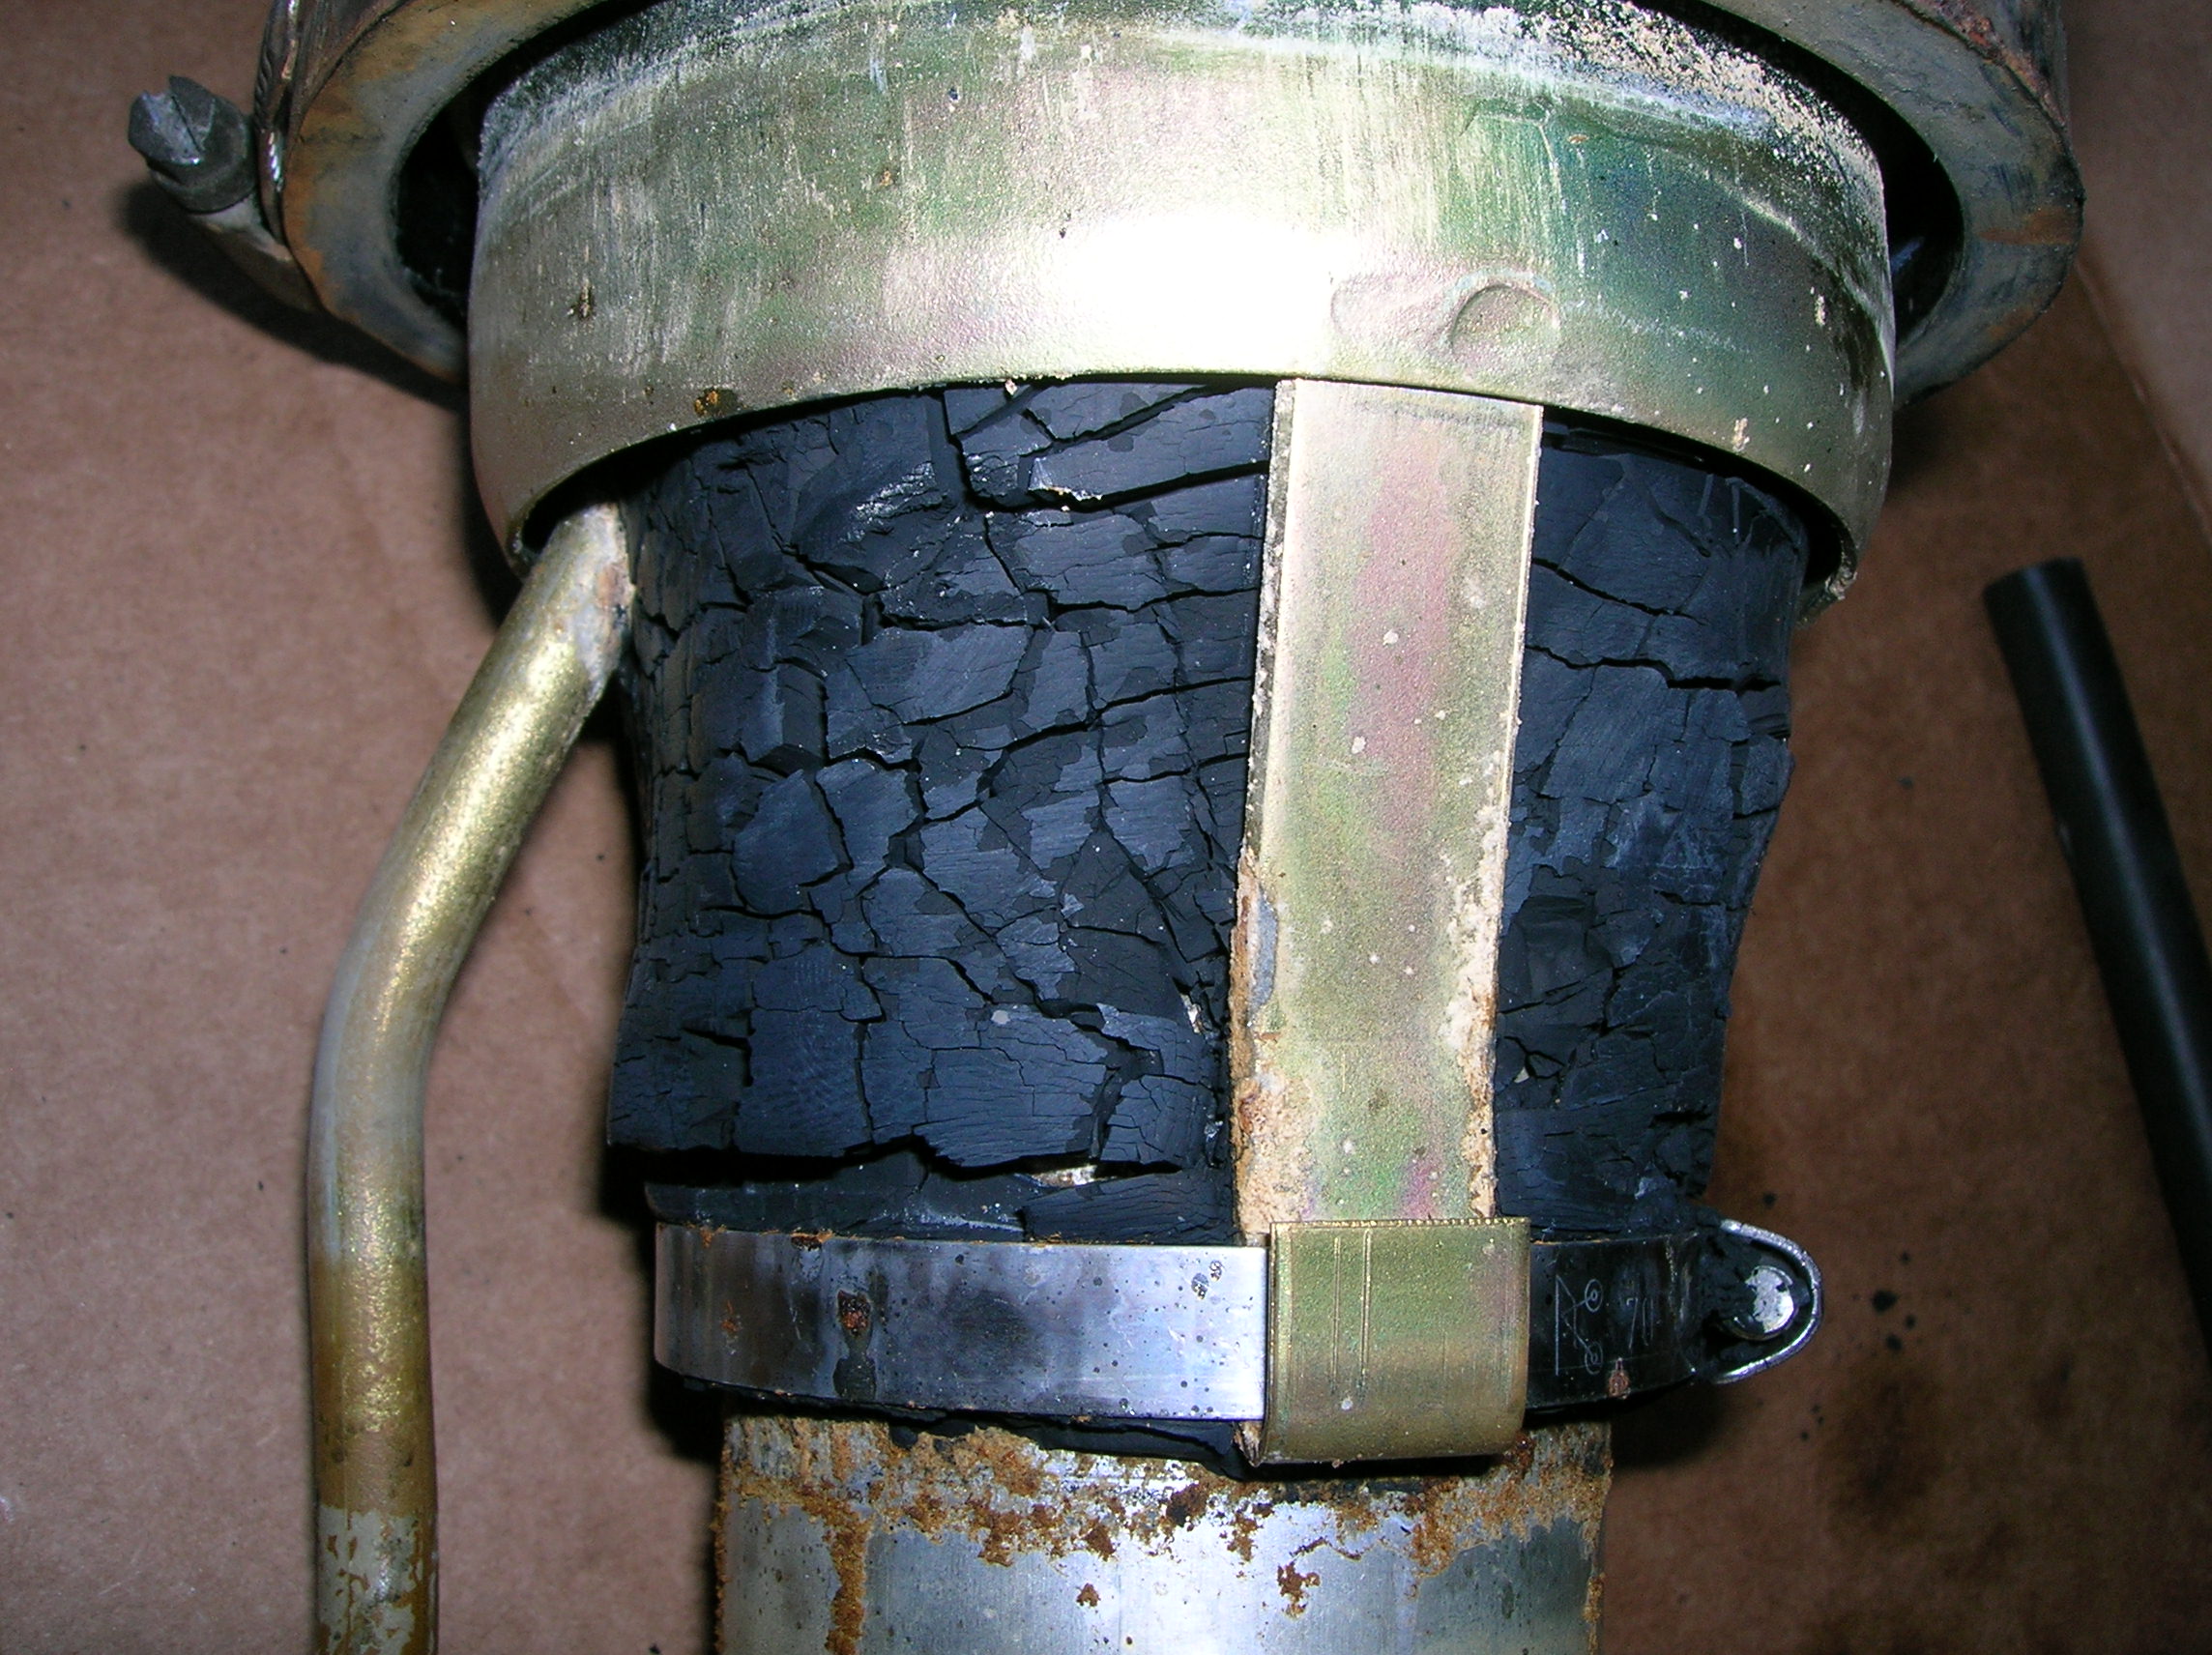
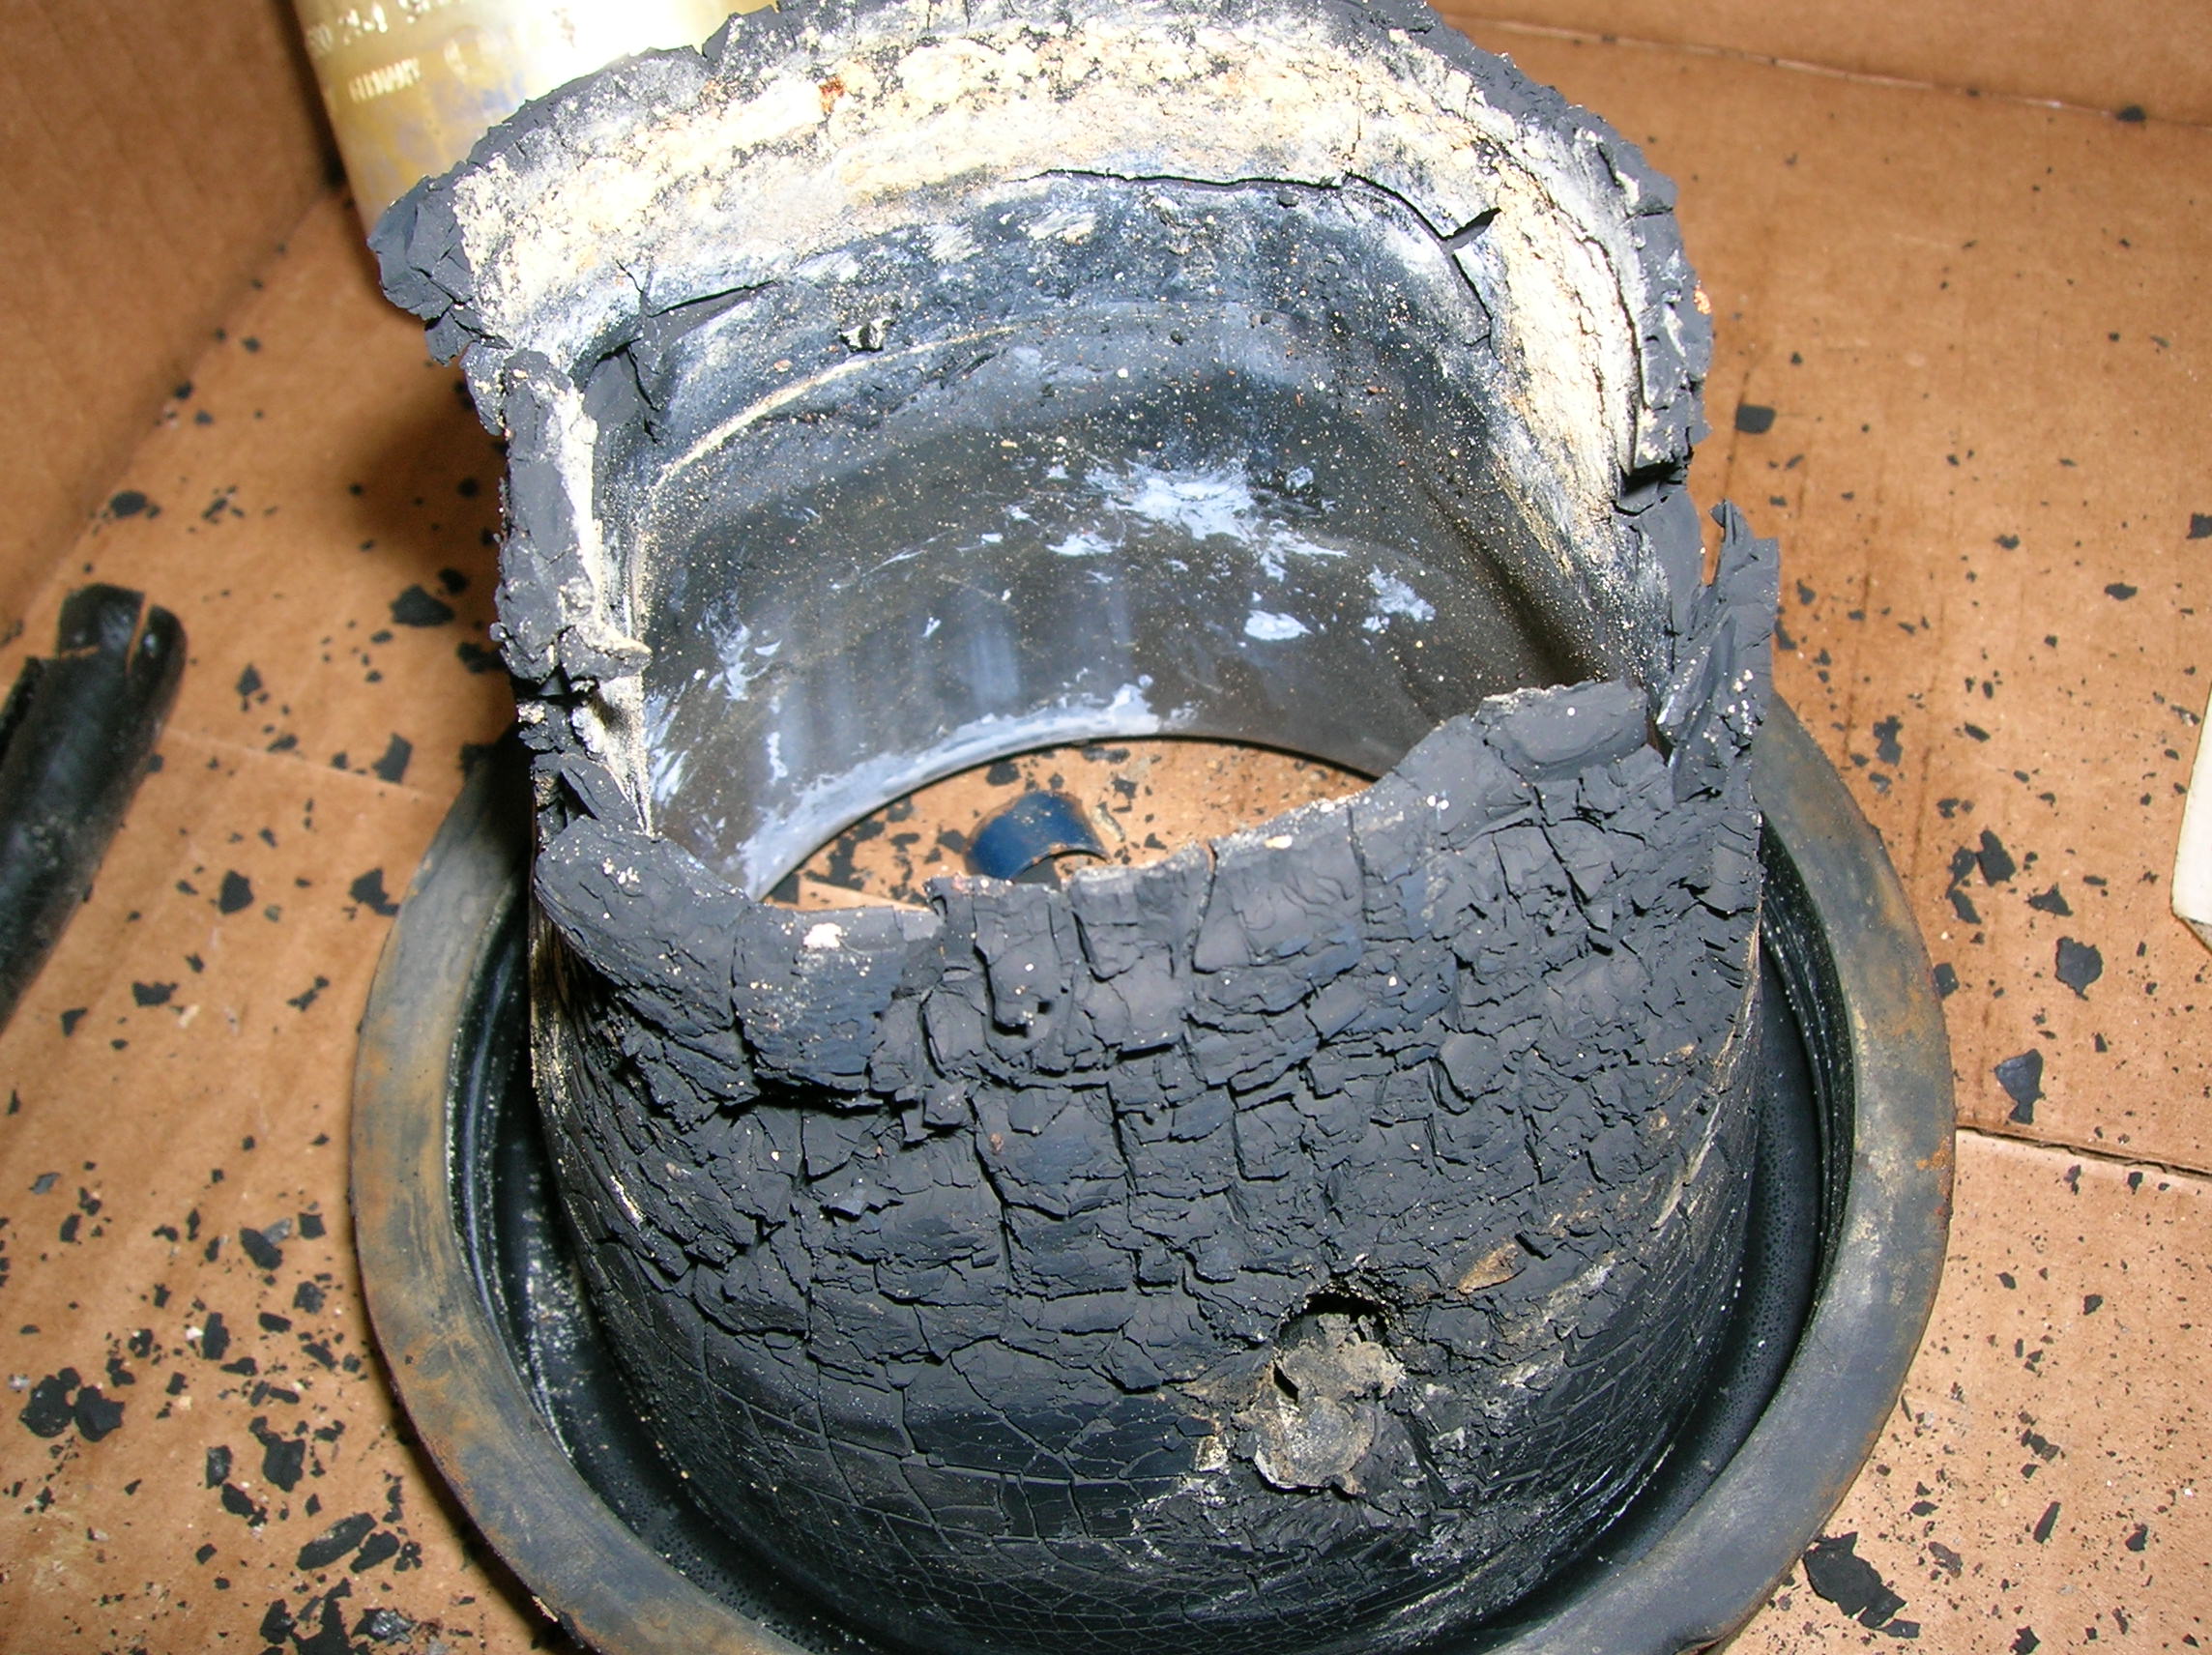
Closeup on the destroyed rubber boot. You can see this car didn’t have a hard life based on the overall condition of the plated metal parts – but that didn’t stop this rubber from breaking down!
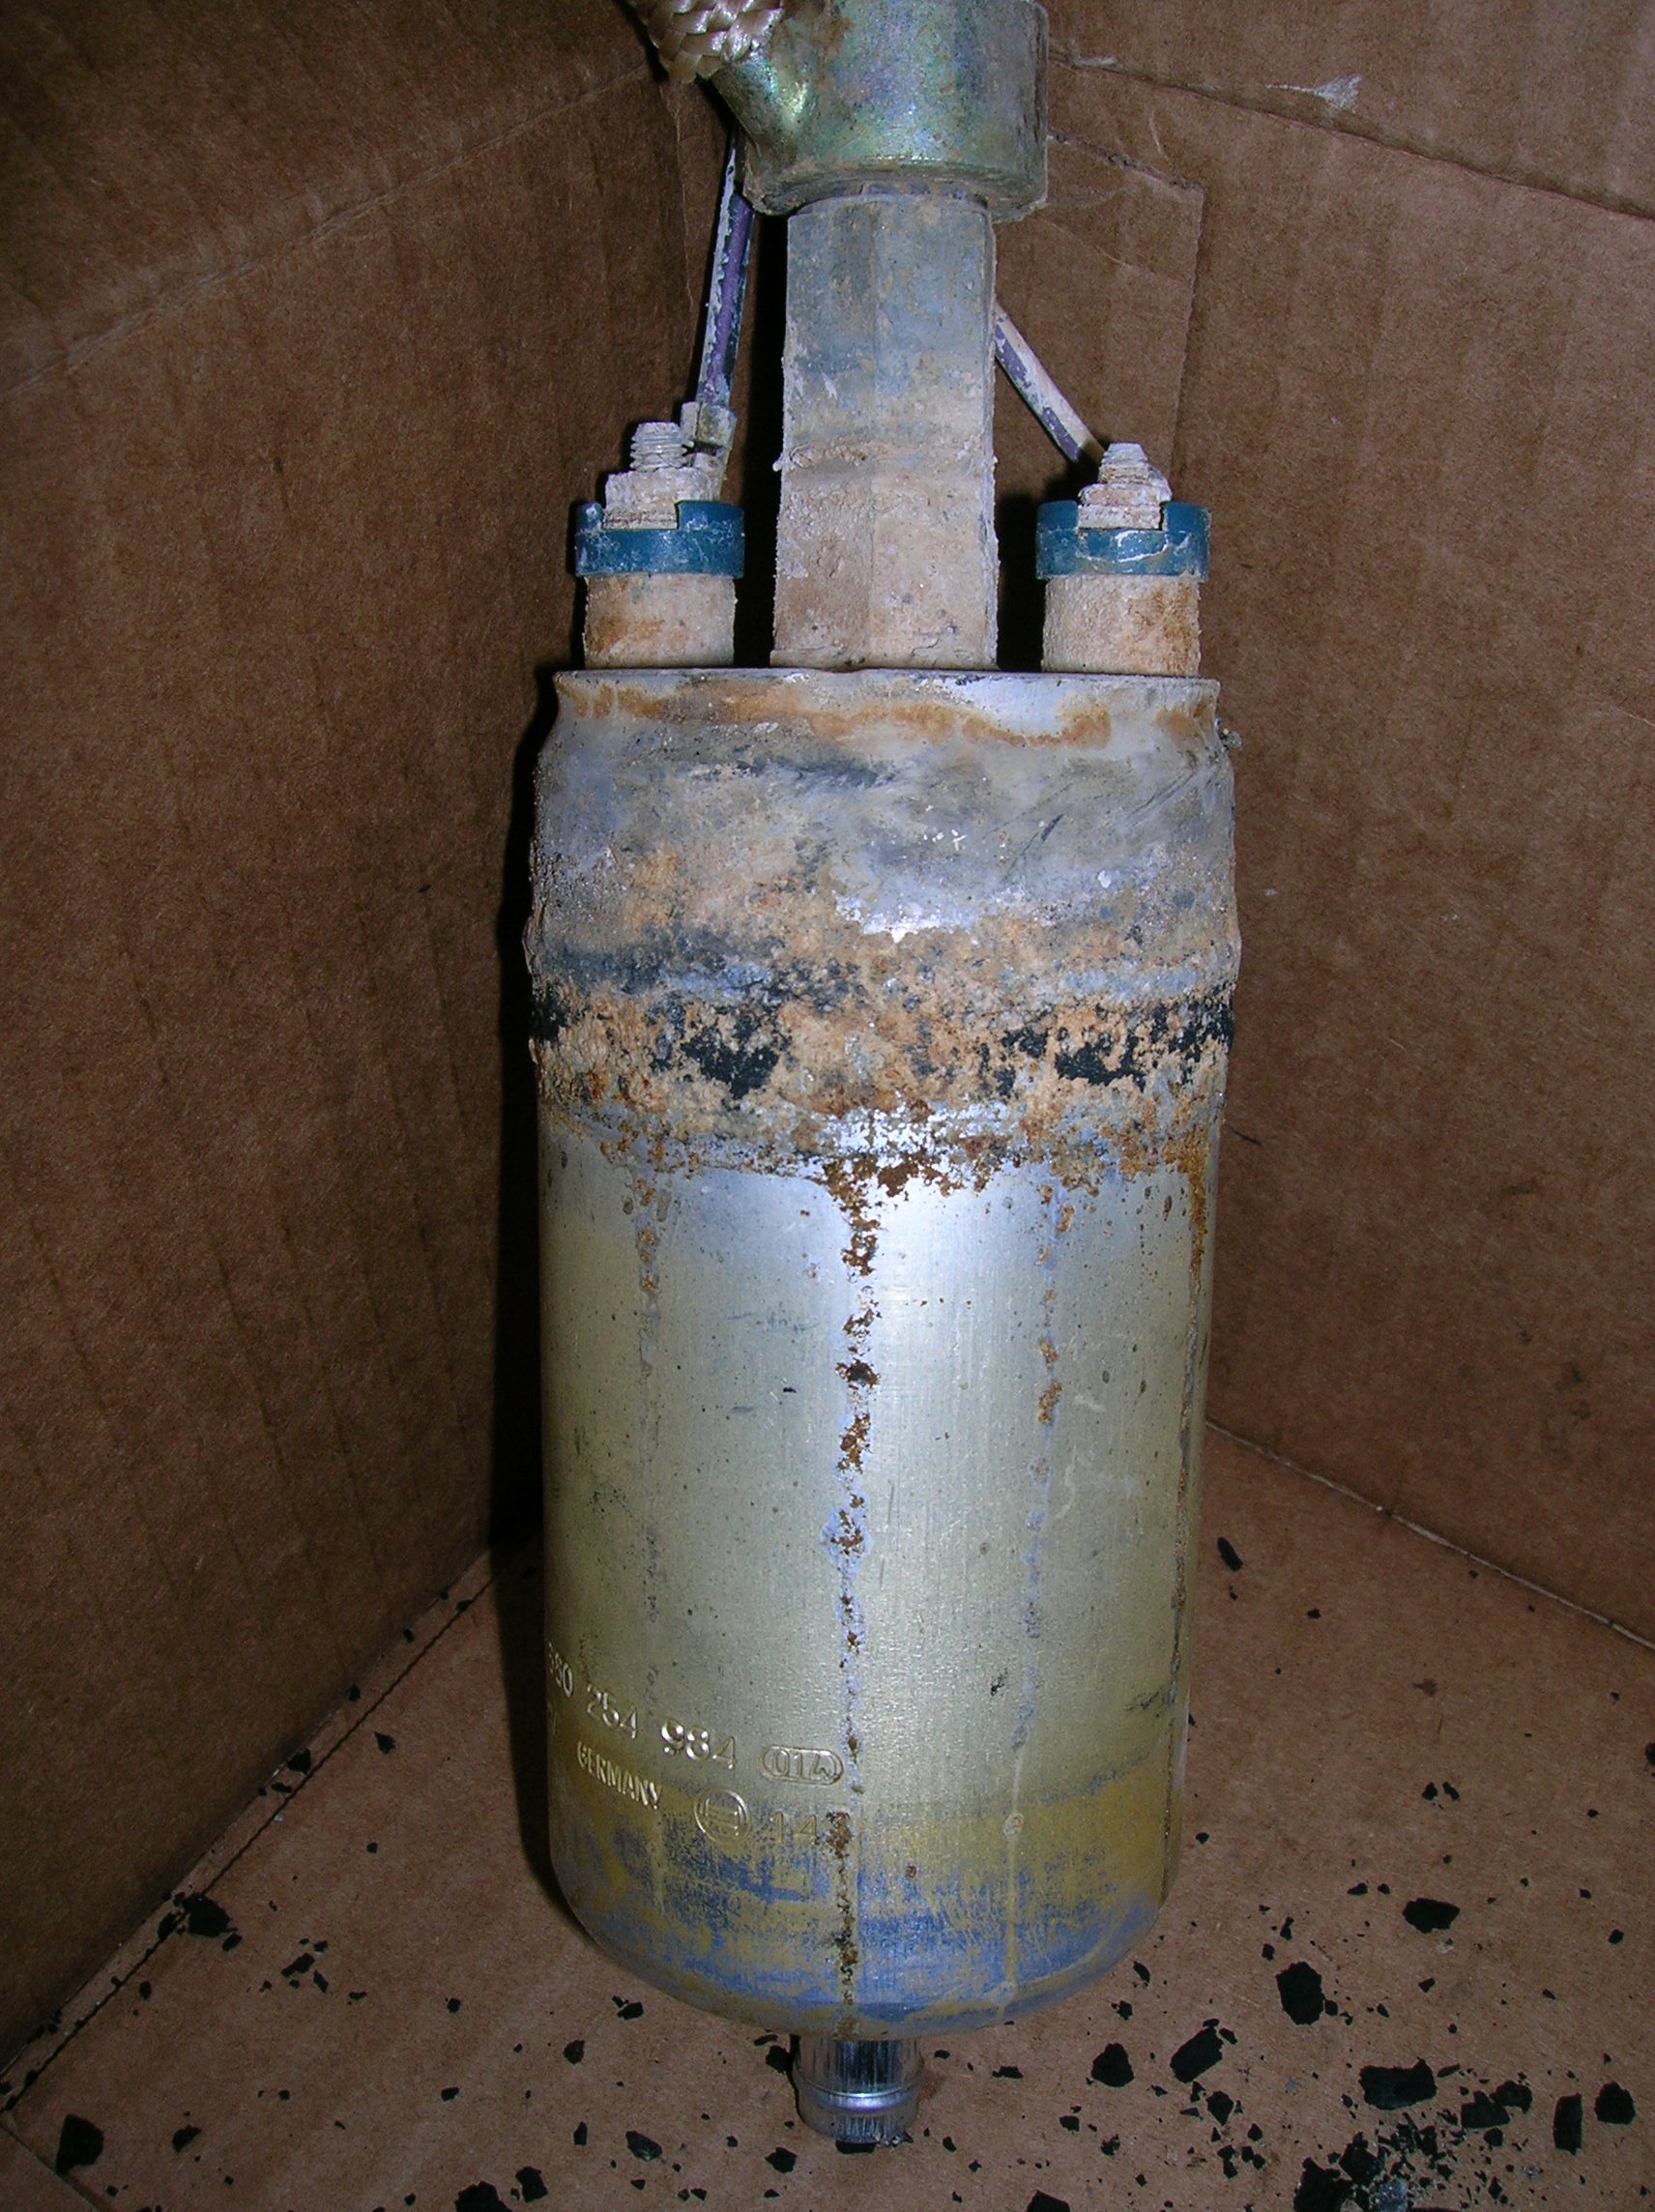
And here’s the condition of the pump itself. Pretty gross and corroded, but it was still working very well. Bosch quality right there, I’m actually sorry to have one fewer Bosch part in my car now.

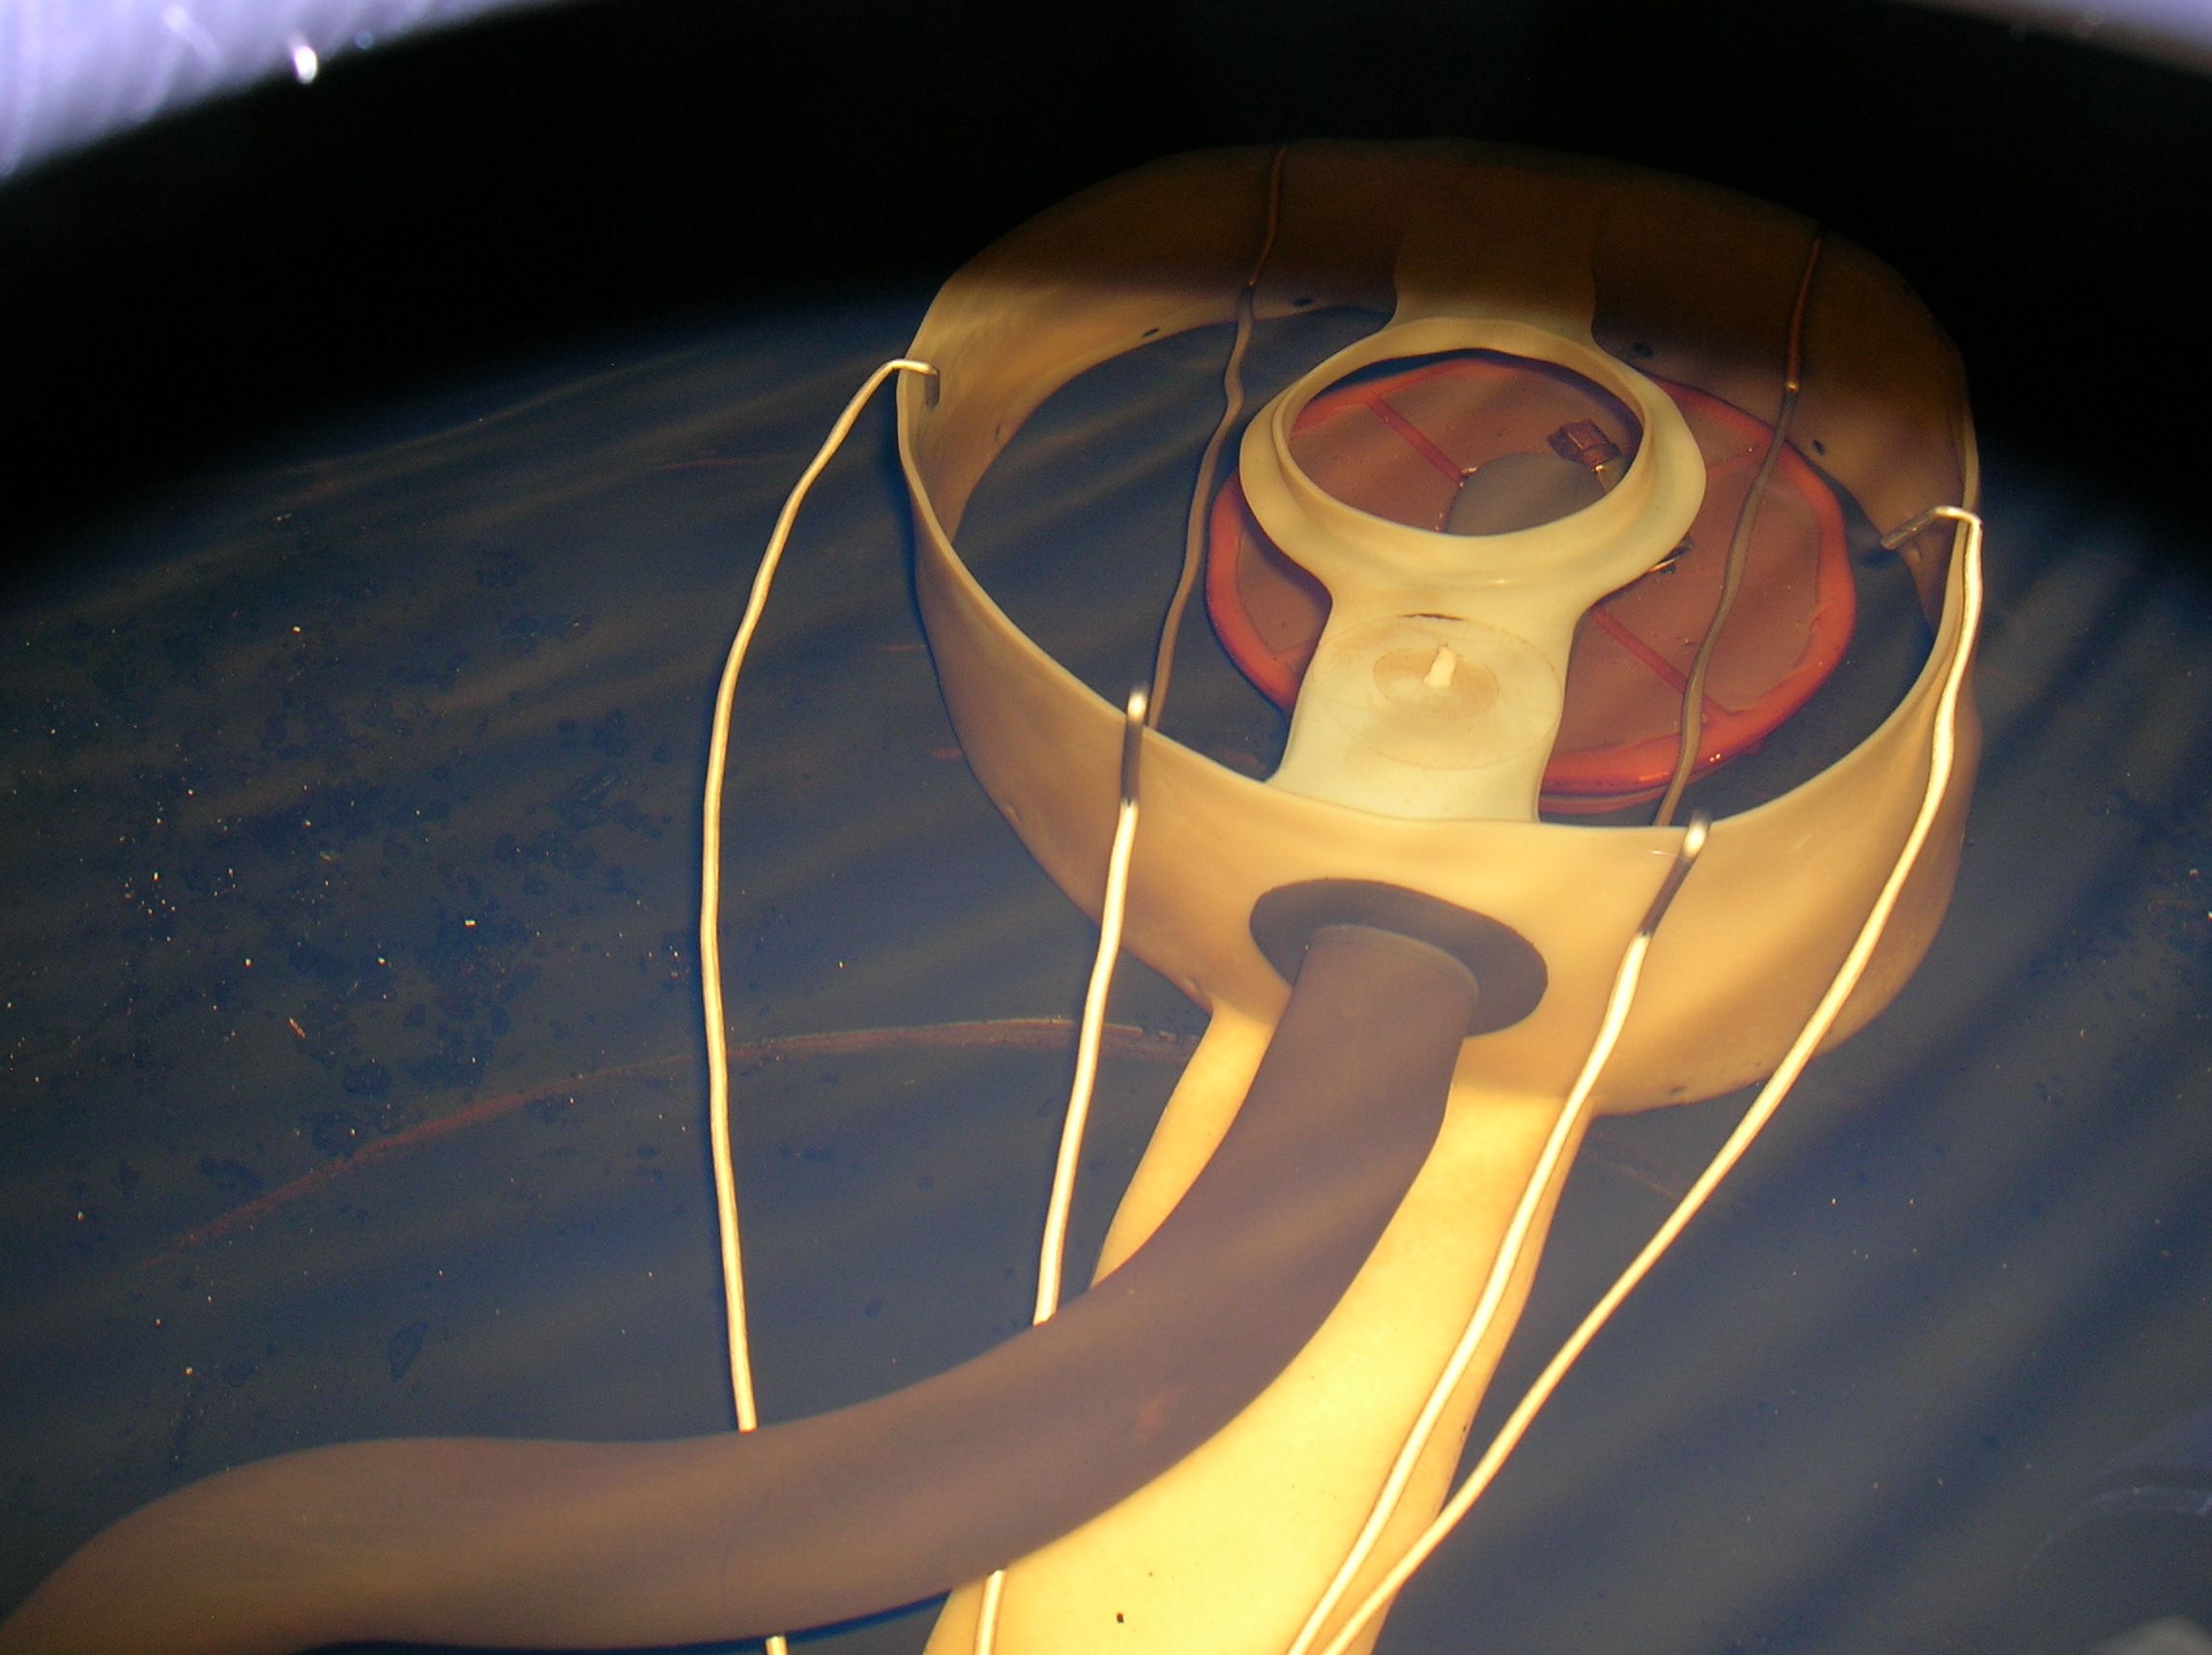
Here you can see the complicated baffle assembly, still submerged in gas inside the tank. My super accurate level sender said this tank was half empty. Not so much… it was almost completely full.
After draining the tank and removing the baffle assembly, here’s what remained. Filth, grime and piles of broken down rubber bits.
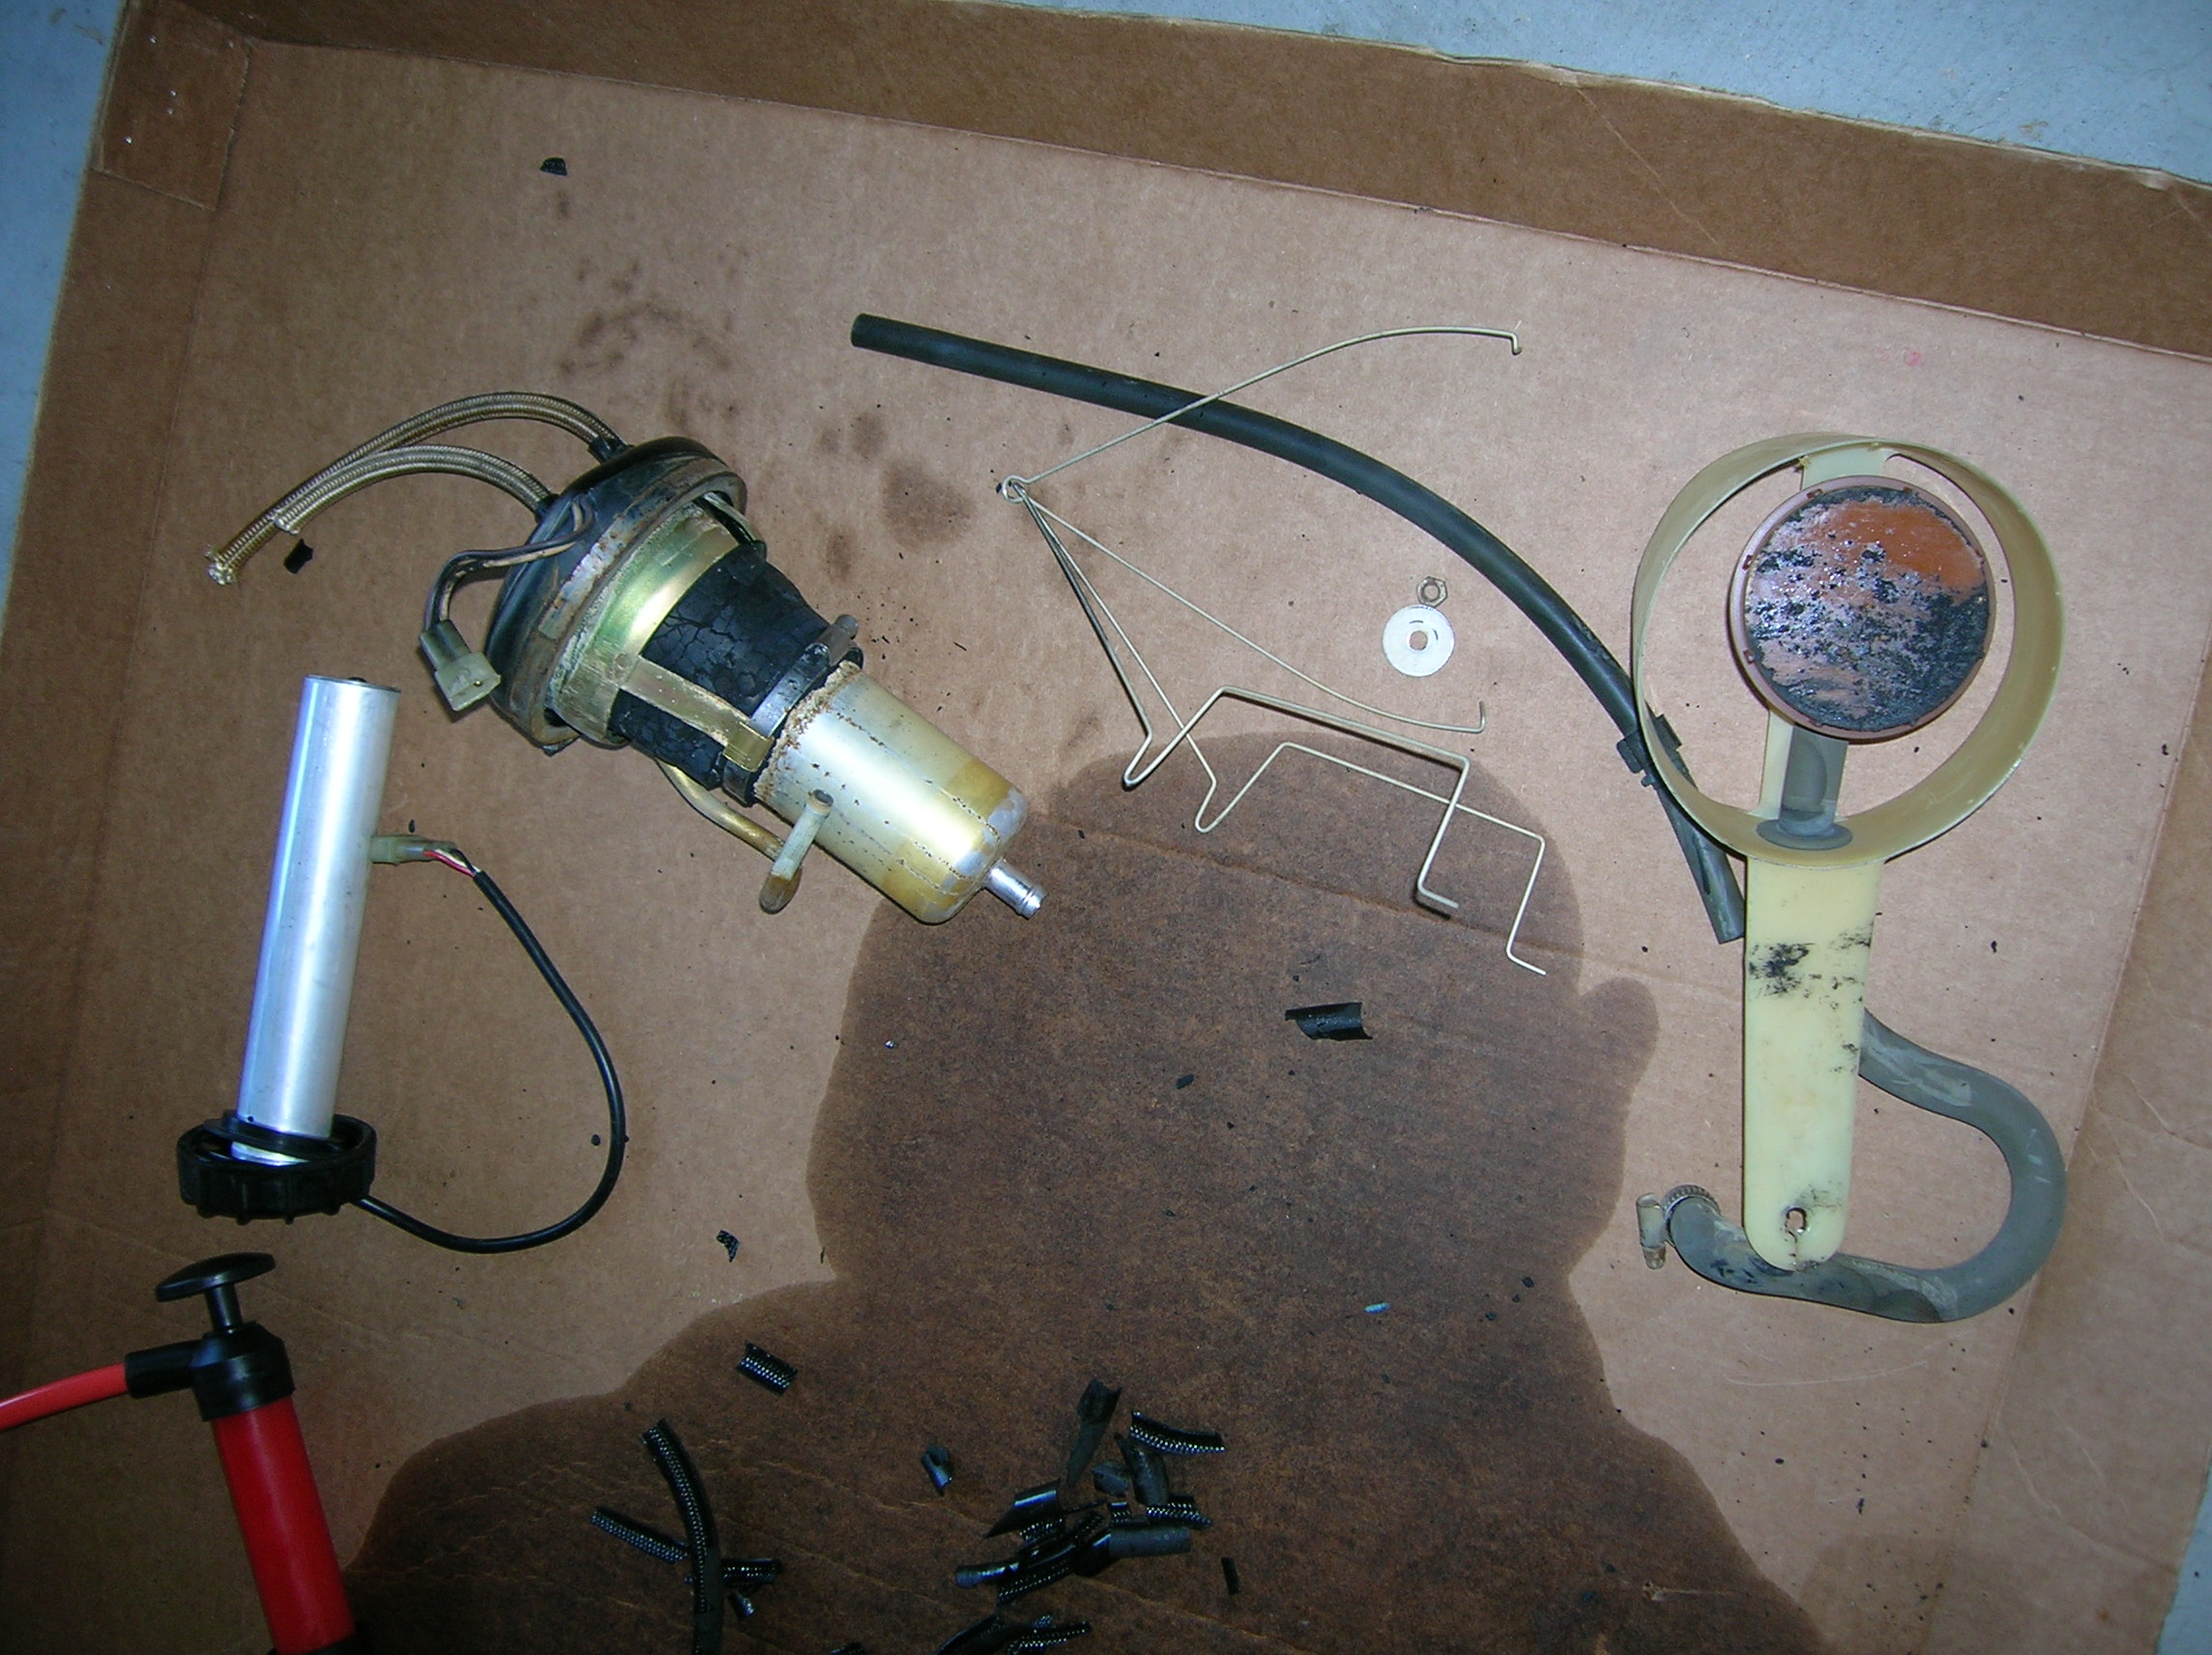
Here are all the old pump/sender/tank components. You can see the dissolved rubber varnish forming on the bottom of the brown plastic disk in the upper right corner. That’s the pickup hose screen. I’m glad it was there to stop all that crap getting into my fuel system.


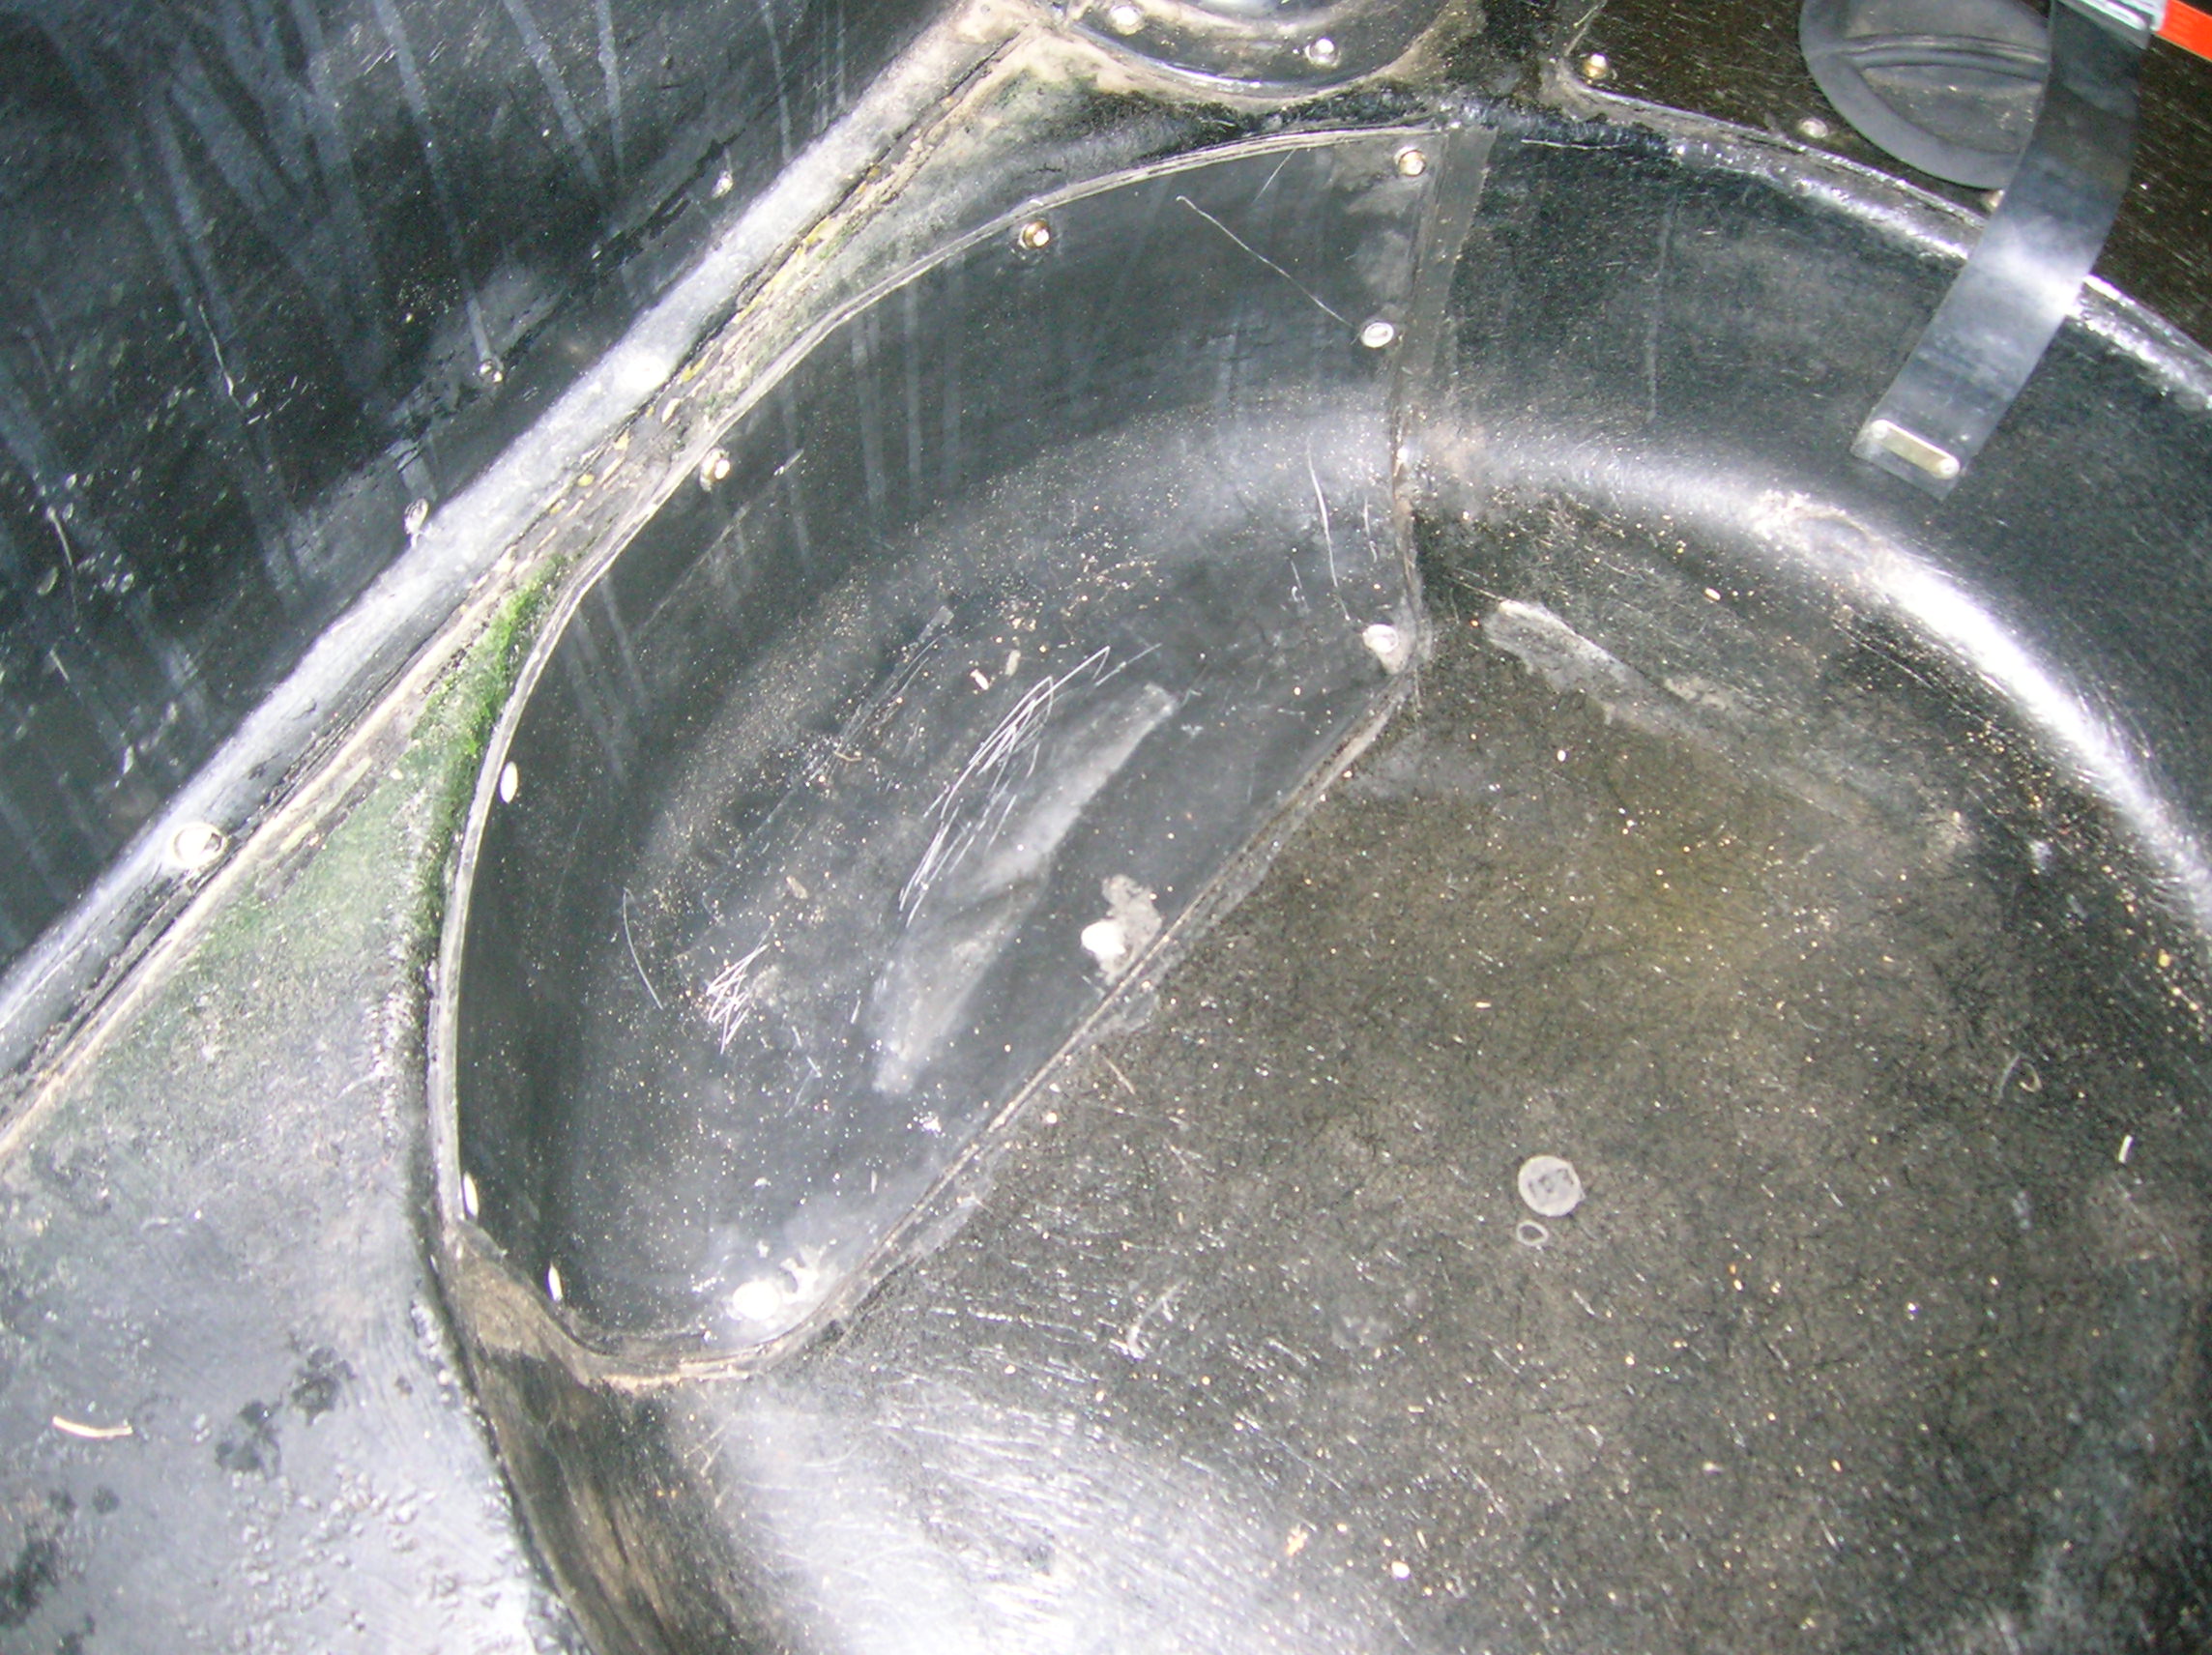
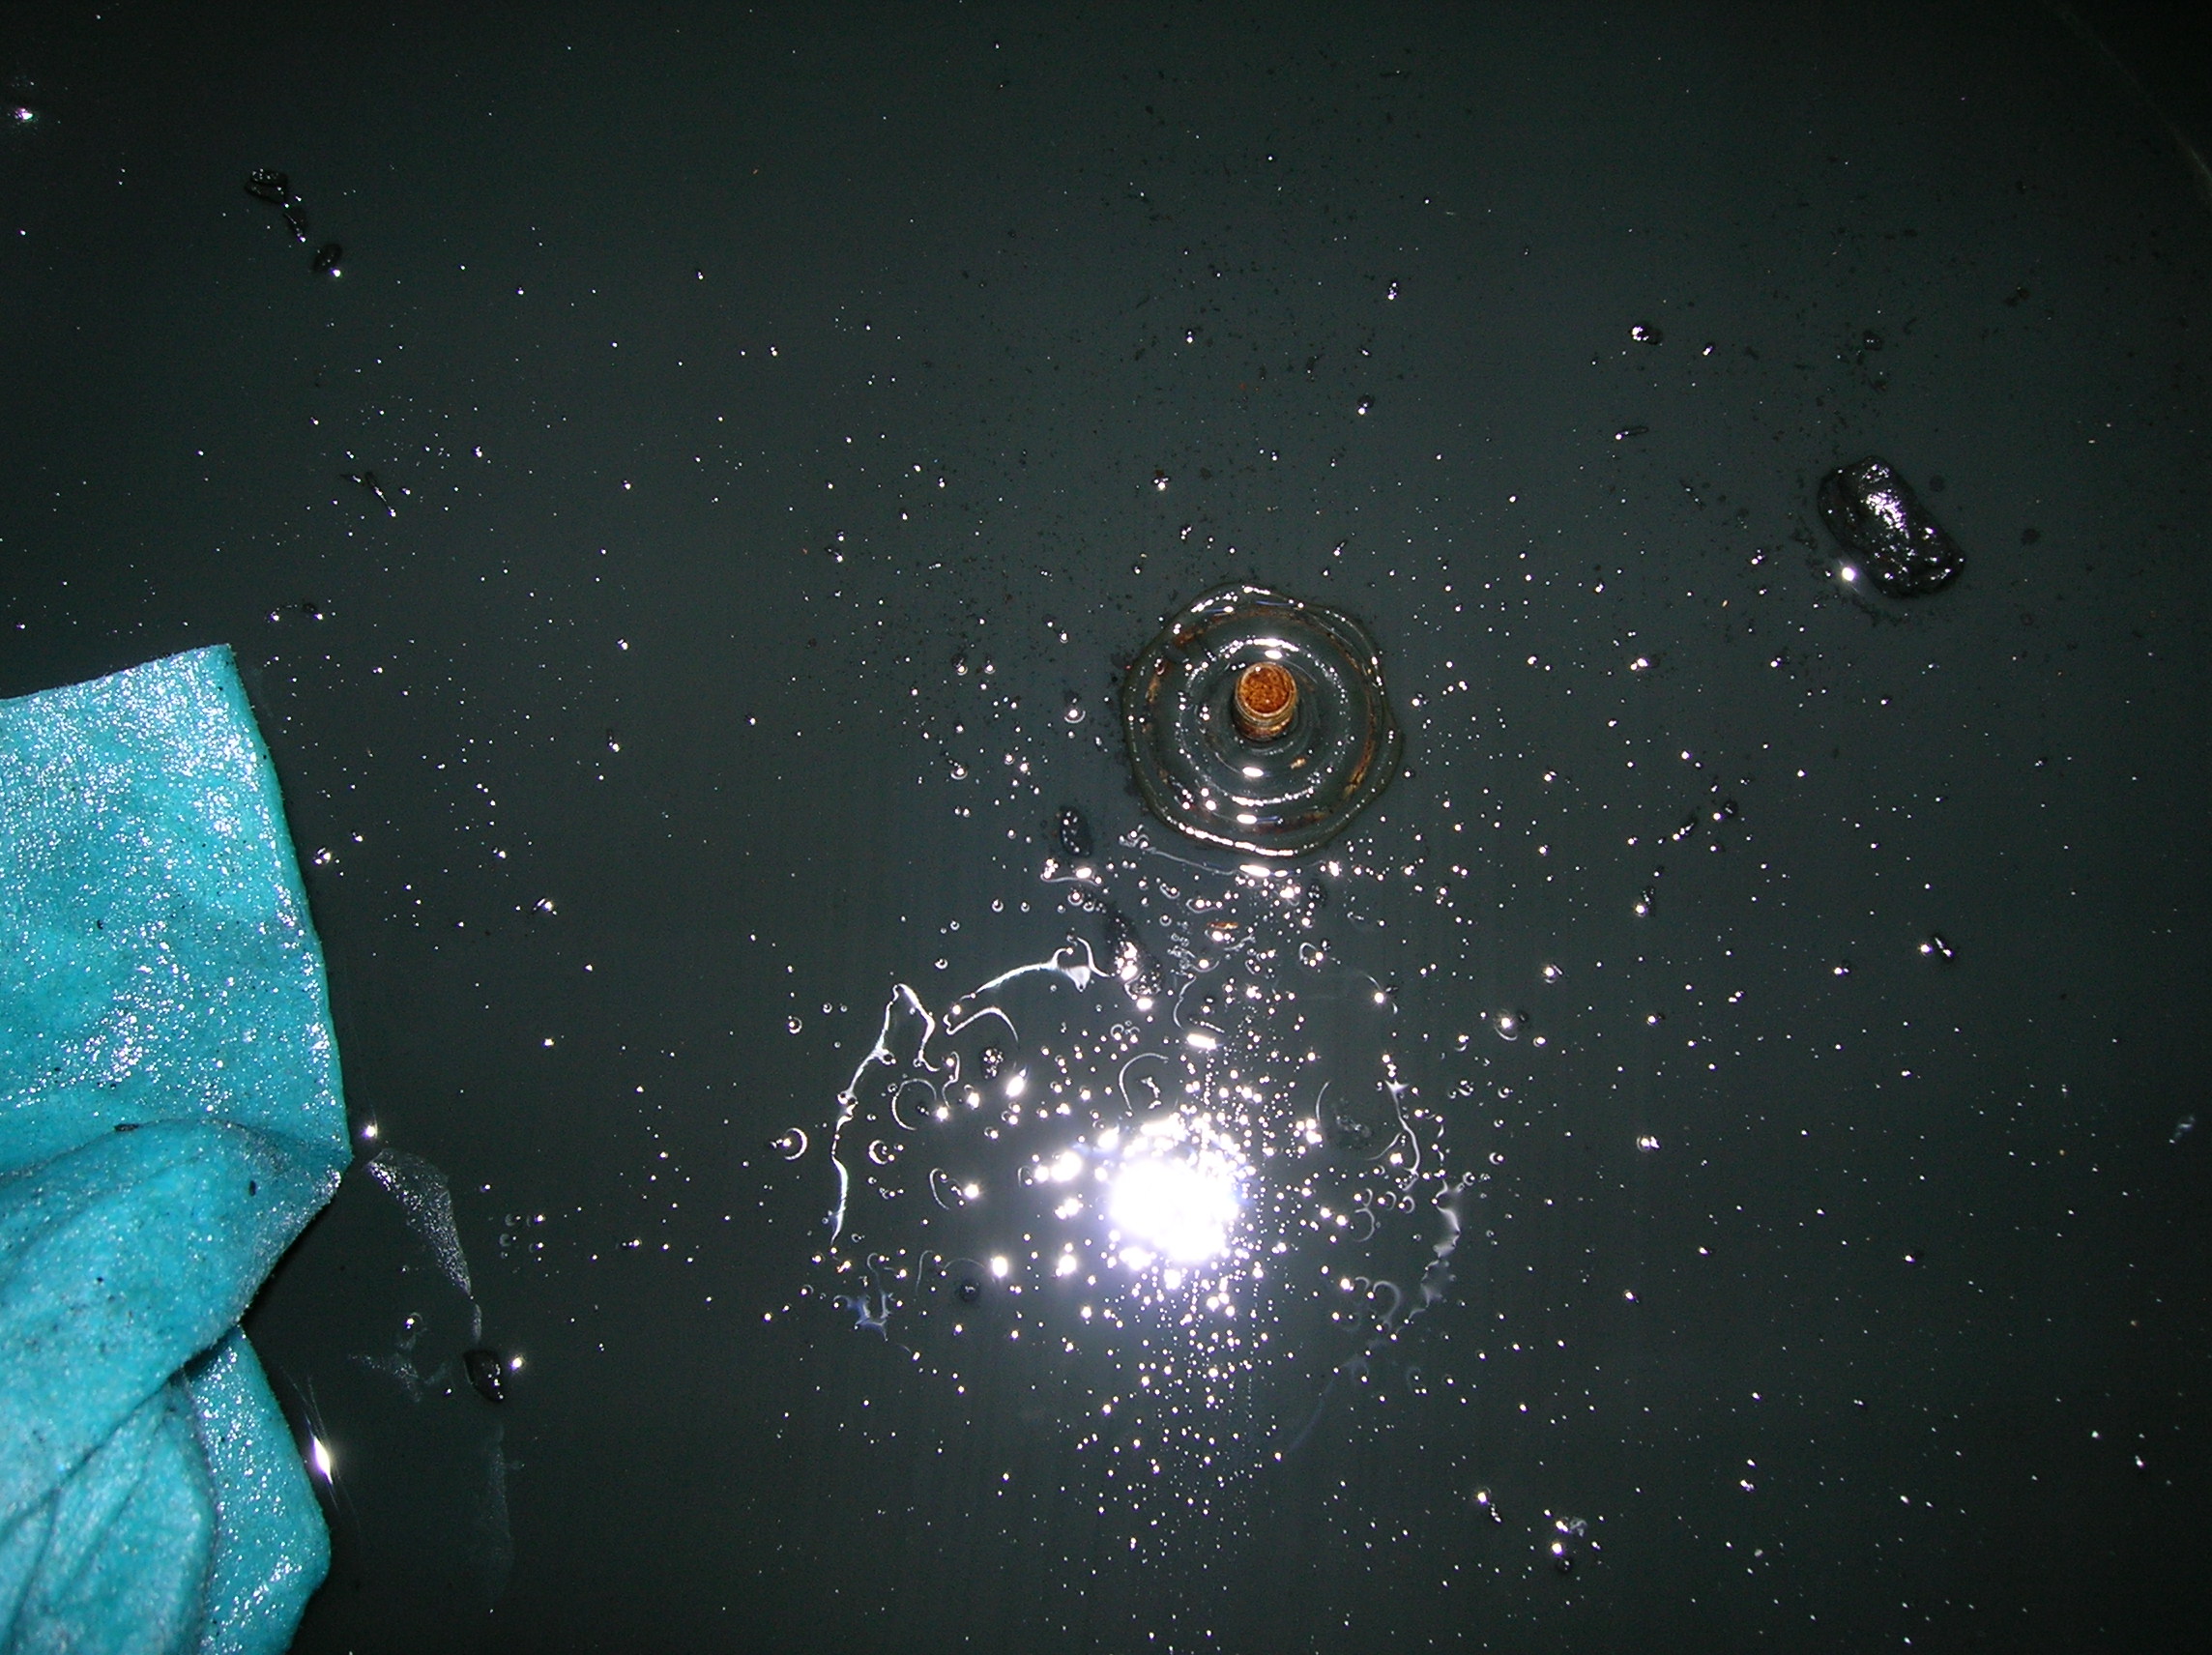
And here’s the inside of the tank after a thorough scrubbing out with acetone and a vacuuming. Clean as a whistle, looks like brand new. That wire in the middle of the second shot is an anti-static device.
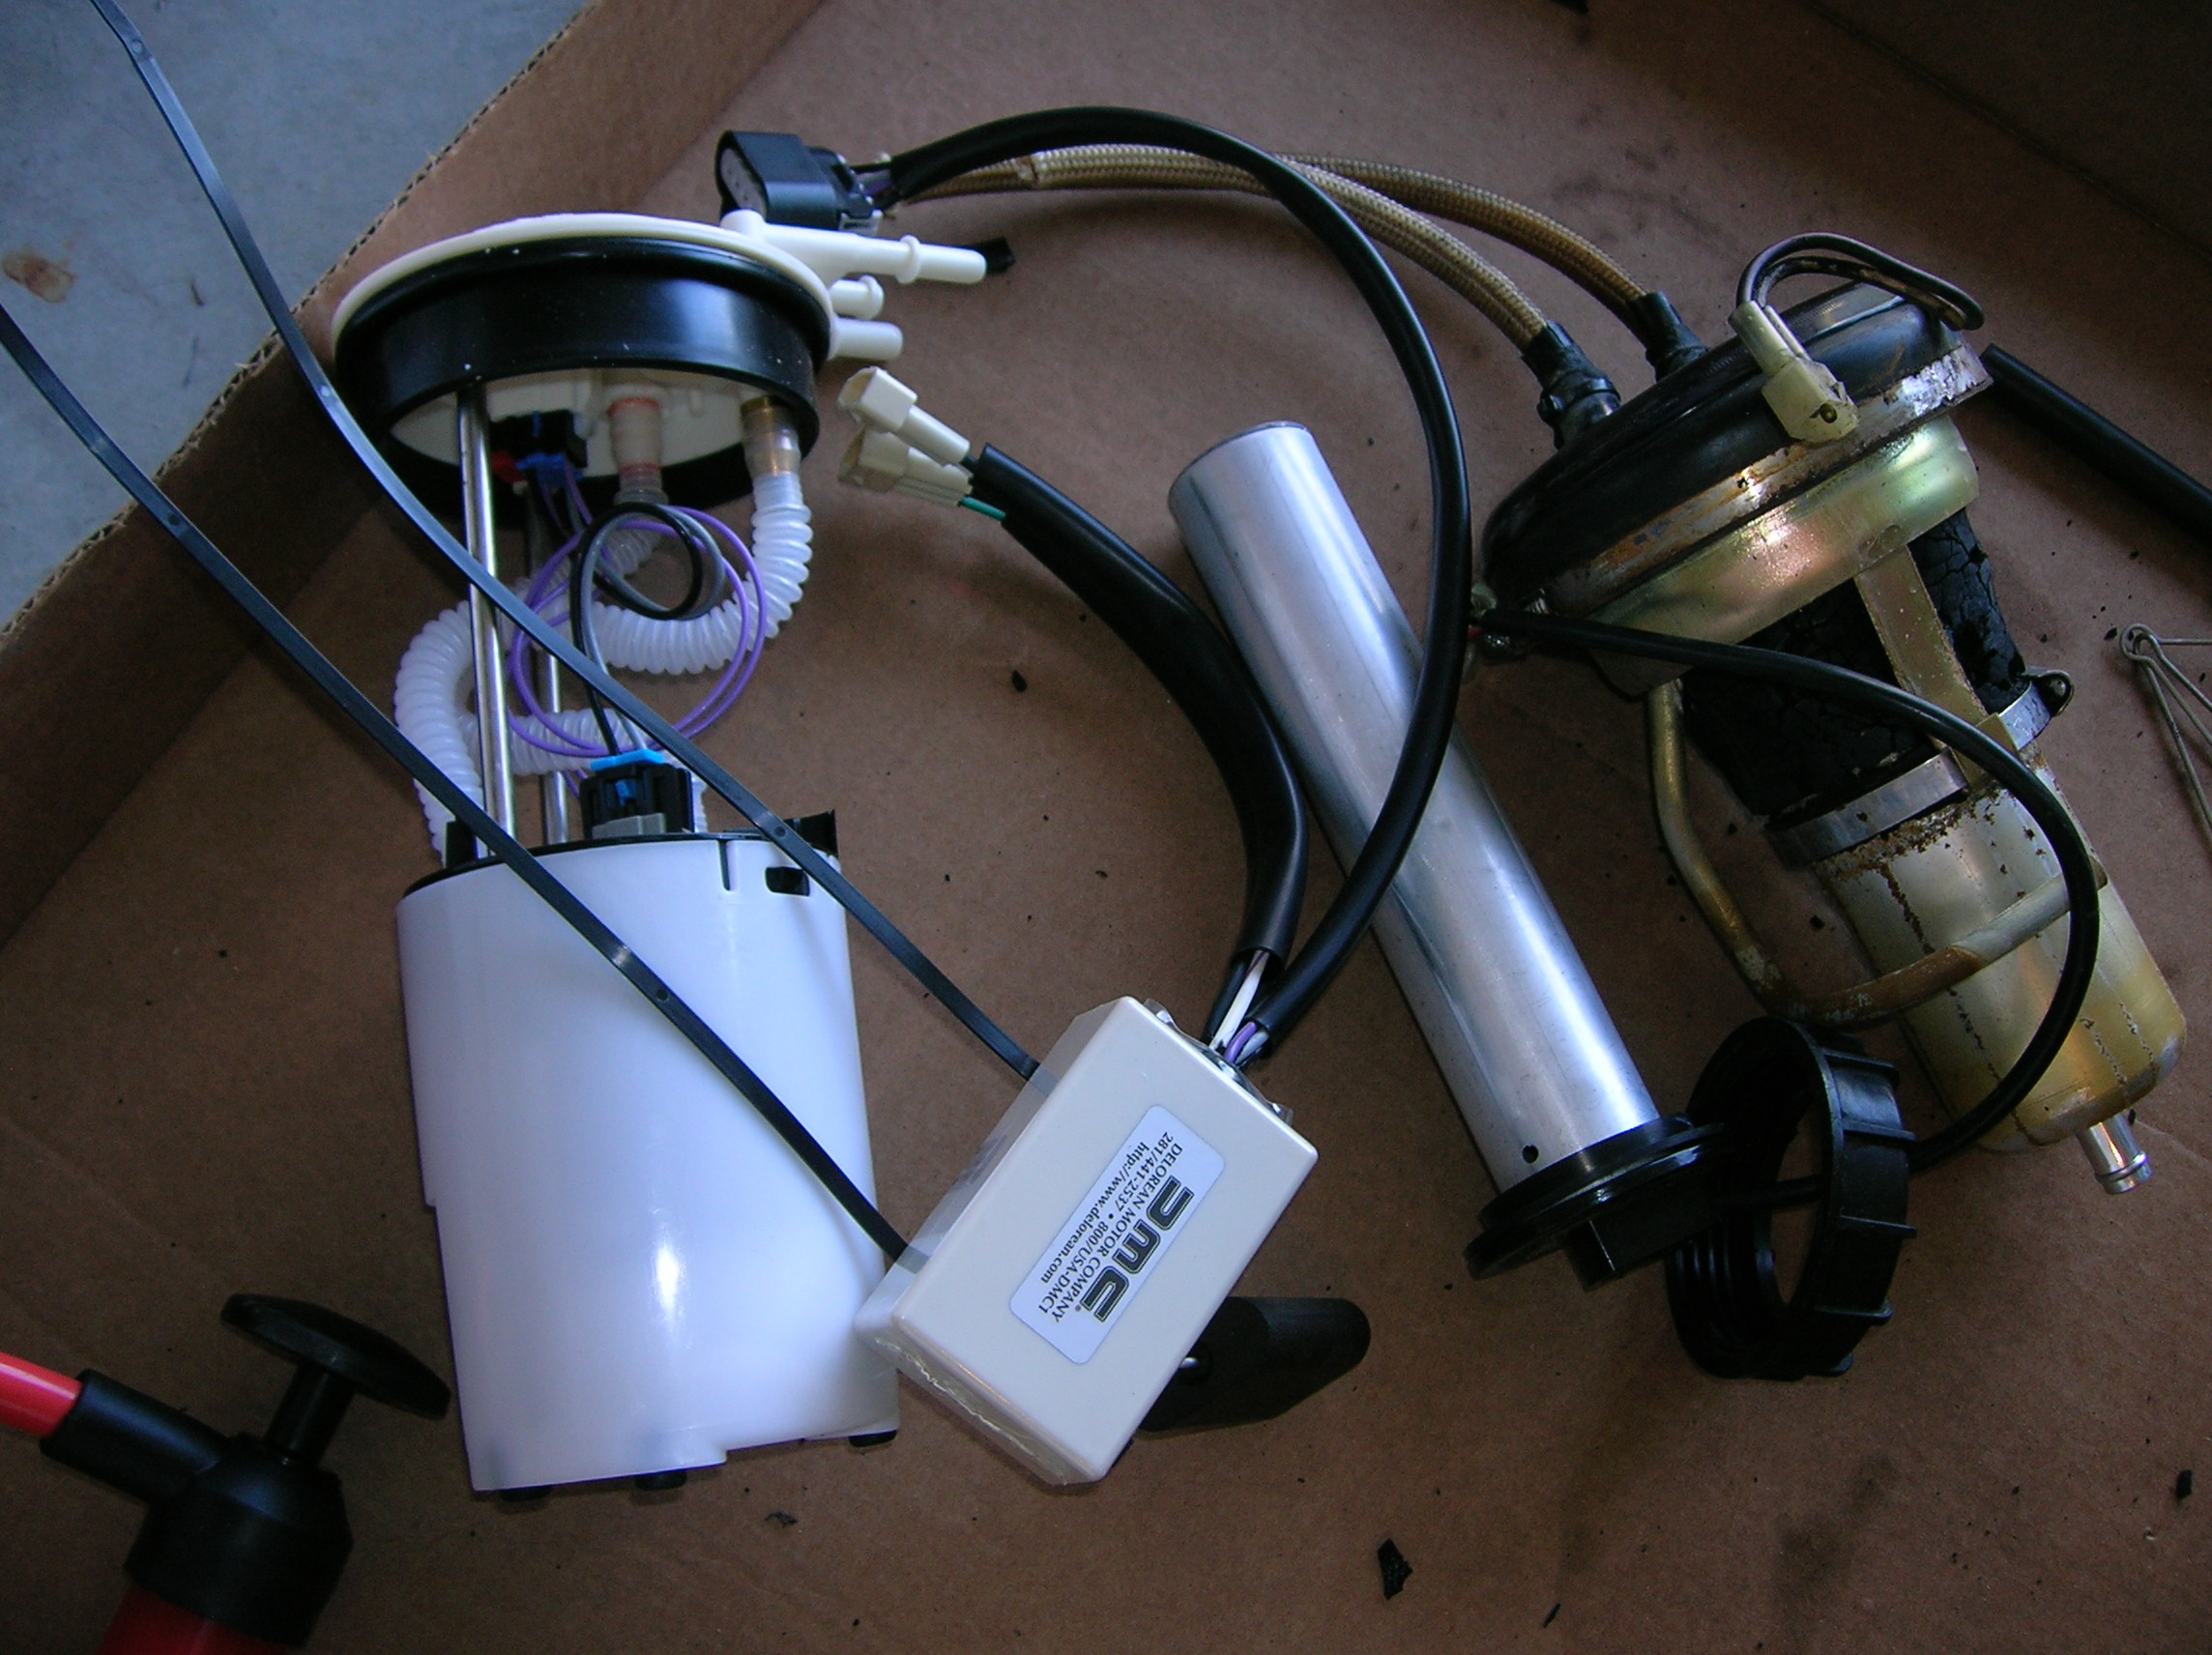
Here’s the new pump and sender with the old stuff. The round unit is the baffle/pump/sender combo, and the small box with the wires is the logic box for the pump and electronic level sender unit.
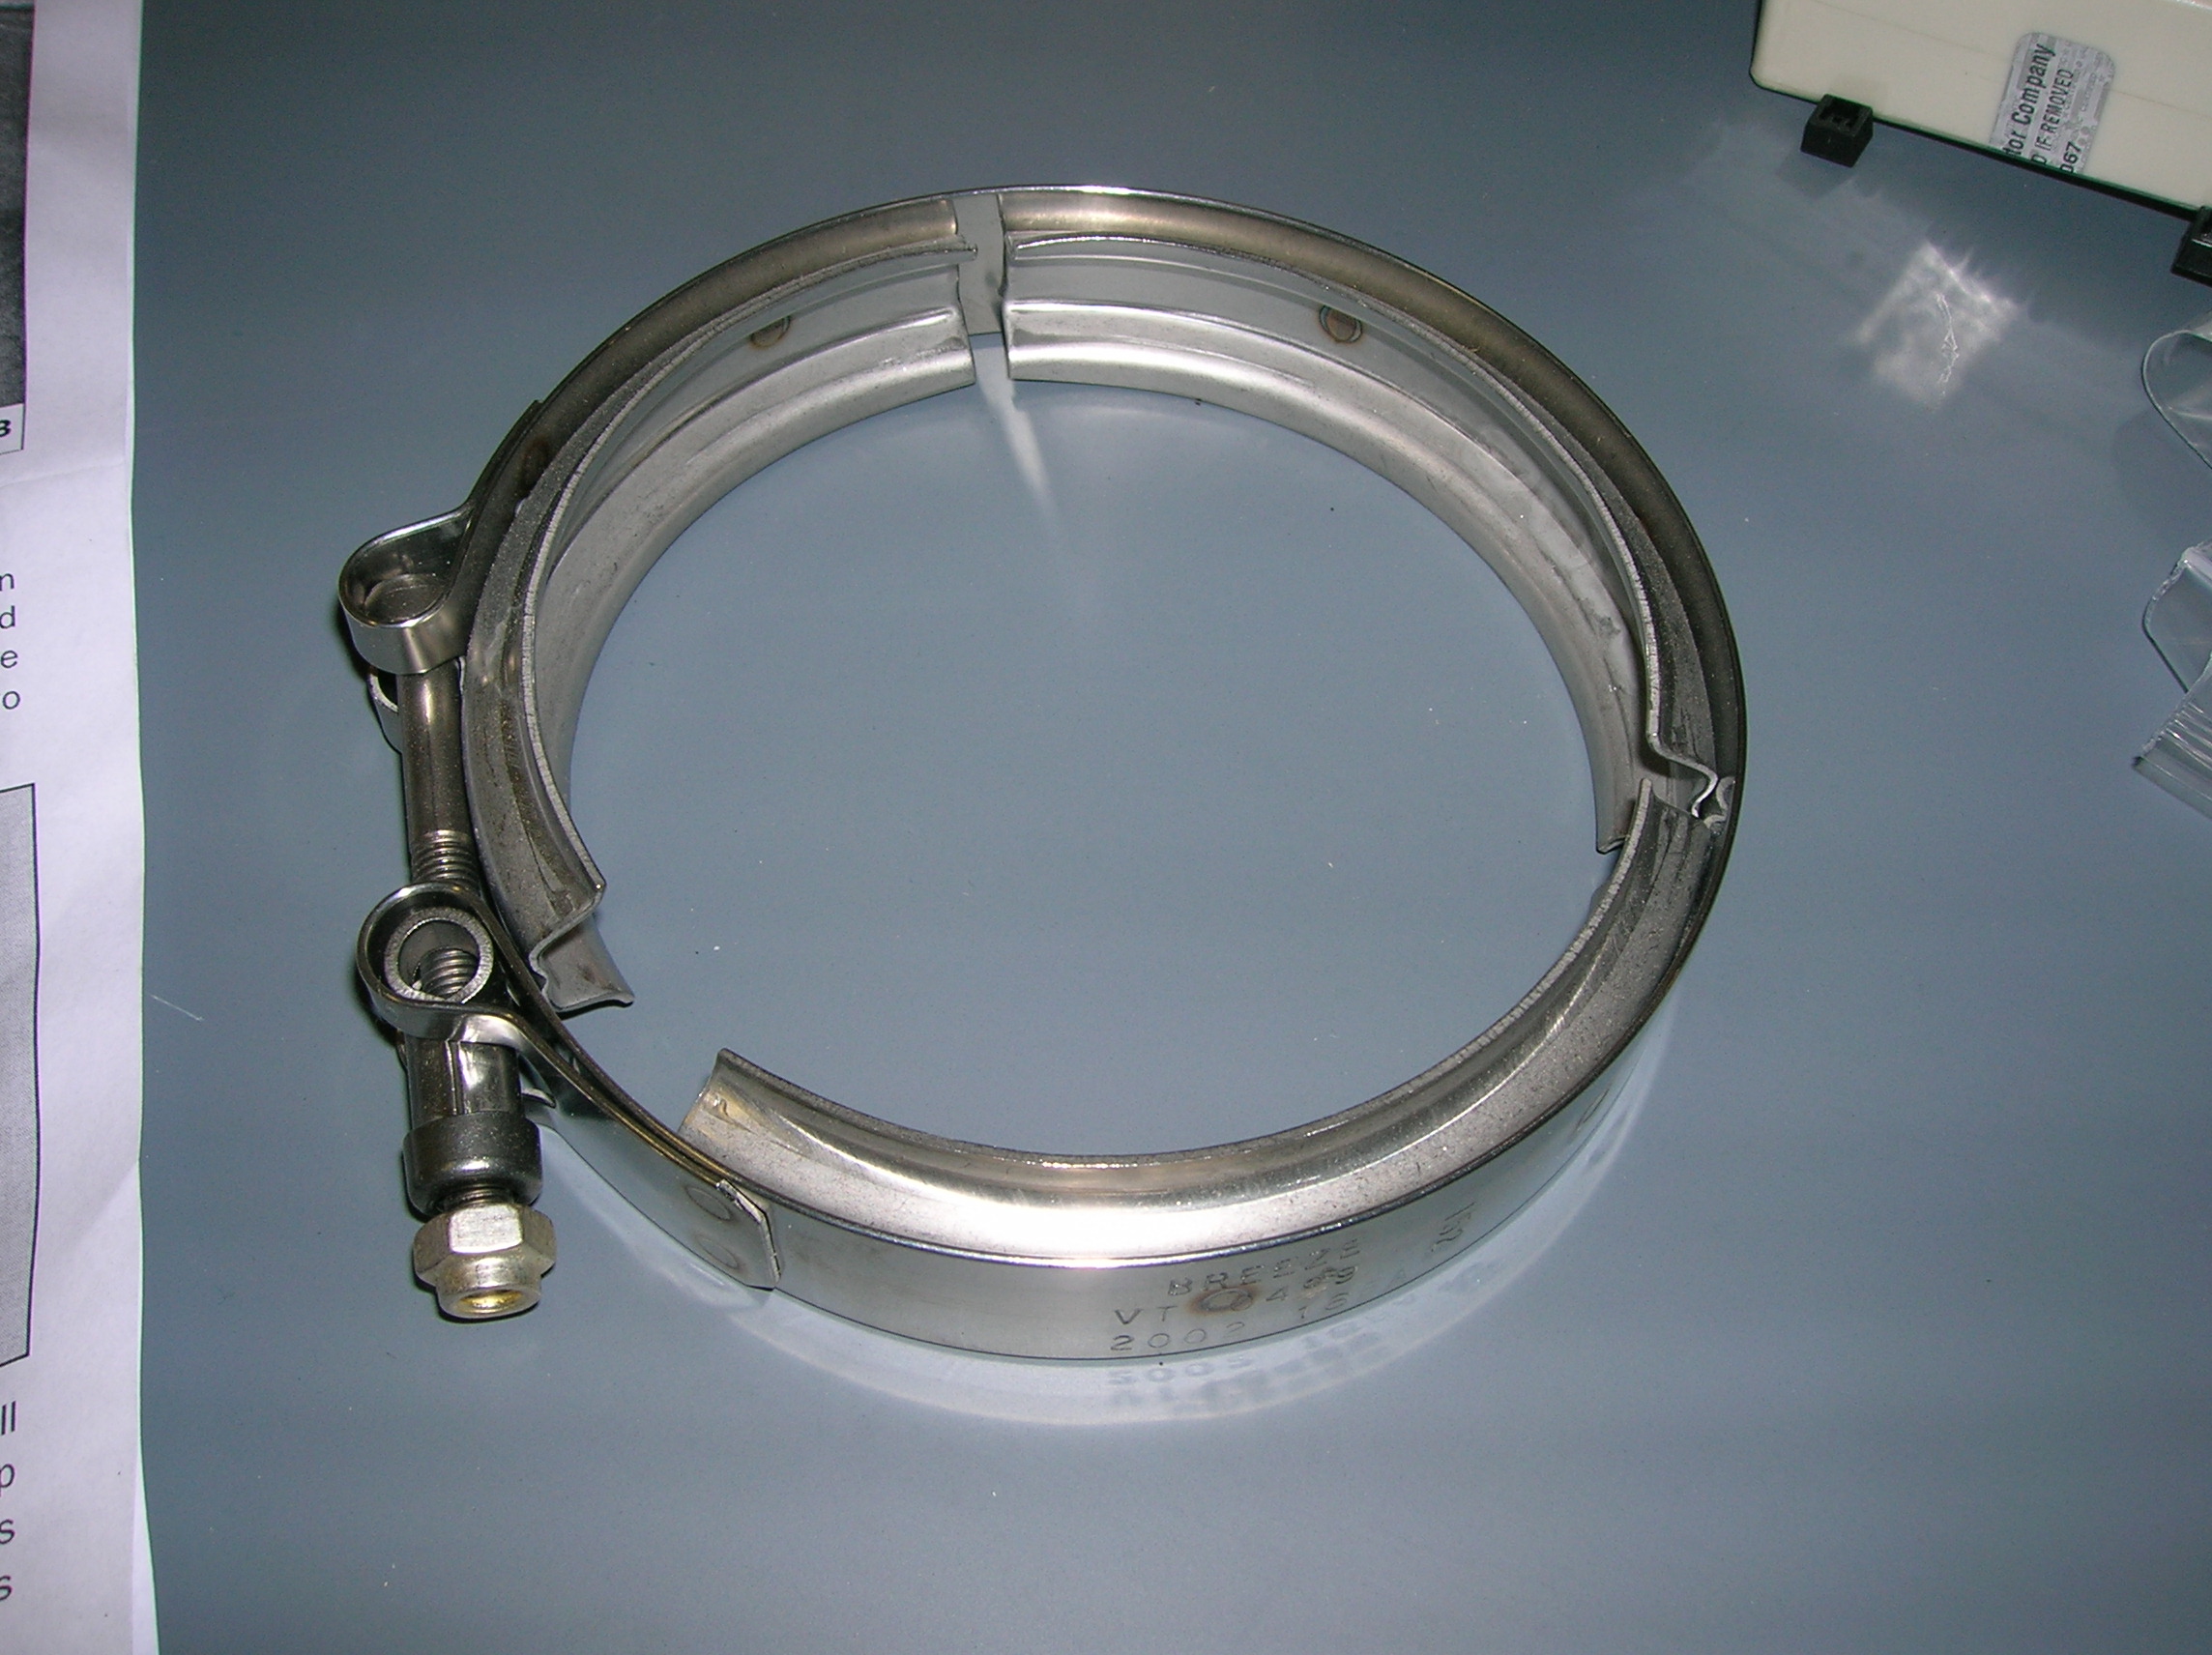

This is the new clamp to hold the pump unit down. First step is to lay this over the opening in the tank.
This is a solid stainless plug to block up the hole where the old gauge sender used to be.
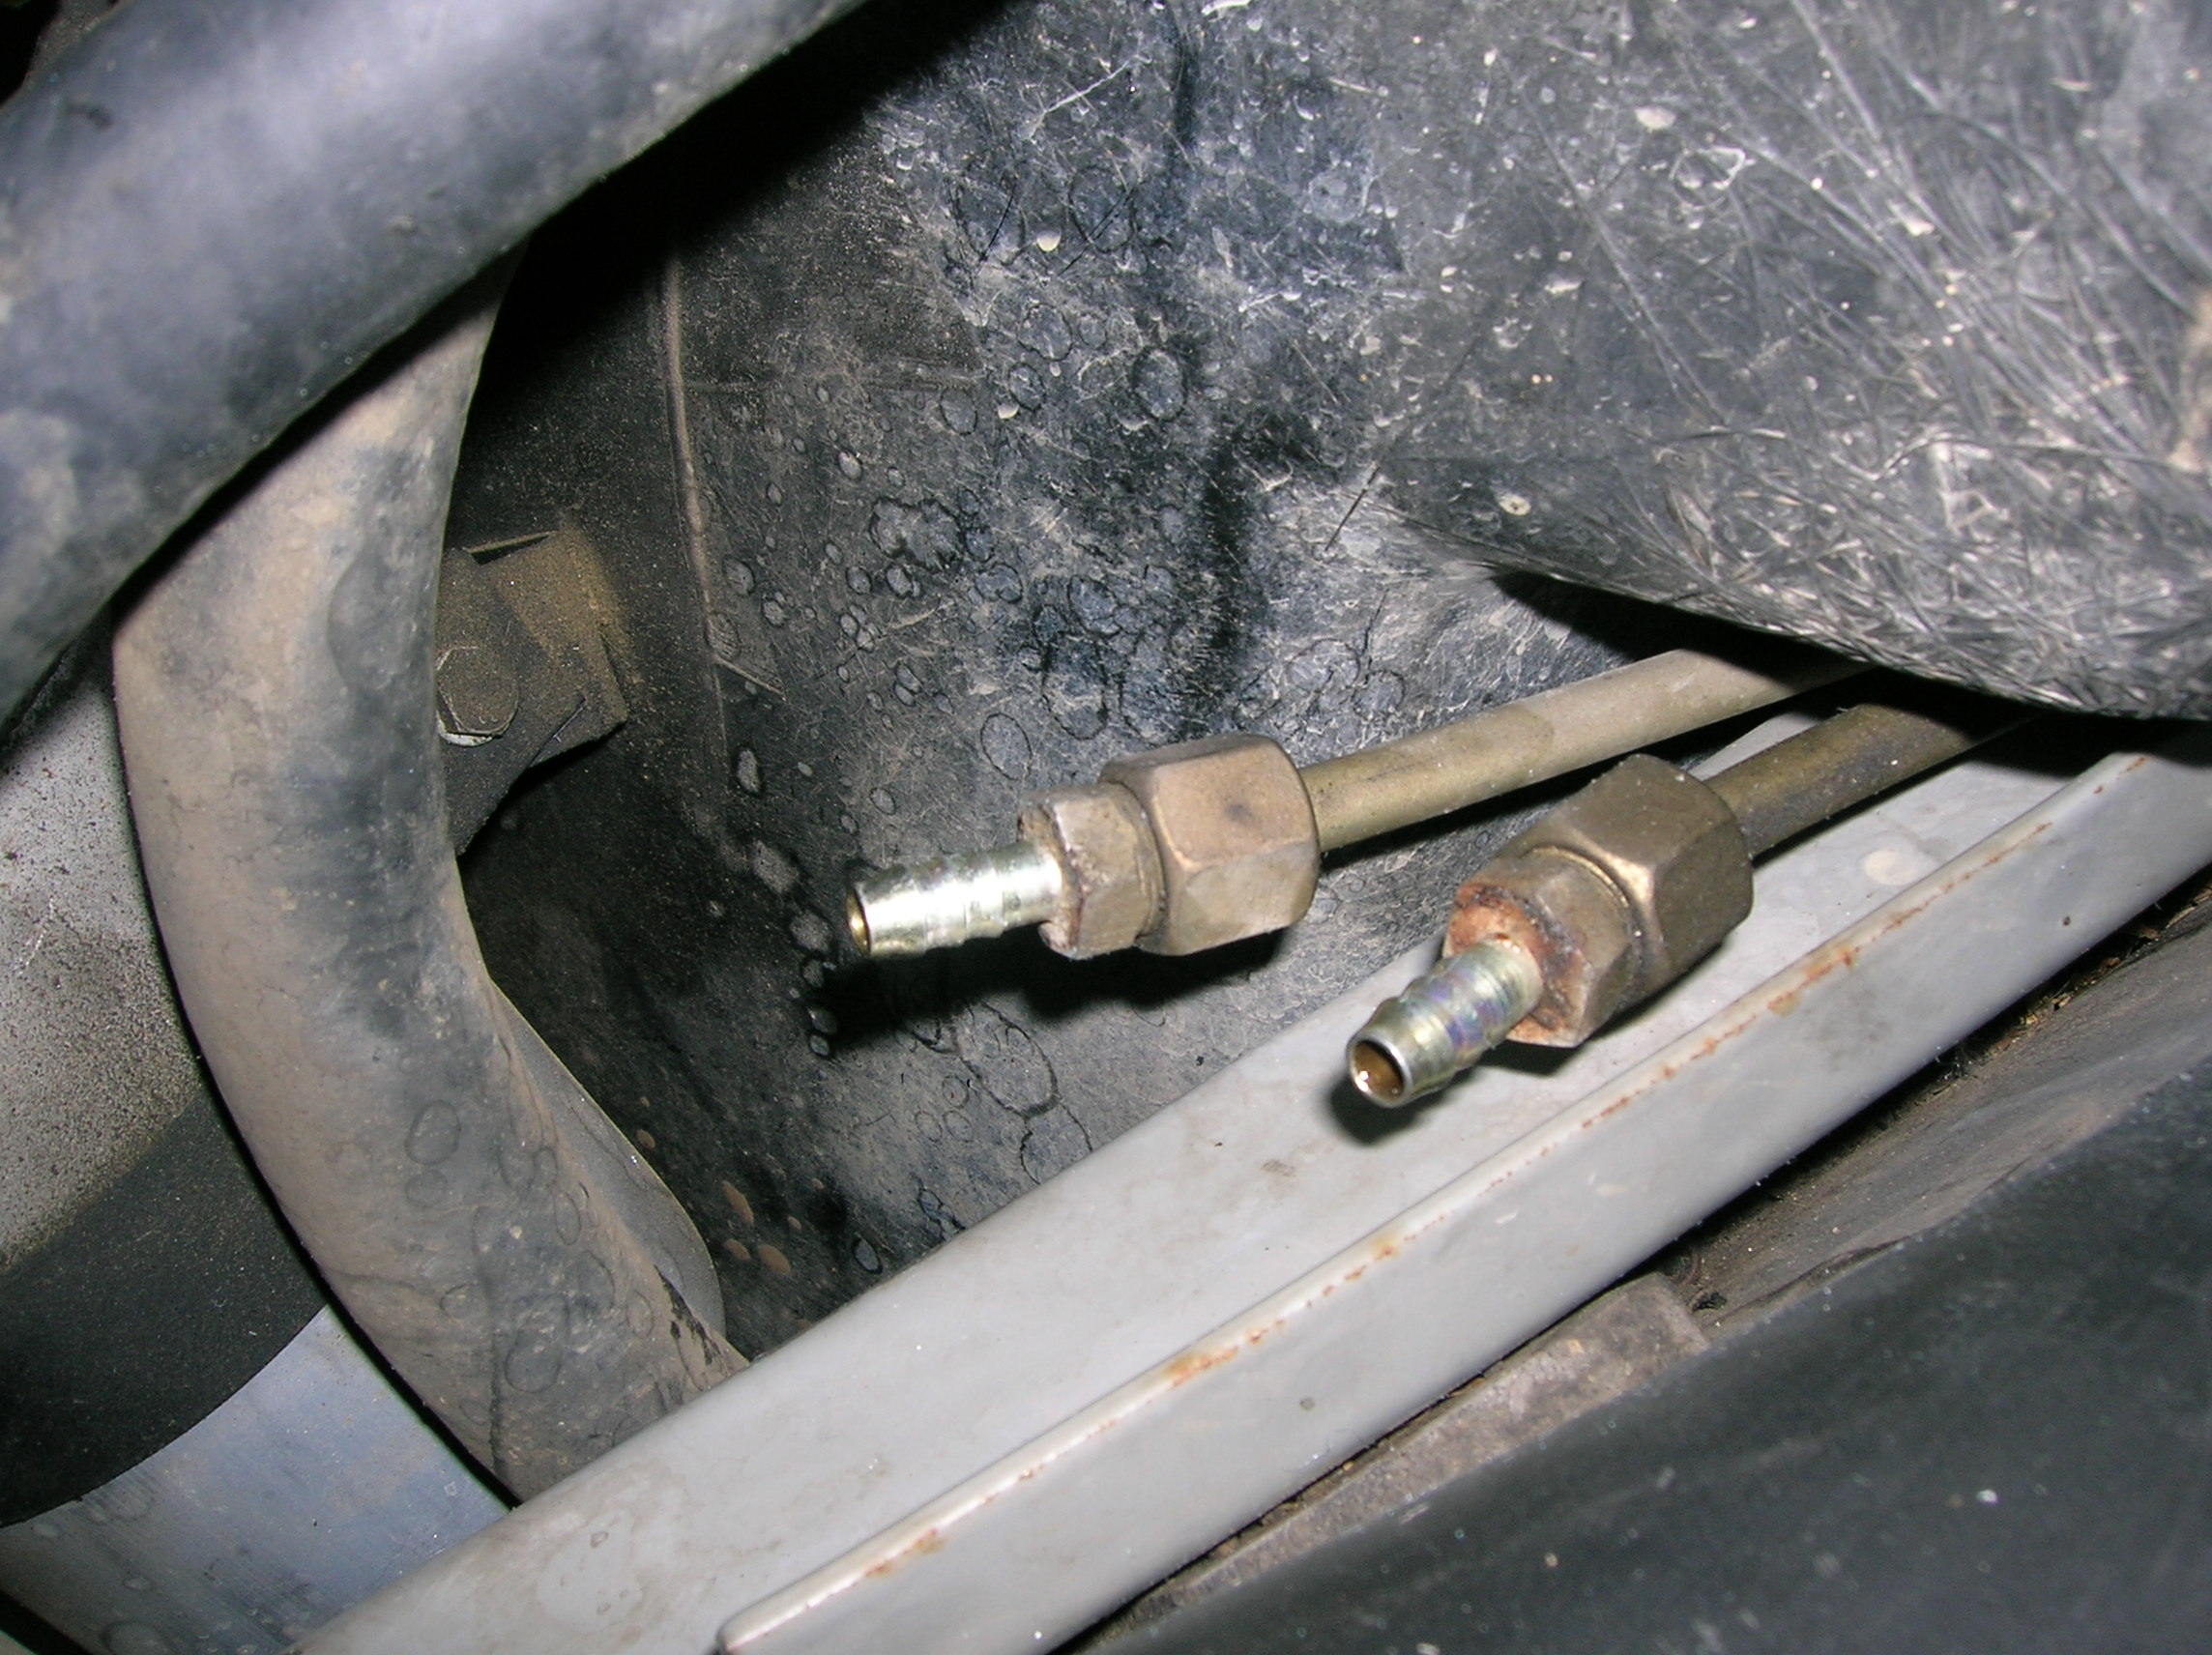
Here are the barbed fittings on the hard lines where the soft hoses will attach from the pump.

And here’s everything all installed! I didn’t have the electrical wires run yet in this photo. Everything fits and works perfectly. Here’s to 30 more years of flawless fuel delivery!